
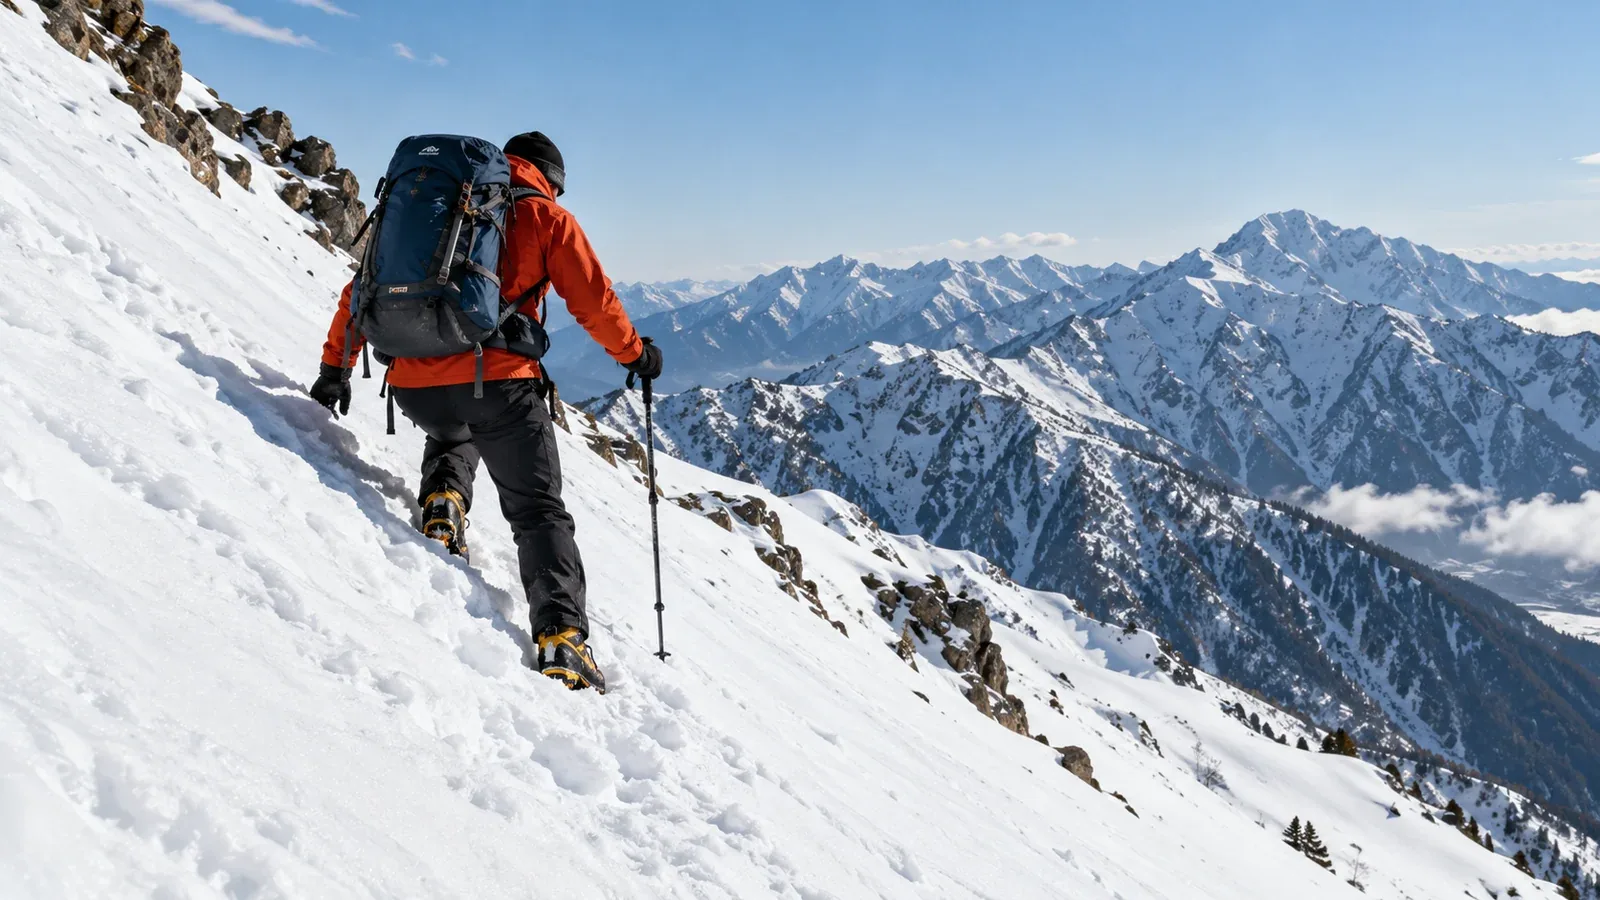
When you first walk on snow, your usual stride can slip even on a familiar route. Two skills you may learn in winter training are kicking steps and traversing, or crossing a slope. The right movement depends on the snow, equipment and consequences of a fall.
Kicking steps means making a foothold in suitable snow with a boot. Traversing means moving across a slope, sometimes on a rising line. This guide explains what to look for and what to practise on safe terrain under instruction before using these skills where a fall could be serious.
How kicked steps work
Why make a step?
Snow ranges from loose powder to firm crust or ice. On snow that is soft and cohesive enough, a boot can make a platform you can stand on. Hard crust may resist a boot, and soft or layered snow may collapse. Test the surface in a safe place before committing to a slope.
Moving uphill under instruction
- Read the slope before stepping onto it. Look for changes in snow, the terrain below, avalanche exposure and a place to retreat. Check whether the surface will hold a foothold.
- Practise on gentle snow. An instructor can show how to use the boot to make a stable platform in the conditions you have. If you cannot form a useful step, stop and reconsider the route or traction before proceeding.
- Transfer weight only after testing the step. Move deliberately from a secure stance and keep enough balance to stop. Practise on ground with a clear, safe runout.
- Learn how to use an ice axe for support. Placement depends on the snow, slope and technique. A shaft pushed into snow should not be assumed to provide a reliable anchor.
Moving downhill
Descent can expose you to a slip even if the ascent felt secure. On suitable soft snow, an instructor may teach you to make a foothold using the heel. Conditions can change from soft to hard during the day. Stop on secure ground if the steps will not hold, and reassess your traction, skills and retreat options before going farther.
Common mistakes
- Making a step that does not support the boot. Test the platform and make it wide enough for the technique you are practising. Its size depends on the snow and your boot.
- Rushing the weight transfer. Check that each step holds before committing to it. Slow down before fatigue affects balance.
- Forcing steps into hard crust. Use terrain and traction suited to the surface only if trained, or choose another route. Put on appropriate crampons from a secure stance before reaching consequential snow.
How to assess and practise a traverse
Why cross a slope?
Crossing a slope can help you follow an approved route or reach lower-angle ground, but a sideways line can still cross steep snow. It does not shorten a potential fall and can expose you to an avalanche starting above or on the slope. Look at the whole slope, the runout and safer alternatives before stepping across.
Foot placement
In a traverse, the uphill and downhill feet may use different placements. Practise with an instructor, because boot placement changes with snow, exposure and whether you are wearing crampons.
- Uphill foot. Practise finding a stable platform or edge in suitable snow, with your weight under control.
- Downhill foot. Check that the foothold supports you before moving the other foot. Keep the rest of the slope and the runout in mind.
One foot position does not work on every slope. Crampons can require different placement from boots alone. Learn the technique on gentle ground and choose another line if you cannot stay secure.
A controlled sequence on training terrain
- Stop at a stable stance before entering the practice slope. Look ahead and choose the next foothold.
- Test the foothold before moving your weight, then bring the second foot to a secure position.
- Repeat one step at a time and avoid crossing your feet while learning unless your instructor directs it. Practise reversing direction in safety.
- Learn when and how to use the axe for the route and snow with an instructor. Secure foot placement and route choice remain essential even with an axe.
When the slope becomes more serious
Reassess before exposure increases. Look at snow hardness, the slope and what would happen if you fell. Judge the terrain with a map, current conditions and instruction. Reaching out and touching the slope does not measure its angle reliably. Put on suitable traction on secure ground if you know how to use it, or turn back.
Combining steps and traverses
A route may switch between rising and traversing. Choose the line based on the whole terrain, including avalanche start zones, runouts, cliffs and cornices. A visible track can be old or unsuitable for your group. Use the route information and current conditions to decide independently.
In deep snow where you need to break trail, allow more time and energy. Check whether snow conditions are changing and whether your planned return is still realistic. Use an easier line or turn back before fatigue makes it difficult to move securely.
When to use crampons
Crampon techniques vary with slope and snow. Using front points on steep hard snow or ice requires specialist training. Learn how your boots and crampons work together on safe terrain before attempting an exposed route.
On gentle terrain with suitable soft snow, boots may form secure steps. Where the route calls for mountaineering crampons, fit them securely and use the technique you have learned for those conditions. If the terrain exceeds your skills or the equipment you have, retreat while you still have secure footing.
How self-arrest fits in
Secure movement and a route with safe margins are the first protection against a fall. An ice axe may help stop some slides, but on steep, hard snow a slide can accelerate too quickly to stop. Learn self-arrest under qualified instruction on a controlled slope with a clear runout.
Your next step
Find a winter skills course with a guide or mountain club. Start on gentle training ground with a safe runout and away from avalanche paths. Practise making and testing footholds, turning back and checking crampon fit. Ask what skills and equipment are needed before progressing to exposed snow.
Official and technical resources
- National winter mountain guidance and equipment checklist
- Mountaineering training, traction and avalanche terrain guidance
- Japan Meteorological Agency warnings and National Police Agency statistics
References and sources
- Japan Meteorological Agency — Weather warnings and advisories
- National Police Agency — Mountain accidents and statistics
- Central Council for Mountain Accident Prevention — Winter advisory and equipment checklist
- Mountaineering Scotland — Snow travel and winter movement skills
- Mountaineering Scotland — Practical winter skills instruction
- British Mountaineering Council — Traction and the limits of self-arrest
- Japan Avalanche Network — Selecting safer terrain
- Japan Avalanche Network — Guide to reducing avalanche risk