
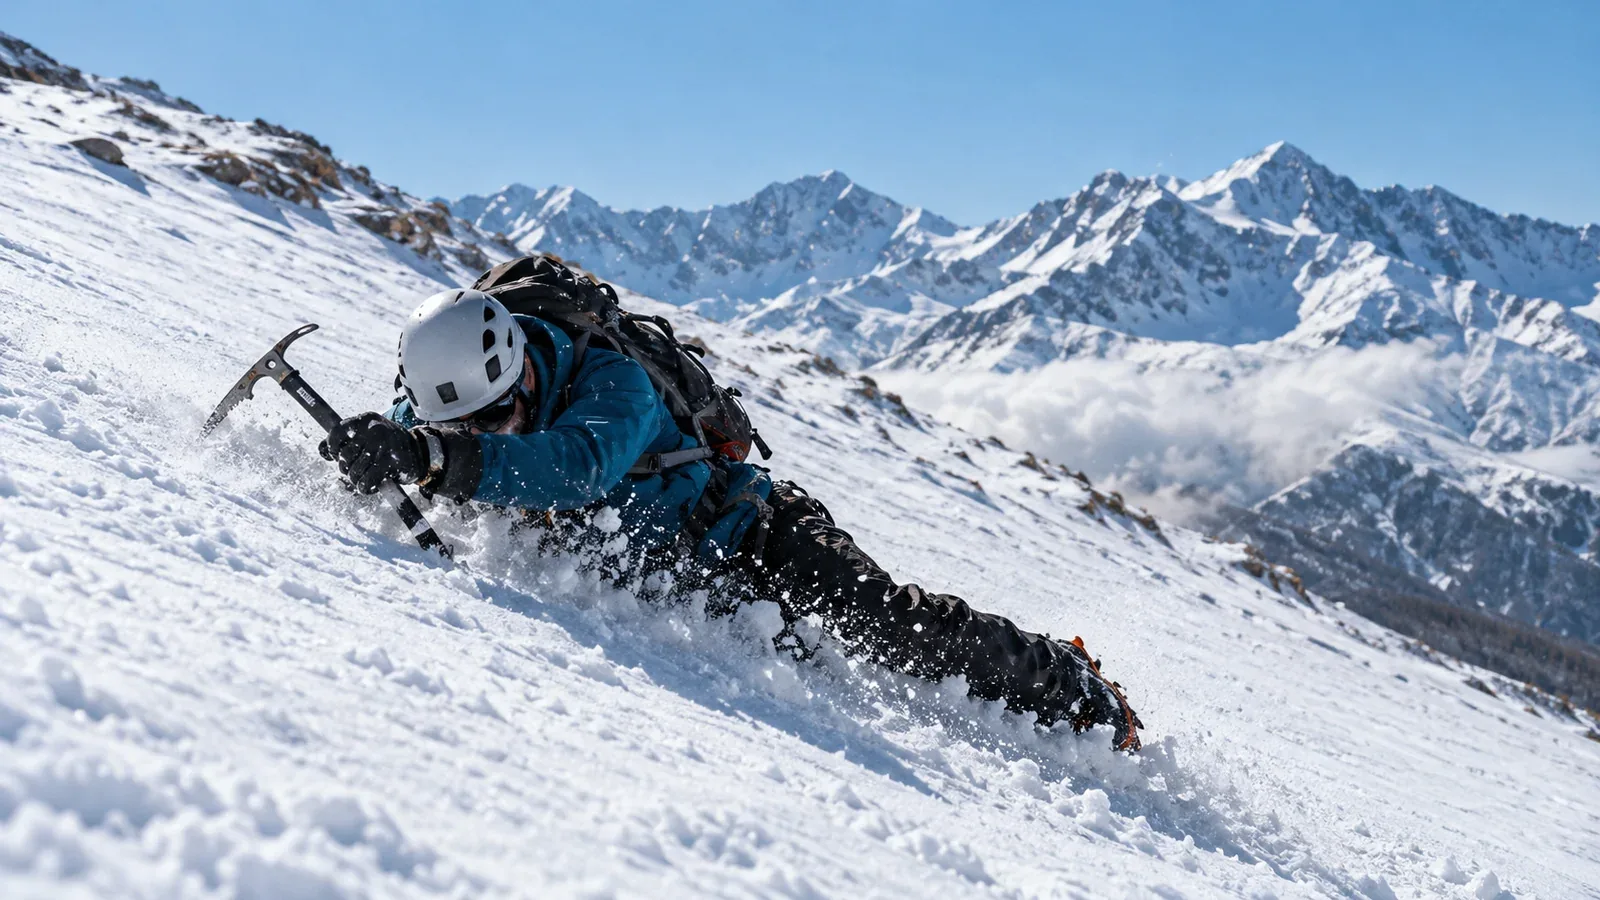
Self-arrest is the use of a mountaineering ice axe to try to stop a slide on snow. It can be difficult even after practice. On steep, hard snow a slide can accelerate too quickly to stop. The first priorities are selecting appropriate terrain, moving securely and turning back before the risk exceeds your skills.
This guide describes how a qualified instructor can choose a site and structure a practice session. It helps you prepare for a course and understand how training conditions differ from an uncontrolled fall.
What a practice site needs
Review the entire site with your instructor before anyone slides.
Choose an angle and length for the group. Start with stationary drills and gentle terrain. The instructor assesses whether a controlled slide is suitable for the snow, runout and learners. A fixed slope angle cannot establish safety.
Check the full runout. The slope needs a clear stopping area without rocks, trees, drops, water or people in the slide path. Inspect it from a safe approach. Plan where everyone will stand and how they will return to the start.
Check the snow and surrounding terrain. Avoid icy, hard or unstable surfaces for introductory drills. Stay clear of avalanche paths, cornices and terrain traps. Reassess as the snow changes or visibility worsens.
Confirm permission and access. Ask the land manager or facility about training use, restrictions and other users. Stay out of closed areas and follow any instructions about marked routes or shared slopes.
Places where instruction may take place
A site selected by a winter skills course
A course run by a qualified guide, mountain association or club can provide site selection, supervision and feedback. Ask about the group, the equipment you will need and how the instructor decides when to move to a new drill. If you find a guide through Nordwand, confirm their winter teaching experience.
Near a ski area
Use terrain near a ski area only with the operator's permission and the instructor's assessment. Keep clear of skiers, machinery and closed slopes. Confirm rescue arrangements in advance. A resort patrol may have a limited operating area.
Near a trail or mountain hut
A guide may find suitable practice ground near an approved route or hut. Check access and permission and keep the practice area clear of hikers. Conditions and local rules change. Do not assume that a previously used slope is available or safe today.
How a supervised session may progress
Step 1. Rehearse the grip and position on level ground
Ask the instructor to show the grip and position for the specific axe. Rehearse slowly on level ground and check what the pick, adze and spike are doing. Learn how to hold the tool securely before adding any movement.
Step 2. Start with a simple drill
The instructor chooses whether to practise a short, controlled slide on a gentle slope with a clear runout. Start with a position they have demonstrated and stop for feedback. Repeat only while the site, group and snow remain suitable.
Step 3. Discuss more difficult starting positions
A fall can begin in different positions. Faster or head-first drills have greater consequences if the technique fails. Learn about them under supervision and progress only if the instructor decides the conditions and your skills are appropriate.
Step 4. Check how equipment changes the drill
Crampon points can catch and cause injury or loss of control during a slide. Let the instructor decide whether a drill should be done without crampons. They should also check how the axe and other equipment fit the activity.
Step 5. Learn crampon skills and decide what to practise next
Practise secure movement in crampons with an instructor. They may choose to teach what to do when wearing them without starting a slide. A previous drill without crampons does not automatically make the same drill appropriate with them.
Common mistakes and when to stop
Relying on arm strength or a memorised movement. Ask your instructor for feedback on grip, body position and control. A pick may fail to hold on hard snow even with good technique.
Allowing the axe or other equipment to strike you. Learn to control the pick, adze and spike before any sliding drill. Stop if the axe moves out of control or if you cannot maintain a safe position.
Standing up before you are secure. Learn how to regain stable footing and decide what to do next with the instructor. Stopping a slide may still leave you on exposed terrain.
Treating one success as proof. Repeat short, controlled drills as your instructor directs and review the technique each season. Stop when fatigue, cold, poor visibility or changing snow affects control. There is no fixed number of repetitions that establishes competence.
Skipping inspection of the runout. Check the entire slide path and stopping area from a safe approach before practice. Leave the site if you cannot inspect it safely or keep it clear.
Why feedback matters
A qualified instructor can spot mistakes that are hard to feel and adapt the drill to your skills and equipment. Practise as a supervised group and agree when to stop. Feedback or a recording can help review technique when it can be obtained without distracting anyone from supervision and safety.
Your next step
Find a winter skills course before your first exposed snow route. Ask about site selection, the runout, equipment and how the instructor progresses from stationary practice. After the course, plan a refresher under suitable supervision and choose routes where you can avoid a long fall.
Official and technical resources
- National winter mountain safety guidance
- Winter skills instruction from mountaineering associations
- Japan Meteorological Agency warnings and local access notices
- Ice axe manufacturer instructions and the limits of self-arrest
References and sources
- Japan Meteorological Agency — Weather warnings and advisories
- Central Council for Mountain Accident Prevention — Winter advisory and equipment checklist
- Mountaineering Scotland — Winter movement and ice axe skills
- Mountaineering Scotland — Practical winter instruction
- British Mountaineering Council — Footing and limits of ice axe arrest
- Petzl — Mountaineering axe instruction and crampon hazards
- Japan Avalanche Network — Selecting safer terrain
- Nordwand — Guide certification and requests