
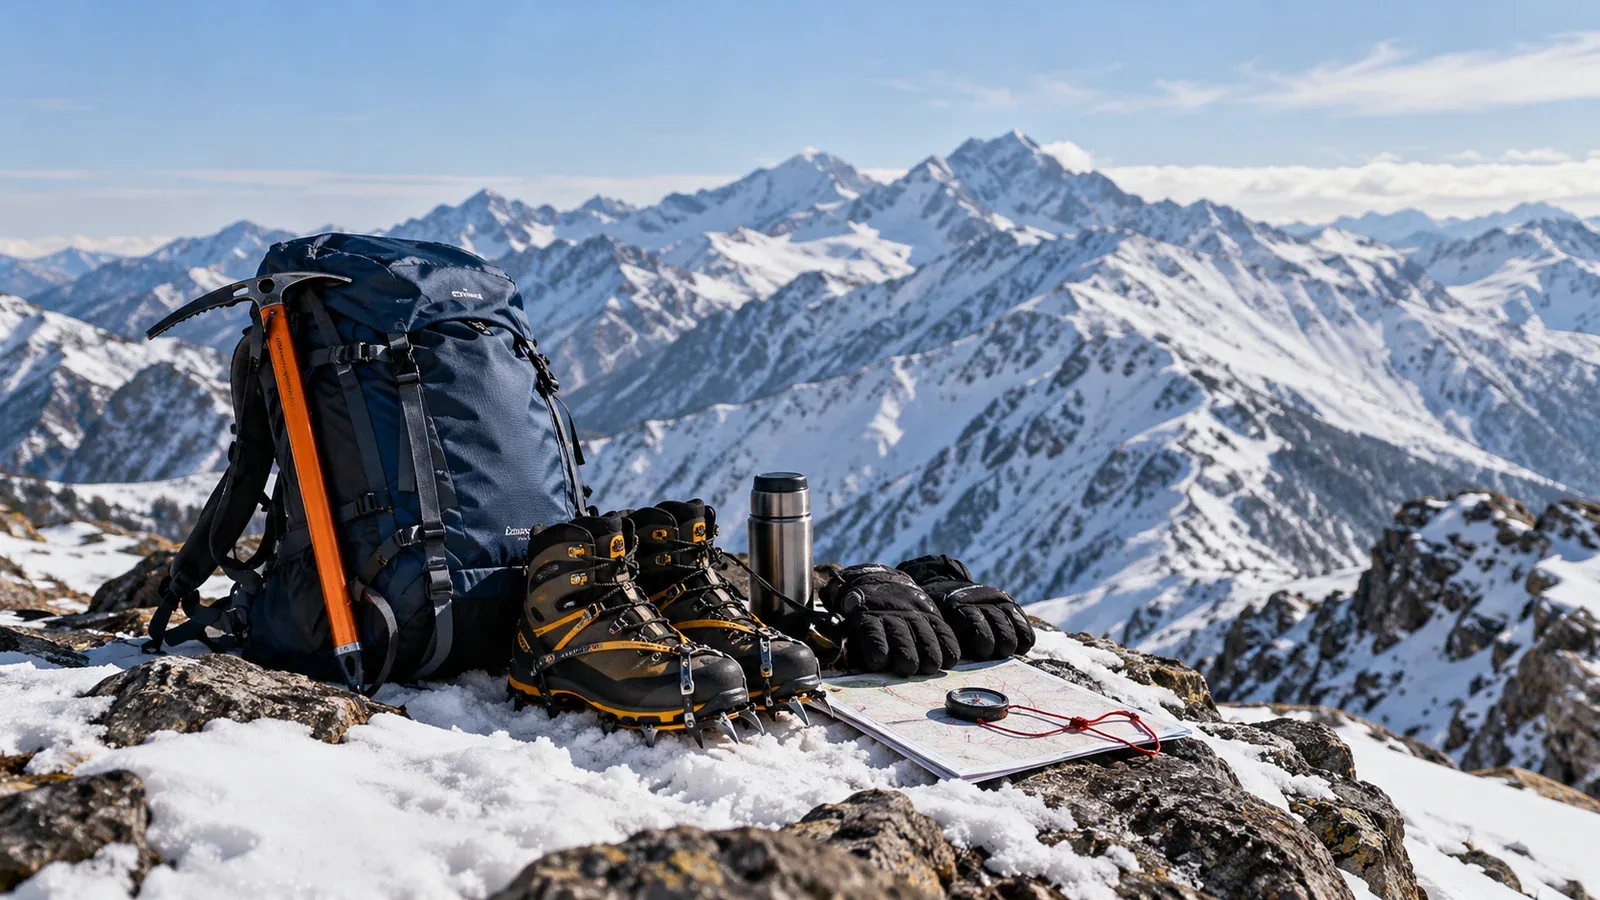
Before your first snowy hike, work out what your route requires and which equipment you can add as your plans change. Start by deciding what you need to stay warm, move securely and handle a delay. Get every item your route calls for before setting out.
This guide is for hikers with snow-free experience. It separates the gear to check for any winter outing from equipment for particular terrain or an overnight stay. Confirm the conditions with local sources and take your actual boots to a specialist shop when fitting crampons.
Why divide the gear into two groups?
In cold, wind and snow, clothing that keeps you warm and dry and traction suited to the surface can make a big difference. Think through how you will stay warm when stopped and how you will descend if the trail is hard or icy.
A gentle snow walk and an exposed alpine climb require different equipment and skills. Choose terrain within your abilities and get hands-on instruction before using technical equipment on a route with serious consequences.
Use the two groups to plan what you need for the next trip. When an item from the second group is essential for that terrain, treat it as essential for that trip.
Core equipment to check before every winter outing
Plan for the forecast, the terrain and a delay. Carry food and water protected from freezing, first aid and an emergency shelter as well as the items below. Well-maintained rental gear can work when it fits, meets the route requirements and you know how to use it.
Layers for warmth and weather protection
Start with a quick-drying base layer, insulating layers and a windproof, waterproof outer layer. Regulate warmth as you move to limit sweat, and carry dry insulation you can put on as soon as you stop.
Check that your jacket and trousers protect you from wind and wet snow, and that they fit and move comfortably over the other layers. Check seams, closures and hood fit. Existing rainwear may work if it meets those needs for the route and weather.
Use gloves that keep your hands warm while letting you operate buckles and a map. A thin liner with an insulated outer glove or mitten can work well. Pack a dry spare pair and add outer protection when the wind or wet snow calls for it.
Crampons and compatible boots
Crampons provide grip on snow and ice. Models differ in point shape, length and number, and use strap, hybrid or automatic bindings. Choose a system for the actual terrain and the boot. Use appropriately designed mountaineering crampons for consequential terrain only after training.
Check that the crampons and boots fit together. Hybrid and automatic models may require boot welts in specific places, and strap models also need compatible boot shape and stiffness. Poor fit can let the crampon come loose. Fit the exact combination at a specialist shop and practise installing and checking it at home.
Ice axe
A mountaineering axe can support secure movement on suitable snow and help with self-arrest. A slide may be impossible to stop on steep, hard snow. Poles provide balance on easier terrain. Learn when an axe is appropriate and practise under instruction on a safe slope with a clear runout.
Choose the type and length for the intended terrain and technique, using the manufacturer's instructions and advice from an instructor or shop. Test how you can handle it in gloves and with your pack.
Headlamp and spare power
Short days and slow travel can leave you out after dark. Carry a charged headlamp and compatible spare batteries or a backup light. Follow the manufacturer's advice for cold storage, protect loose spare batteries from short circuits, and keep the light accessible with gloves on.
Map, compass and trip plan
Snow can hide the path and signs. Carry a protected map and compass and practise using them. Check the latest Japan Meteorological Agency warnings and a forecast for the route and elevation. File your trip plan through the relevant local channel, check whether filing is required, and share the route, schedule and emergency contacts with someone who can raise the alarm.
Equipment to add for the terrain and the plan
Decide on these items before committing to the route. Conditions, exposure, group skills and how long you will be out all affect the choice.
Gaiters and protective outer gloves
Gaiters help keep snow out where your trousers meet your boots. They are useful if snow can enter the top of the boot or you expect to walk through deeper drifts.
Waterproof and windproof overmitts or outer gloves protect your insulating layer in wind or wet snow. Choose the glove system for the conditions, dexterity and time you will spend exposed. Carry dry spares even on a short outing.
Tent, sleeping bag and pad for a winter overnight
Choose the bag and pad as a system. Check a tested comfort rating when available, allow a margin below the expected overnight low and adjust for your own sensitivity to cold. A lower-limit rating represents a different test condition. A pad's R-value measures resistance to heat loss and helps compare insulation from the ground.
Check whether the tent is designed for the wind and snow load you expect and whether you know how to pitch it in those conditions. Consult the manufacturer or a specialist and practise the setup before committing to a winter camp.
Wakan and snowshoes
Japanese wakan snow frames and snowshoes spread your weight in deep snow. Decide whether they suit the snow and terrain and practise using them. For firm, steep snow or ice, select the route and traction for those conditions. Check current snow and access information from local authorities or huts.
Transceiver, probe and shovel for avalanche rescue
For avalanche terrain, carry a functioning transceiver to locate a buried companion, a probe to pinpoint the location and a shovel for digging. Check the equipment together before departure. Every person needs all three and must know how to use them.
Learn to recognise avalanche terrain, avoid exposure while building skills, and take a course with practical companion-rescue training. Check the local avalanche bulletin where available, and choose terrain within your group's abilities even when you have rescue equipment.
How to decide what to get first
Make the list for your next route, and place items that protect against its most serious hazards first. This list gives planning examples.
- Clothing, gloves, boots and traction. Check weather protection and fit before you go.
- Ice axe and headlamp. Carry a headlamp from the first outing, and learn to use an axe before a route that requires one.
- Gaiters and outer gloves. Add them early if snow can enter the boots or wind and wet snow will expose your hands.
- Sleeping bag, pad and tent. Check the complete system and practise before planning to camp in snow.
- Transceiver, probe and shovel. Equip the whole group and practise rescue before entering avalanche terrain.
Match each purchase or rental to a route and to skills you can practise. If you cannot get suitable equipment or training in time, choose an outing that you can manage with the equipment and skills you have.
Buying used gear or renting
With used crampons, check the points, frame, adjustment bar, straps and bindings for wear or damage. Check an ice axe for damage and follow the manufacturer's inspection guidance. Have a specialist look at used technical gear and avoid equipment whose condition or history you cannot establish.
For a transceiver, check the manufacturer's service life, recalls and battery guidance. Learn the controls, test transmit and search modes, and carry out a group check before leaving. Follow current training and manufacturer guidance when considering an older model.
Renting can help you try equipment before buying. Inspect it, confirm boot fit, read the instructions and practise with it before the outing. Ask the rental shop to show you how to adjust it.
Your next step
Take your boots to a specialist shop and check what traction fits. Before planning an overnight or travelling in avalanche terrain, find a relevant course with a qualified guide or club. If you use Nordwand to find a guide or hiking partners, ask about winter training and choose an outing suited to the least experienced person.
Official and technical resources
- Japan Meteorological Agency warnings and forecasts
- National Police Agency statistics and local trip plan guidance
- Japan's national winter mountain advisory and gear checklist
- Japan Avalanche Network information and courses
References and sources
- Japan Meteorological Agency — Warnings and advisories
- National Police Agency — Mountain accidents and statistics
- Nagano Prefecture — Winter mountains and trip plans
- Central Council for Mountain Accident Prevention — Winter advisory and equipment checklist
- Japan Avalanche Network — Avalanche safety courses
- Avalanche Canada — Rescue equipment and checks
- British Mountaineering Council — Boot fit, crampons and self-arrest
- German Alpine Club — Boots, crampons and ice axes
- Therm-a-Rest — Sleeping bag comfort and lower-limit ratings
- Therm-a-Rest — Sleeping pad R-value test
- British Mountaineering Council — Equipment condition and safety
- Nordwand — Guide certification and requests