
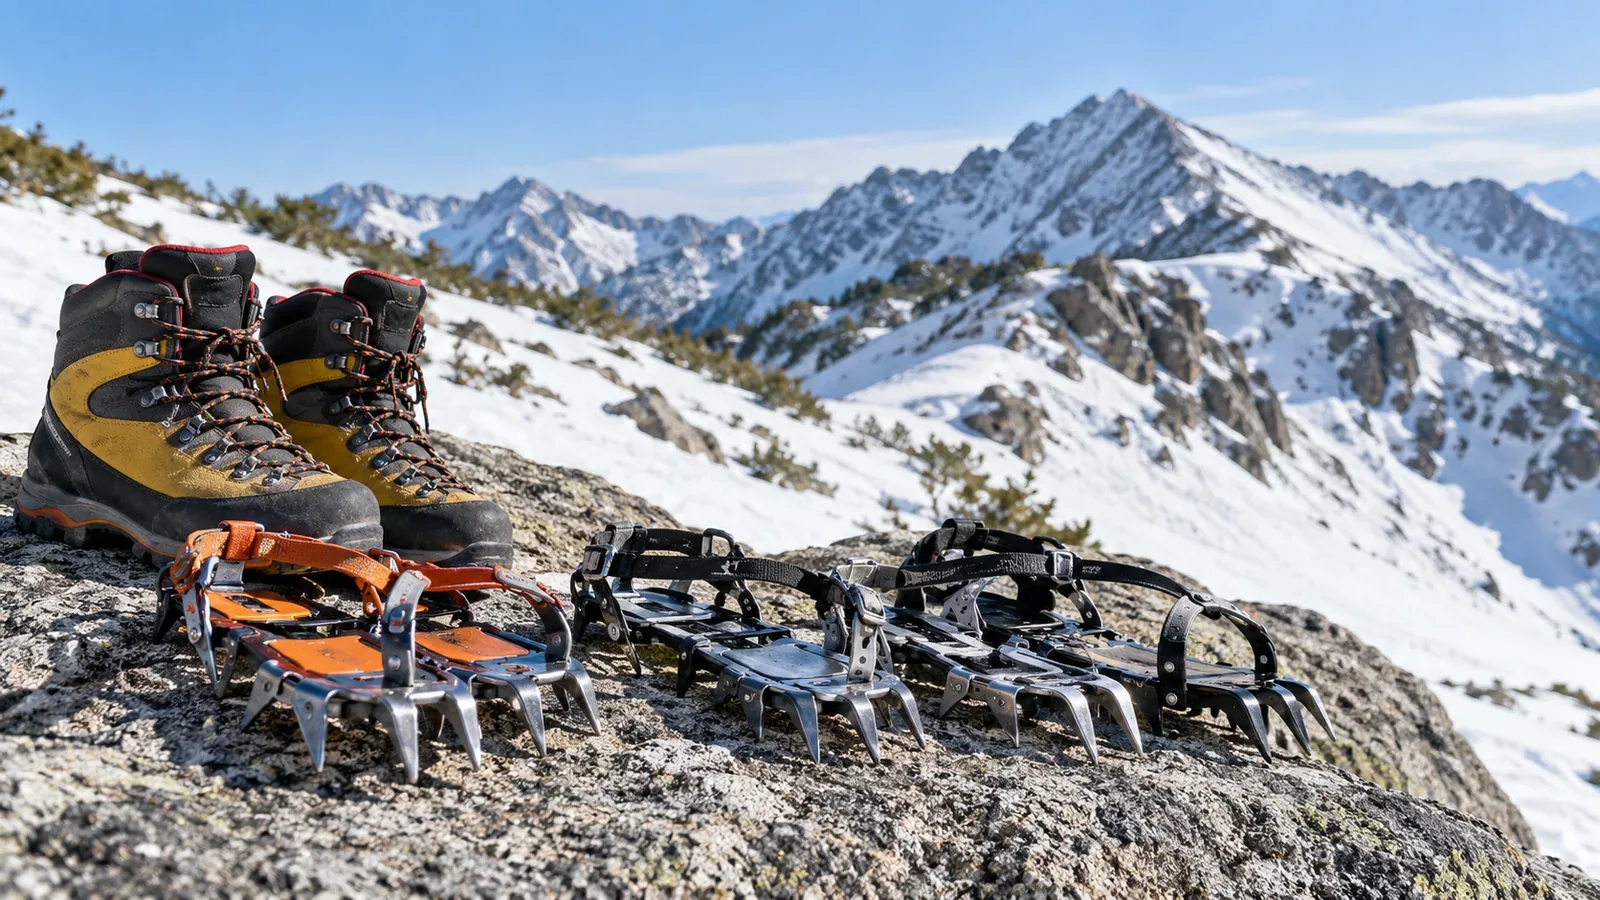
When you shop for your first crampons, you will see different numbers and shapes of points and several ways to attach them. Start with the route, then check which crampons fit your actual boots and suit the snow and terrain. Check all three before buying.
A crampon can come loose if its shape, stiffness or binding does not match the boot. This guide explains how to assess the boot and binding, choose the type of traction and check the fit.
First check the boot's stiffness and shape
The sole, toe and heel shape affect how a crampon sits on the boot. A very flexible sole can move against a stiff crampon frame. Welts, the ledges some bindings grip, must also match the manufacturer’s design.
These three descriptions help you discuss stiffness with a specialist. Check the manufacturer's compatibility guidance for your exact model.
- Flexible. Typical of many walking boots. Some flexible footwear accepts a specific traction device, within that device's intended use.
- Semi-stiff. Some mountain boots flex slightly and are designed to take compatible walking crampons. Check the binding and the intended terrain.
- Stiff. Many winter mountaineering or ice climbing boots use stiff soles to support crampons. Check the shape and welts before choosing a binding.
A strap binding does not make every crampon compatible with a soft boot. Heel levers and toe bails need the corresponding welts, whatever the point count. If the boot can shift or separate from the frame, change the combination.
Check the boot and crampon manufacturers' instructions and take the actual boots to a specialist shop. Try both boots in the crampons, especially if the pair uses asymmetrical frames or a shape-specific toe binding.
Binding types and compatible boots
Understand how each binding holds the boot. The number of points tells you little about which binding it uses.
Strap binding. Usually holds the boot in a front and rear basket secured by a strap. It can fit some boots without welts. Check the sole stiffness, shape and adjustment range and tension the strap as specified.
Hybrid binding. Commonly uses a heel lever on a compatible heel welt, with a basket at the toe and a retaining strap. The boot still has to match the frame and the toe basket.
Automatic binding. Commonly uses a wire toe bail and a heel lever, both seated on compatible welts. Follow the fitting and retaining-strap instructions. A lever closing by itself does not confirm a secure fit.
Compare the exact boot and binding shapes. A different boot may be needed for the crampon and terrain you intend to use. Choose the two together and confirm that the fit stays secure when you move.
Point designs and terrain
Consider the snow or ice, slope angle and the consequences of a slip. Point length, shape and placement, frame design and your skills all matter alongside point count.
Short, underfoot traction. Some small four- to six-point devices fit under the middle of a boot. These and microspikes can help on appropriate low-angle paths within their intended use. Avoid steep, exposed or hard snow terrain that calls for mountaineering crampons and winter skills.
General mountaineering crampons. Many models have around ten points, often with front points. Use the maker’s intended use and a qualified instructor’s advice to match the model and techniques to the route. Exposed winter ridges in the Japanese Alps call for appropriate training and route decisions even if your equipment fits.
Technical crampons. Many designs for steep snow, mixed terrain or ice have twelve points, although designs vary. Some have a single front point or a pair of front points to suit different climbing tasks. Learn steep-snow movement, axe handling and protection with qualified instruction before entering that terrain.
Select for fit, intended terrain and skills. For crampons that accept an anti-balling plate, follow the manufacturer’s instructions and check that it is in good condition. Wet snow can still collect underfoot and reduce grip, so check during the outing.
How to adjust and check the fit
Fit crampons indoors before the trip. Follow the instructions for the exact model, and have a specialist or instructor check the first fit if you are unsure.
- Set the length and alignment. Adjust the linking bar or other length system as specified so the heel and toe sit correctly. Check left and right orientation if the model specifies it.
- Close the binding and secure the strap as directed. Check the fit at the toe and heel and verify that the locking parts are seated. Look for rocking, twisting or movement between the boot and frame.
- Check for movement on safe ground. Test each boot under controlled pressure, with support and on a surface the points will not damage. Stop and refit if anything loosens. Recheck after you begin walking outside.
- Practise with gloves on. Make sure you can attach, remove and recheck the crampons without exposing your hands longer than necessary.
Before each trip, check the frame, points, bindings, straps, locking parts and anti-balling plates for wear or damage. Keep the pair adjusted for the boots you use and follow the maker's instructions if you change boots or need replacement parts.
A simple way to narrow down the choice
Work through these three steps for the next route you plan to do.
- Check your boots and their welts. Check sole stiffness, shape and manufacturer guidance for strap, hybrid or automatic bindings.
- Identify the route and its likely conditions. Consider low-angle paths, exposed hard snow and steep ice separately. Match the traction and technique to the consequences of a slip.
- Take the actual boots to a specialist and try the combination.
If you are buying new boots or moving to more technical terrain, plan the boot and crampon changes together and allow time to practise in safe conditions.
Your next step
Write down your next route and likely snow or ice conditions, then take your boots to a specialist shop to check fit and operation. Book a supervised session before using crampons on consequential terrain. If you use Nordwand to look for a guide, ask what winter skills you can practise on an introductory outing.
Official and technical resources
- Mountaineering associations and their winter safety guidance
- Manufacturer fitting, inspection and anti-balling instructions
- Specialist shop fitting and qualified winter instruction
References and sources
- British Mountaineering Council — Boot and crampon compatibility and limits of microspikes
- German Alpine Club — Crampon and boot types for alpine terrain
- Petzl — Crampon instructions and an example of boot fitting
- Petzl — Crampon inspection procedure
- UIAA — Anti-balling systems and snow buildup under crampons
- UIAA — Choosing climbing equipment
- Central Council for Mountain Accident Prevention — Winter advisory and equipment checklist
- Nordwand — Guide certification and requests