
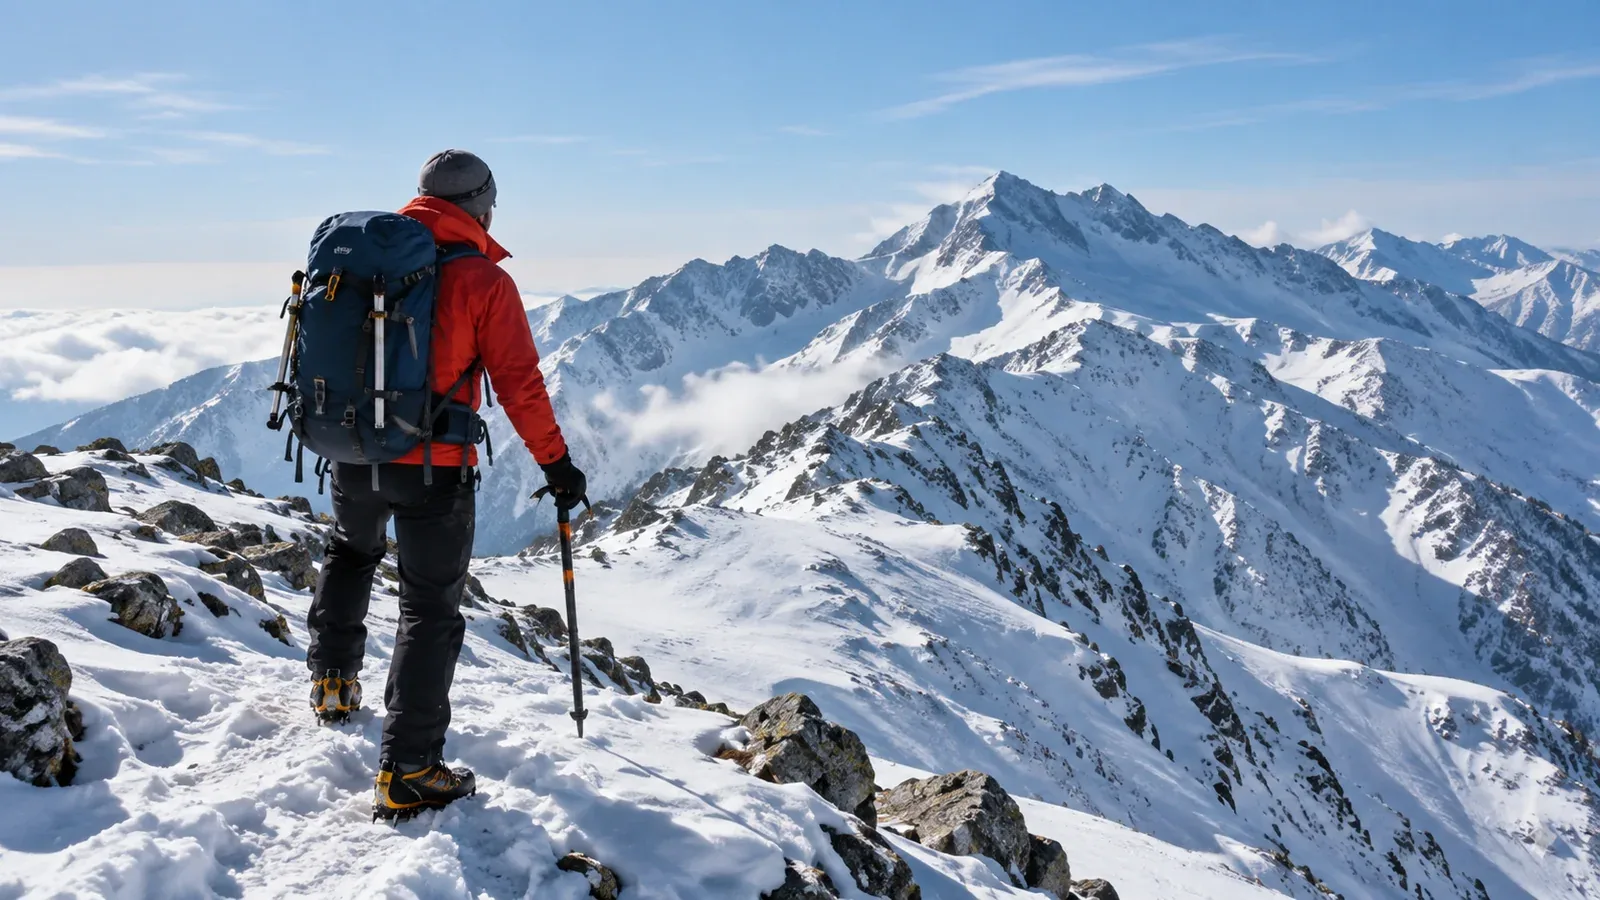
If you are comfortable on summer trails, your first winter question is often what you can carry over. Some gear and skills will serve you well. The same route can demand new skills once snow hides the path and a slip can become a long fall.
This guide starts with your summer kit and experience. It covers what still works in the cold, what to add for the terrain and what to practise before your first snowy outing.
Winter changes familiar problems and adds hazards such as avalanches. Snow can bury trail markers, poor visibility can hide tracks, and breaking trail through deep snow takes time and energy. Wet clothing, wind and delays also increase heat loss.
Three ways winter changes a mountain route
Think through these differences before setting out. They can apply even on a low mountain.
Mistakes can escalate quickly. A wrong turn, loss of footing or delay can leave you exposed to wind and cold while you look for a way back. Allow more time, identify safe retreat points and turn around while you still have options.
You have fewer clues. Snow and cloud can flatten the view and hide the shape of slopes and the line of a trail. Practise locating yourself with a map and compass and recognising terrain features before you need those skills in poor visibility.
Equipment can work differently. Water can freeze, zips can jam and an unprotected paper map can get wet even on a bright winter day. Check that you can use essential equipment with gloves on and know where to reach it.
Before entering snow-covered terrain, learn how to spot hazards and practise using your equipment. If the route needs skills you have yet to learn, choose an easier outing or go with a qualified instructor.
Summer gear you can still use
Check each item against the route and expected temperatures. Keep the gear that will do its job in those conditions.
A pack, poles, map and compass can still be useful. Poles provide balance on suitable terrain. Learn with an instructor where an ice axe is appropriate and when to put the poles away. Protect the map with a waterproof case or use a waterproof map.
A waterproof, windproof shell can serve in winter if it fits over your layers and works in the expected conditions. Ventilate or remove a layer before you get very sweaty, and add insulation when you stop. Carry a dry layer where you can reach it easily.
A headlamp, first aid kit and emergency food are still important. Cold can shorten battery runtime. Start with charged batteries, carry compatible spares or a backup light, and check the manufacturer's instructions before changing battery type.
Summer hiking boots may lack the warmth, stiffness or fit needed for snow, ice and mountaineering crampons. Choose the boots and traction together for your actual route and ask a specialist to check the fit.
What to add to your winter kit
Start with the hazards on the planned route. Choose equipment that will help you stay warm, move securely and cope with a delay.
Insulation and cold protection
You can cool quickly when you stop, especially in wind or damp clothing. Carry a dry insulating layer that you can put on during a break. Fleece and synthetic insulation are common choices when you may sweat. Down works well when kept dry, for example in a warm jacket for stops.
Use a glove system that gives you warmth and enough dexterity to handle buckles or a map. A thin liner and an insulated outer glove or mitt can work well. Carry a spare dry pair and limit the time your hands are exposed.
Winter boots and crampons
Choose boots for expected temperatures, snow and terrain. For crampons, check the manufacturer's guidance on sole stiffness, shape and binding compatibility. Try your actual boot and crampon together and learn to fit and check them before the trip.
Point count alone is a poor guide. For steep or hard snow with serious fall consequences, seek instruction and use mountaineering crampons designed for that terrain. Confirm whether strap, hybrid or automatic bindings fit your boots. Leave steep or exposed terrain for after you have the skills to manage it.
Ice axe
A mountaineering ice axe can support secure movement on suitable snow and help with self-arrest, the technique for stopping a slide. A slide can become impossible to stop, especially on steep, hard snow. Learn to prevent slips and practise self-arrest under instruction on a safe training slope with a clear runout.
Goggles and face protection
Carry suitable eye protection for snow glare and wind. Goggles can help maintain vision when blowing snow makes glasses hard to use. A balaclava or similar face covering helps protect exposed skin. Check that you can see well and adjust your layers with gloves on.
What to learn first
Build skills on forgiving terrain with an instructor or an experienced winter group.
- Winter navigation, weather and avalanche terrain. Learn to read contours when snow hides the path and identify slopes and runouts where avalanches could reach you. Check warnings and a regional avalanche bulletin where available. Choose terrain that avoids avalanche exposure while you are learning. Take avalanche training before entering avalanche terrain and learn to use a transceiver, probe and shovel with your group.
- Walking in crampons and basic axe handling. Fit your gear at home and start with supervised practice on gentle snow. Learn to place your feet securely and use the axe before progressing to steeper terrain. Practise turning back as well as climbing.
- Preparing for an emergency bivouac. Carry an emergency shelter and insulation that work in the expected conditions. Practise putting up the shelter and plan how to stay warm, eat and drink if you cannot descend on schedule.
For your first trips, go with a qualified guide or experienced winter partners. File a trip plan through the relevant local channel, check where filing is required, and leave the route, turnaround time and emergency contacts with someone who will raise the alarm if you are overdue.
Choosing a first route and day
Choose a short day trip with gentle terrain, a reliable retreat and no exposure to avalanches or to a long fall. Confirm daylight, access and the latest conditions, and use a favourable forecast to select your day. The winter main ridges of Japan's Northern and Southern Alps are demanding objectives even for well-prepared parties.
Early winter and spring can offer opportunities, depending on the route and the day's conditions. Freeze-thaw cycles, hard morning snow, warming and avalanches can make spring serious. Check forecasts and recent snow, route or road closures and local guidance. Postpone if conditions exceed your group's skills or equipment.
Your next step
Sort your summer kit into items you can use, items to replace and items to add. Ask a specialist shop to check the boots and crampons together, and book an introductory course or outing where you can practise on safe terrain. If you use Nordwand to find a guide, ask about winter qualifications, the route and how the instructor will adapt it to the group.
Official and technical resources
- Japan's national winter mountain safety guidance and local winter advice
- Japan Meteorological Agency warnings and avalanche education from the Japan Avalanche Network
- Guidance on compatible boots, crampons and ice axes
References and sources
- Prime Minister’s Office of Japan — Snow safety and winter mountain preparation
- Nagano Prefecture — Winter mountain and backcountry safety
- Nagano Prefecture — Spring snow, falls and avalanches
- Central Council for Mountain Accident Prevention — Winter advisory and equipment checklist
- Japan Meteorological Agency — Weather warnings and advisories
- Japan Avalanche Network — Avalanche safety courses
- Japan Avalanche Network — Avalanche terrain and trip planning
- German Alpine Club — Boots, crampons and ice axes for alpine terrain
- British Mountaineering Council — Boots, crampons and the limits of self-arrest
- Nordwand — Guide certification and requests