
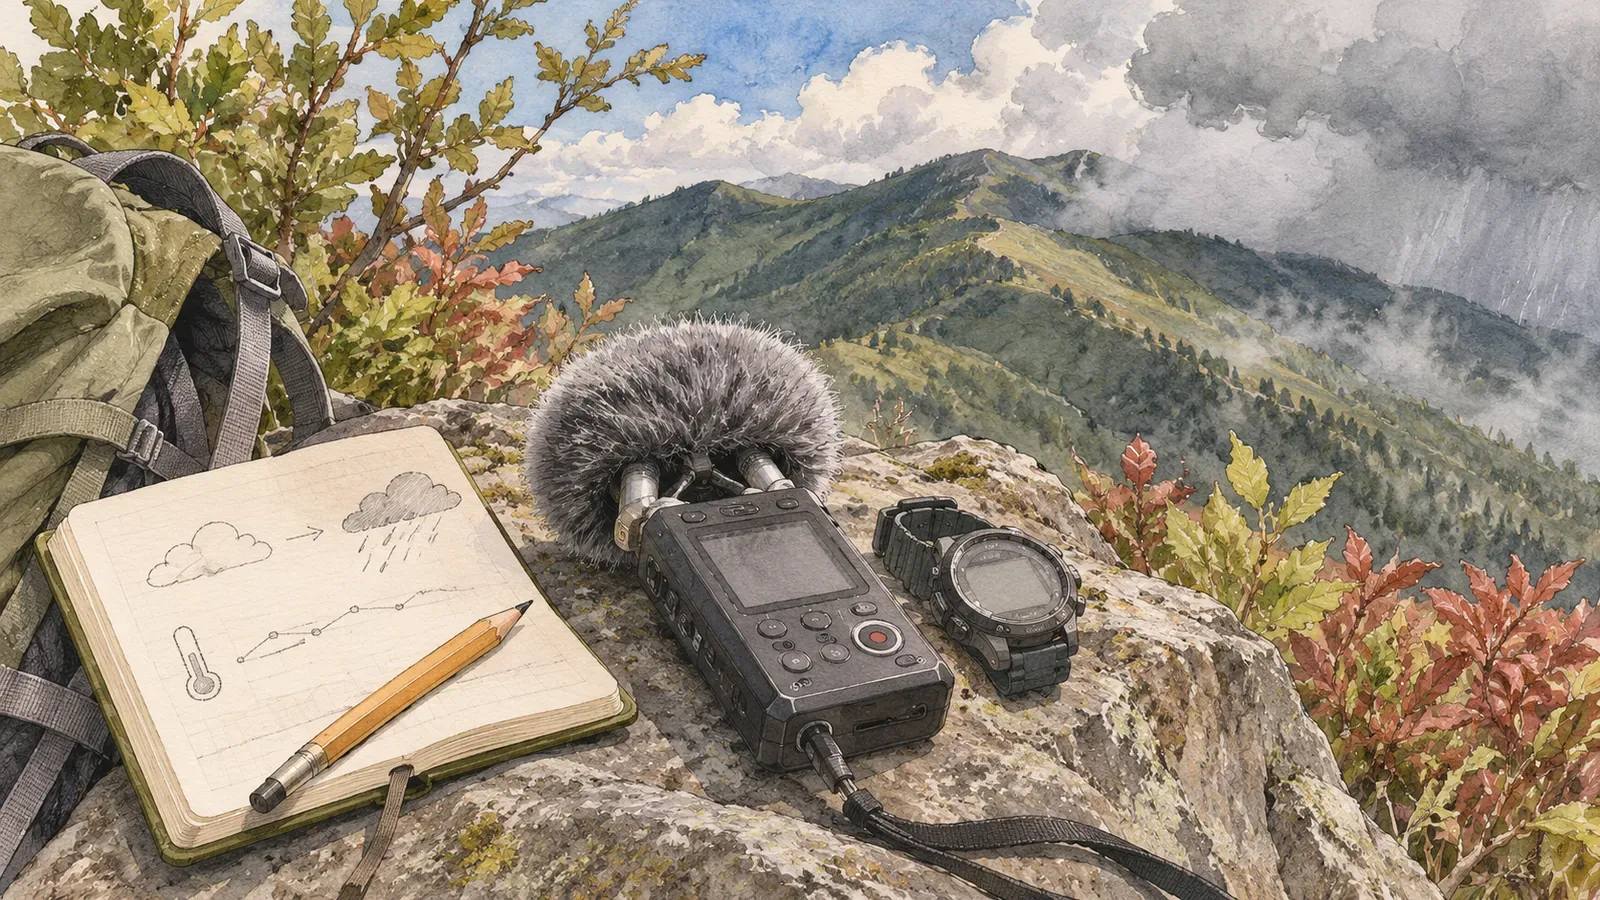
To connect a recording with the weather later, note when and where you recorded it and what you observed on site. Before leaving, check the recorder’s clock against the time source you’ll use for notes. If they differ, write down which is ahead and by roughly how much. Sony’s PCM-A10 guide, the Macaulay Library’s recording guidance and Japan Meteorological Agency (JMA) data offer a starting point. Check your own recorder’s manual for model-specific controls.
Keep the three time sources separate
When listening back, you might wonder whether it was raining when you heard a particular gust. You have three time sources to compare: the recorder’s clock, the time in your notes and the timestamp in the JMA data. A reading of noon can refer to different things in each. Start by checking what each time represents.
On the PCM-A10, Sony explains how to set the clock before recording. From the Home menu, go to Settings, then Common Settings, Clock Settings and Date & Time. Enter the year, month, day, hour and minute in order. Confirm the minute to apply the setting. Check before you leave that you completed that last step.
File timestamps need checking too. Sony says the PCM-A10 uses the recording’s start date and time in the filename. The Macaulay Library notes that the creation or modification date can be lost when a file is moved or edited. Compare the original filename with your notes and the recorder’s information before assigning a time to a clip.
Check the difference between clocks at home
Comparing clocks tells you how closely you can match a recording with later observations. Choose a reference clock for your notes and check its date and time. Look at it alongside the recorder’s display and write down any difference. A display that only shows minutes gives you an estimate at that level of precision.
On the PCM-A10, finish setting the clock by confirming the minutes. You can then put it in HOLD to see the current time. Write down which clock you used as your reference. If it’s a watch or phone, check the date and time zone. Keep using the same clock throughout the hike. If you adjust it on the way, record the change.
Make a short test recording and compare its start time with the filename. If you test clips of different lengths, note the start and stop times and see how closely they match the recorder’s information. If you spot a difference, record its direction and approximate size, such as “recorder about one minute fast.” The test shows how the device behaves at that moment.
Compare the displays again just before leaving and put the difference on the first line of your notes. If you don’t know the offset for a recording, allow for greater uncertainty when matching it with the weather.
On the trail, take brief notes at safe stops
Stop before writing notes, taking photos or operating the recorder. Choose stable footing and leave room for others to pass. If there's nowhere suitable, skip that stretch. A clear gap is easier to interpret later. Label anything you add from memory.
At a stop, keep the note to four details: the reference time, whether the recorder is running and what time it displays if you can safely check, what you observed about the wind, sky and precipitation, and the approximate interval when any change occurred. Write what you can see, such as “treetops swaying” or “short visibility in fog.” An interval such as “wind picked up between the last rest stop and here” is precise enough.
If wind or rain picks up or visibility worsens and you need to rethink the route, stop recording and decide whether to skip that section or turn back. Leave gaps for periods you couldn’t observe.
Long recordings may be split across files. Sony says the PCM-A10 splits LPCM recordings at the 4 GB file size limit and MP3 at 1 GB. Its maximum recording time table gives estimates per file for several settings. The audio can briefly cut out around the split. Keep the original files, and check their order and length against your notes before interpreting a gap as a change in weather.
Compare with JMA observations after the hike
JMA’s historical weather search offers hourly and 10-minute readings, plus daily, ten-day, monthly and annual data. Select the prefecture or region, then the station. The site also provides climate normals for 1991–2020. The readings describe the station you chose. Your recording spot may have been some distance away. Terrain and elevation can change local wind and precipitation, so a difference between the records may reflect the two locations.
In your comparison, note the station, the date you retrieved the data and the interval displayed. JMA can revise historical data, so the retrieval date helps with later checks. Also check the period each value represents. Precipitation is a total for a period ending at the reported time. It says little about how strongly rain was falling in one second of audio. Check what was measured or aggregated even in the 10-minute view. If the recorder clock was off, keep the original time and put the approximate corrected time in a separate column.
A single table can hold each file’s displayed time, the corrected time, the field observation and the station value. Look for intervals where the notes and data agree and where they differ. Agreement can help narrow down what happened, but it leaves the cause of the change in sound open. Climate normals put the day’s weather in context. The Macaulay Library also suggests noting weather and equipment settings. Keep the audio, field notes and station data distinguishable, and leave uncertain changes open.
In brief: Note the clock differences to link audio and weather
Before leaving, set the recorder’s clock and compare it with your reference. On the trail, write times and observations at safe stops. Back home, compare them with JMA data and record the station, retrieval date and interval. You can make a test recording and draft the comparison table at home. Check how your own recorder handles clock differences and file dates, then put the results at the top of your trip notes.
References and sources
- Sony PCM-A10 Help Guide: Setting the date and time
- Sony PCM-A10 Help Guide: Recording manually
- Sony PCM-A10 Help Guide: Maximum recording time
- Japan Meteorological Agency: Historical weather data search
- Japan Meteorological Agency: Questions about rain and snow
- Cornell Lab’s Macaulay Library: Managing files and data