
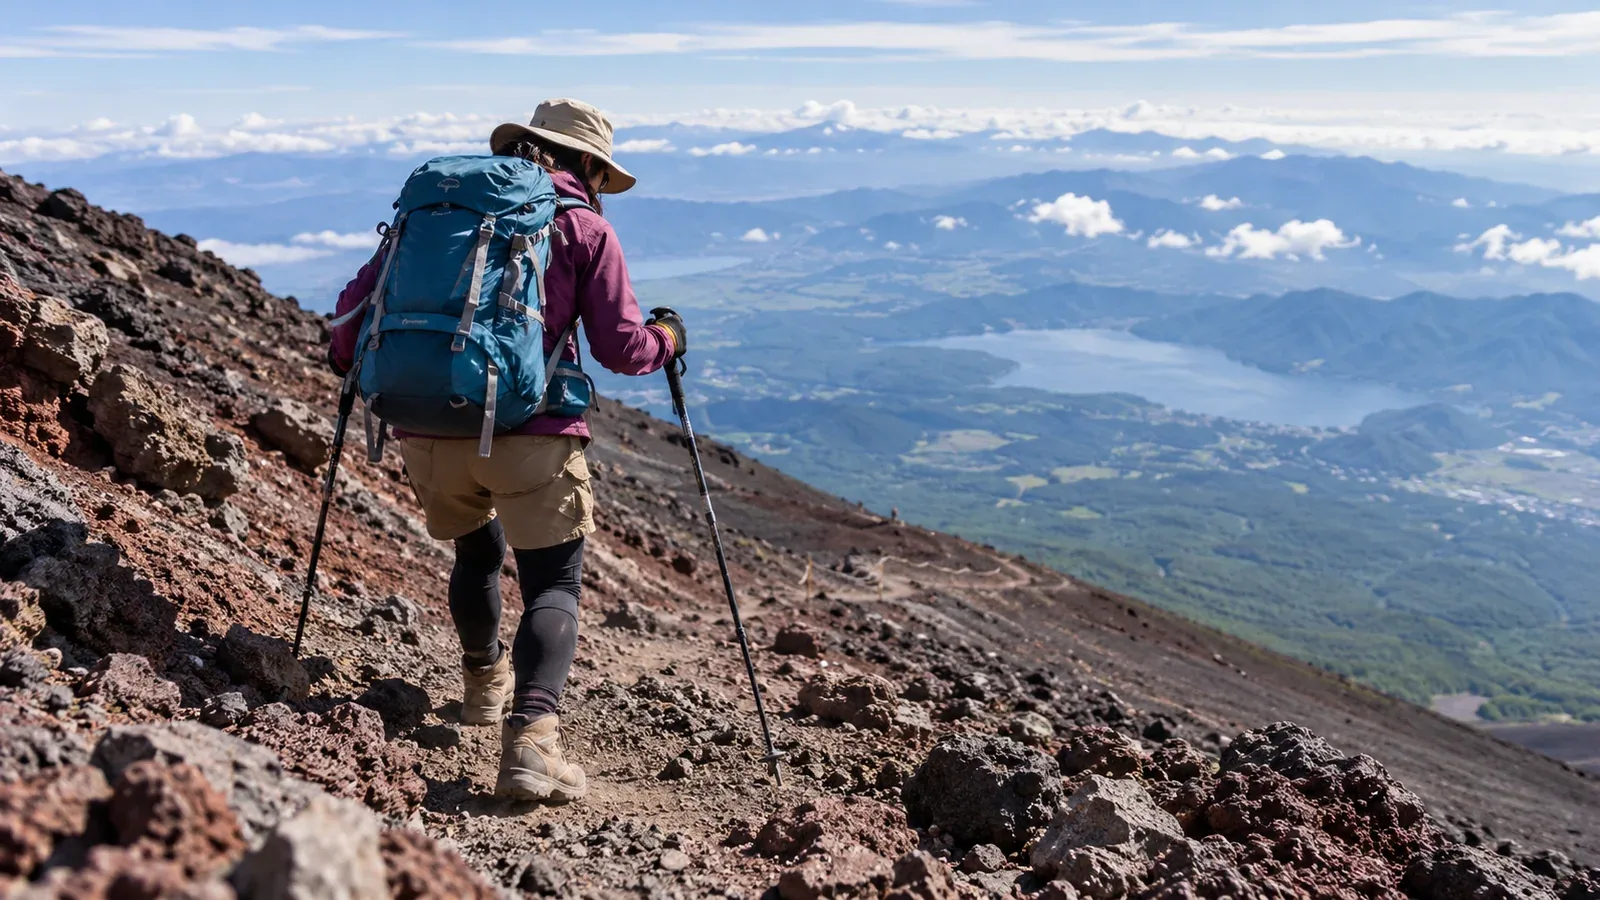
Mount Fuji’s descent can be tiring even after the climb goes well. Loose gravel, steep rock and the number of steps can make your knees feel sore or unsteady. Leave energy for the way down.
On a descent, the muscles around the knee work to control how your body lowers. A long slope and moving gravel give them more work. As you tire, it may become harder to stop a slip or place your foot where you intended.
Plan a pace you can control. These steps describe how to prepare, adjust on the trail and respond if a knee starts to hurt.
Why the descent is demanding
The four trails have different distances, gradients and surfaces. Check the route you will actually use to get down.
Gotemba has roughly 2,300 m of elevation difference from its trailhead to the summit area. Fujinomiya is shorter and still has steep rock. Yoshida and Subashiri use dedicated descent trails for parts of the route.
Loose volcanic sand and stones can move underfoot, especially on Yoshida, Subashiri and Gotemba. Slow down when the surface changes and give people in front enough space to stop or recover their balance.
Your quadriceps, the muscles at the front of the thigh, help slow your body on each downhill step. A long run of steps or switchbacks can make those muscles tired. Watch for repeated slips or shaking legs and reassess before the next steep section.
How to walk downhill with control
Keep your weight over stable footing
Look for a stable place to put each foot. Transfer your weight smoothly and let your knees bend naturally. Keep your balance before taking the next step.
Foot placement depends on the slope and surface. A rock step and deep gravel call for different movements. Choose control over any fixed knee angle or foot-strike pattern.
Shorten your stride
On steep or loose ground, use shorter steps at a pace you can stop. Slow down before a bend or a change in surface. Avoid trying to make up time by sliding or running.
Follow the trail’s switchbacks
Use the marked turns, which let you descend more gradually. Stay within the ropes and markers. Cutting straight down a bend can dislodge stones and put you and people below at risk.
Take breaks before you lose control
Choose a safe spot that leaves the trail clear. Take a short break if your pace, footing or balance changes. Check how the group feels and put on a layer if you are getting cold.
Trekking poles and knee supports
Using trekking poles
Poles can help with balance and reduce some measures of knee load in controlled downhill studies. Practice before the trip. Adjust the length to your body and terrain and plant them where they can hold. Stow them when you need your hands.
Follow any local instructions about pole tips. Give other people enough space for their steps and poles in narrow sections.
When a knee support might help
A support may be useful if you already know it fits and have been advised to use it. It cannot restore strength or make an injured knee safe to walk on. Discuss recurring pain or a previous injury with a clinician before the hike.
How to prepare
Build up to longer descents gradually and test how your legs feel afterward.
Practice on shorter slopes with stable exits. Exercises such as sit-to-stands or step-downs can build strength and control if they are appropriate for you. Seek advice before training through pain or after an injury.
Wear familiar hiking shoes with grip for rock and gravel. Before descending, check your laces and fit so the foot stays secure without pressure on the toes. Stop to address rubbing or grit before it changes your gait.
Bring enough food and water for the route and delays. Take breaks as needed. If you cannot walk steadily or pain changes how you move, stop and reassess.
What to do if your knee starts to hurt
Stop in a safe place and tell your companions. If the pain is sharp, increasing or associated with swelling or instability, avoid forcing more steps. Call 119 or 110 in Japan if you cannot bear weight or cannot get off the mountain safely. Follow the dispatcher’s instructions. Get medical assessment after the hike if pain, swelling or instability persists.
Check the official facility table for huts and first-aid centers on your route. Hours and locations vary. Tell rescuers your trail, station or sign number, position and what happened.
Before you go
Practice a controlled descent on a lower trail, test your shoes and poles and leave time for rests. Check which descent path returns to your transport. Nordwand’s Base Camp is a place to ask other hikers about their experience on that route.
Sources
- Official Mount Fuji climbing website: descent terrain and emergency contacts
- Japan Government Public Relations: mountain rescue
- Japanese Orthopaedic Association: knee injuries and Schwameder and colleagues: downhill knee loading with hiking poles
References and sources
- Official Mount Fuji site: comparison of the four trails
- Official Mount Fuji site: in case of emergency
- Official Mount Fuji site: opening dates and restrictions
- Government of Japan: planning a safe hike
- Japanese Orthopaedic Association: knee sprains
- Primary research: trekking poles and downhill knee loading
- Primary research: braking mechanics during downhill walking