
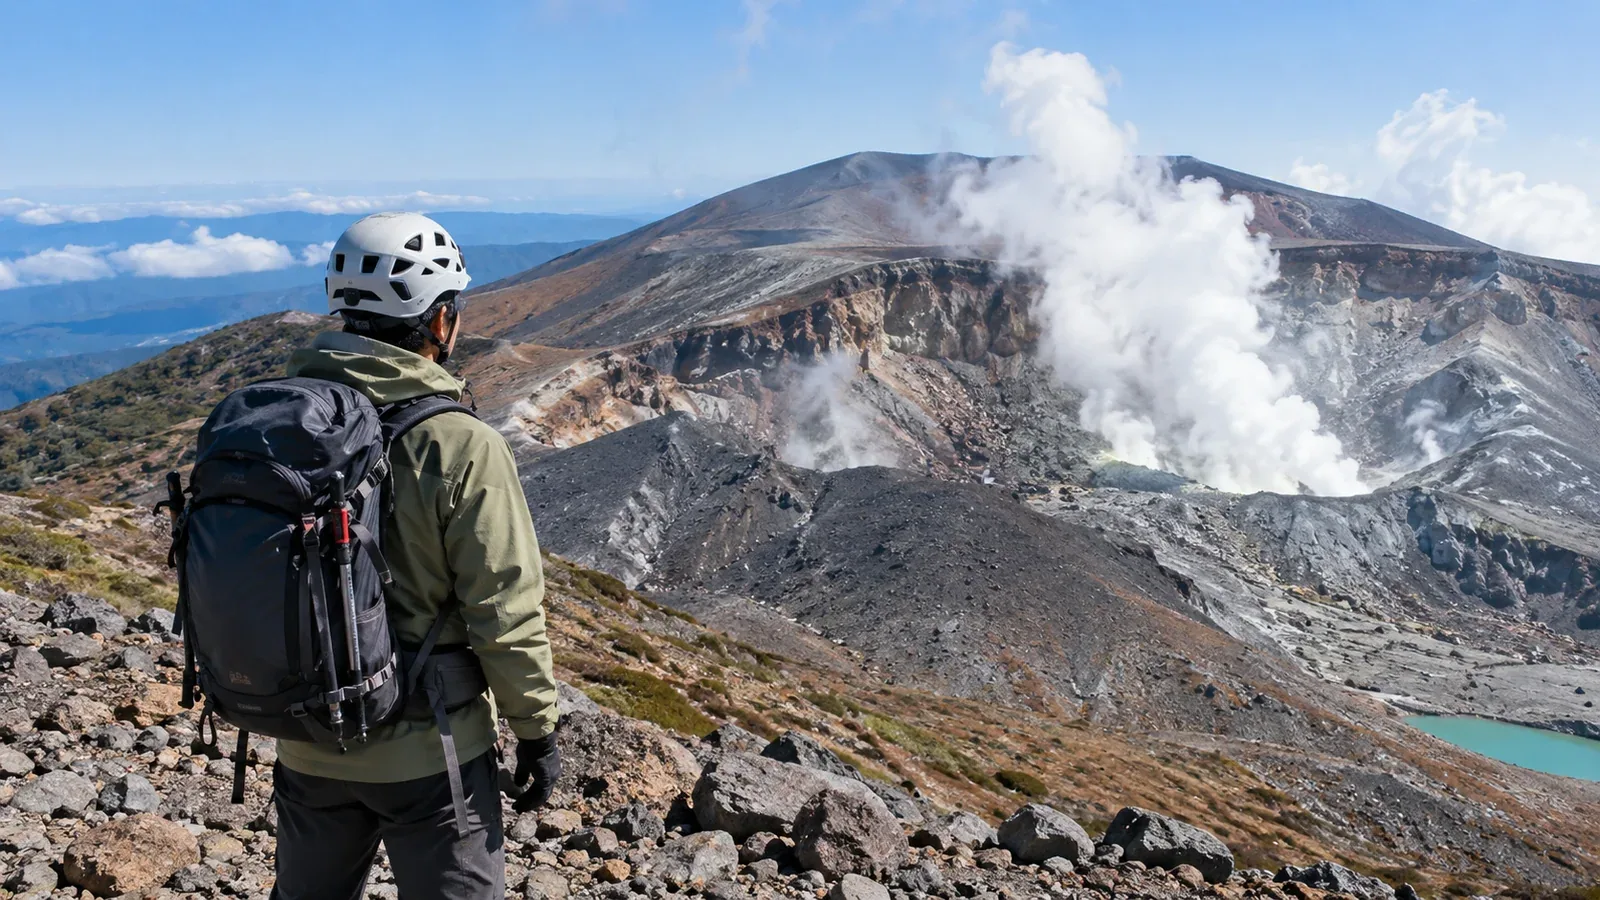
Mount Fuji, Mount Asama, Kusatsu-Shirane and Mount Ontake are well-known hiking destinations and active volcanoes. Before setting out, check the hazard area identified by the Japan Meteorological Agency (JMA) and the restrictions on the trail you intend to walk.
At the same alert level, the crater and area covered can differ from one volcano to another. Here’s what to check before you go and how to respond if the situation changes on the mountain.
Volcanic alert levels describe the actions needed
For volcanoes where the system is in use, the JMA assigns a level from 1 to 5 based on where hazards could occur and what protective action is needed. Read the volcano-specific leaflet or warning for the area covered.
These are the five levels and the main actions associated with them.
- Level 1: Be mindful that the volcano is active. Pay attention to volcanic activity and check local rules, including around the crater.
- Level 2: Do not approach the crater. Stay out of the area around the crater covered by the warning.
- Level 3: Do not approach the volcano. Hiking and access are restricted in the area covered by the warning.
- Level 4: Evacuate older people and others who need more time. People who need extra time to evacuate should leave affected residential areas.
- Level 5: Evacuate. Leave residential and other areas where there is danger.
Check the local authorities’ and trail managers’ restrictions even at Level 1. In October 2026, the Town of Kusatsu maintained restrictions around the Yugama crater while that part of Kusatsu-Shirane was at Level 1.
Check the restrictions on your own route
Compare the route you intend to take with the area shown in the warning or volcano-specific map. Check trail status with local authorities and trail managers as well.
The hazard area varies by volcano. The same level can mean different trails are closed. Compare the crater, warning boundary and trail on a map.
Restrictions may remain after the level changes. Check the latest access information even after a downgrade, and follow signs if the trail is closed.
Sudden eruptions can occur at Level 1. Mount Ontake erupted at Level 1 on September 27, 2014. The level was then raised to 3.
Three things to check before a hike
The day before and just before leaving, check volcanic activity, access restrictions and places to take shelter.
1. Check JMA warnings and activity updates
On the JMA page for hikers, find the destination’s warning or forecast, hazard area and activity updates. If a special activity update has been issued, read the area covered and the precautions and reassess your plan.
2. Check local authority and trail manager notices
Use the latest notices to find access restrictions, closures and detours. Read signs at the trailhead and choose another route if your planned section is closed.
3. Plan where to shelter and what to carry
Check local hazard maps and evacuation plans for shelters, huts and routes off the mountain. Read local guidance on carrying and wearing a helmet, and share the plan with your group.
If conditions change on the mountain
An eruption notice tells you that an eruption has occurred. Act immediately to protect yourself according to the situation and local instructions.
Use alerts and on-site instructions to decide what to do.
- If the warning area expands to include your planned route, stop advancing and leave the area by a safe route.
- If a special activity update is issued, check which crater or area it covers and what action is called for, then reassess your plan.
- If you receive an eruption notice or confirm an eruption, take cover in a shelter, evacuation hut or behind nearby rocks, or descend by a safe route, as conditions allow.
- If you notice unusual venting or another change, stop the hike and move to a safer place without approaching the crater.
Save the restriction map and evacuation routes to your device or carry a paper copy for stretches without reception. Check the latest information before starting and follow on-site instructions.
Equipment and precautions for an active volcano
Along with your usual hiking gear, check how to prepare for the flying rocks, ashfall and volcanic gases expected at your destination.
Helmet. Follow local guidance on carrying and wearing it to protect your head. If rocks are being thrown out, move to shelter when you can do so safely.
Goggles and a particulate respirator. Goggles help protect your eyes. A well-fitting N95 or similar particulate respirator helps reduce ash inhalation. It cannot filter volcanic gases.
Volcanic gases. Stay on designated trails and keep out of vents and depressions where gas can accumulate. If your eyes or throat become irritated, leave the area as directed locally.
Shelters and exit routes. Use the volcano’s hazard map to locate the warning area, shelters and possible routes off the mountain before you go.
What to confirm with your group
Share the volcano name, alert level, restricted area, route and shelters with your companions. Check again just before leaving and at the trailhead, and agree on what to do if warnings or local instructions change.
Sources for further reading
- JMA’s overview of volcanic alert levels and leaflets for individual volcanoes.
- JMA’s volcano information for hikers and explanation of eruption notices.
- Local access restrictions and volcano-specific hazard maps.
- U.S. Geological Survey and National Institute for Occupational Safety and Health guidance on ash and particulate respirators.
References and sources
- Japan Meteorological Agency: volcanic alert levels
- Japan Meteorological Agency: volcano information for hikers
- Japan Meteorological Agency: what eruption notices mean
- Japan Meteorological Agency: the September 27, 2014 eruption of Mount Ontake
- Town of Kusatsu: end of the trial reopening of the western trails on Kusatsu-Shirane
- Japan Meteorological Agency: volcanic safety planning worksheet for hikers
- Niigata Local Meteorological Office: preparing to hike a volcano
- Japan Meteorological Agency: advice for visitors to Mount Mihara
- U.S. Geological Survey: protecting yourself against volcanic ash
- U.S. National Institute for Occupational Safety and Health: respirators and mask performance