
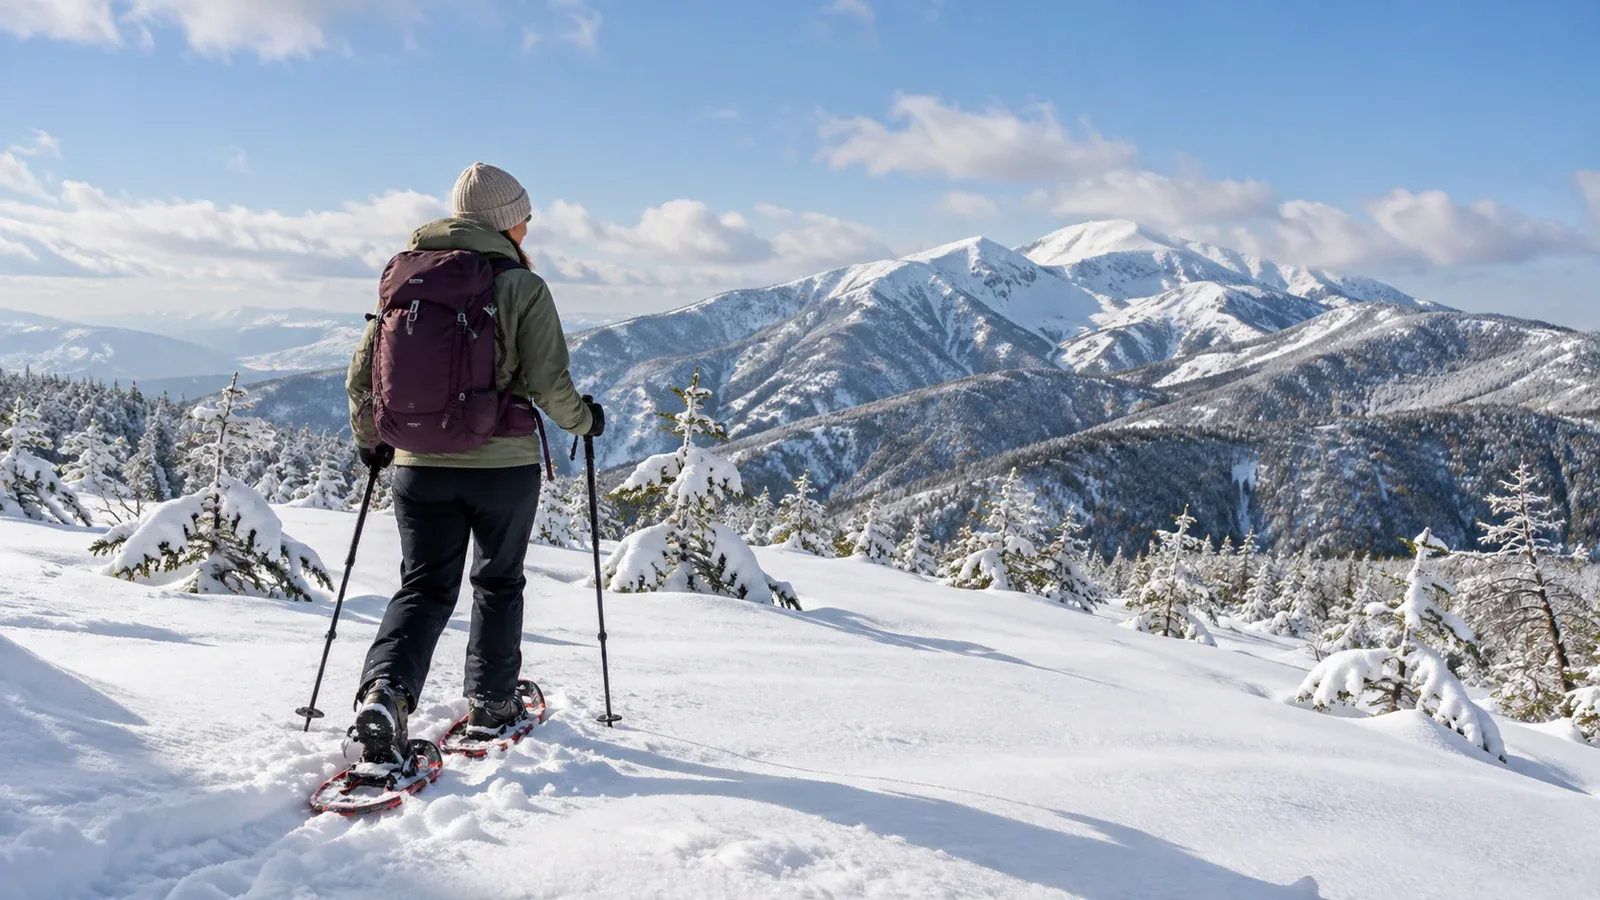
Snowshoes can make it easier to cross soft snow. Whether an outing is suitable for a beginner depends on what’s underfoot, what’s above the route and how easily you can turn back. A short marked trail can be a good first outing when it’s open and conditions suit the group.
Use this guide to choose terrain and equipment for a first snowshoe walk, and to decide what training you need if you want to go into steeper winter terrain.
What is snowshoeing?
Snowshoes strap onto your boots. The wide frames spread your weight over a larger area so you sink less in soft snow. They work on the same principle as traditional Japanese kanjiki.
On an introductory outing, look for a marked route across gentle ground that avoids avalanche terrain. Parks and resorts sometimes offer introductory courses or guided walks where you can get help fitting snowshoes and learning how to use them.
Winter mountaineering can involve climbing and descending steep snow or ice, navigating exposed ridges in poor visibility and breaking trail through deep snow. Those routes may require different equipment, hands-on instruction and more conservative planning.
Three checks when choosing between routes
Compare slope and exposure, the snow surface and how easily the group can turn back.
Slope and exposure. Snowshoes are most useful where the snow is soft enough to need flotation. Read the contours and check the slopes above and below the route. Even a flat trail can cross the path of an avalanche or lead to a serious fall. Avoid avalanche terrain and steep, icy traverses on a first outing.
Snow surface. Soft powder, hard crust and ice can all occur on one route. The grip on a snowshoe varies with its design and the surface. If you reach hard snow or ice where you can’t keep secure footing, turn back while you still can. Practise using traction equipment under instruction before relying on it.
Ease of retreat. Choose a short route you can retrace, with clear markers and a return that fits your daylight and transport. Confirm opening and access with the operator. Wind and fresh snow can hide tracks, including in woodland. Carry a map, compass and offline route, and practise using them.
Equipment for your route
Build on your day-hiking equipment with footwear and layers for snow, wind, cold and wet conditions. Check the equipment list with the route operator or guide.
- Snowshoes. Renting is an option where available. Check the manufacturer’s size chart for the snow and terrain, and use your total load including your pack.
- Boots. Wear warm, waterproof boots that fit the snowshoe bindings. Bring the boots when trying rentals if possible, and check that the heel and straps hold securely.
- Gaiters. Choose a height that keeps snow out of your boots in the conditions you expect.
- Poles. Poles can help with balance. Snow baskets keep them from sinking as far in soft snow.
- Layers. Wear a base layer that moves moisture away from skin and carry a windproof, waterproof outer layer, insulation for stops and spare gloves.
Steep, hard snow and ice may call for mountaineering boots with compatible crampons and an ice axe. In avalanche terrain, each person needs a transceiver, probe and shovel, and the group needs training in avoidance and companion rescue. Choose a route outside avalanche terrain until you have the skills and equipment it requires.
How to find a snowshoe route
Look for a clearly marked short winter route with up-to-date information from the manager or operator.
- Check snow and weather. Use JMA observations such as AMeDAS for context and check trail-specific updates. A station’s elevation and exposure can differ from the route.
- Check slope and distance. Use a GSI topographic map to look at your route and surrounding slopes. Stay off frozen lakes and out of protected wetlands unless the operator explicitly permits the activity in a designated area.
- Check signs and permitted routes. Use the manager’s winter map or a guide, especially near ski runs and conservation areas.
- Check winter access. Confirm road, trailhead, parking and bus or lift access, including the last trip back. Check closure notices and leave time before dark.
Moving on to winter mountaineering
If you want to move into steeper winter terrain, take stock of what you can do and what hazards you can assess before choosing the next route.
Learn crampon footwork, ice-axe use and the limits of self-arrest under supervision on suitable terrain. A winter skills course can also cover route finding, snow assessment and emergency shelter. Take avalanche training before planning a route through avalanche terrain.
Wind, cold, wet clothing and poor visibility can affect the group even on a short route. Check forecasts and warnings, and practise recognising cold stress and turning back before conditions overwhelm the group. If you have a health condition that could be affected by cold or exertion, ask a healthcare professional about your plans.
Snowshoeing is a good way to enjoy winter in its own right. It’s also a chance to get used to pacing, layers and navigation in snow while choosing terrain with a straightforward return.
Before you go
Pick a short, marked route outside avalanche terrain. Check snow, weather, access and closure notices with the operator, and consider a guided walk or rentals for your first outing. If you’re moving into steeper terrain, look for a winter skills course or use Nordwand’s guide request tool to contact a guide qualified for the route and season.
Further reading
- Japan Meteorological Agency AMeDAS observations
- Geospatial Information Authority of Japan topographic maps
- National Police Agency mountain incident reports
- Japan Mountaineering and Sport Climbing Association safety resources
References and sources
- Japan Meteorological Agency · AMeDAS observations
- Japan Meteorological Agency · Snow observations
- Geospatial Information Authority of Japan · Topographic maps
- National Police Agency · 2025 mountain incident report
- Japan Mountaineering and Sport Climbing Association · Safety resources
- Japan Avalanche Network · Avalanche terrain
- Japan Avalanche Network · Avalanche seminars and field courses
- MSR · Choosing snowshoes by load and conditions
- Fujimi Panorama Resort · Example of marked winter walking routes
- Kirigamine Visitor Center · Winter map and protected areas