
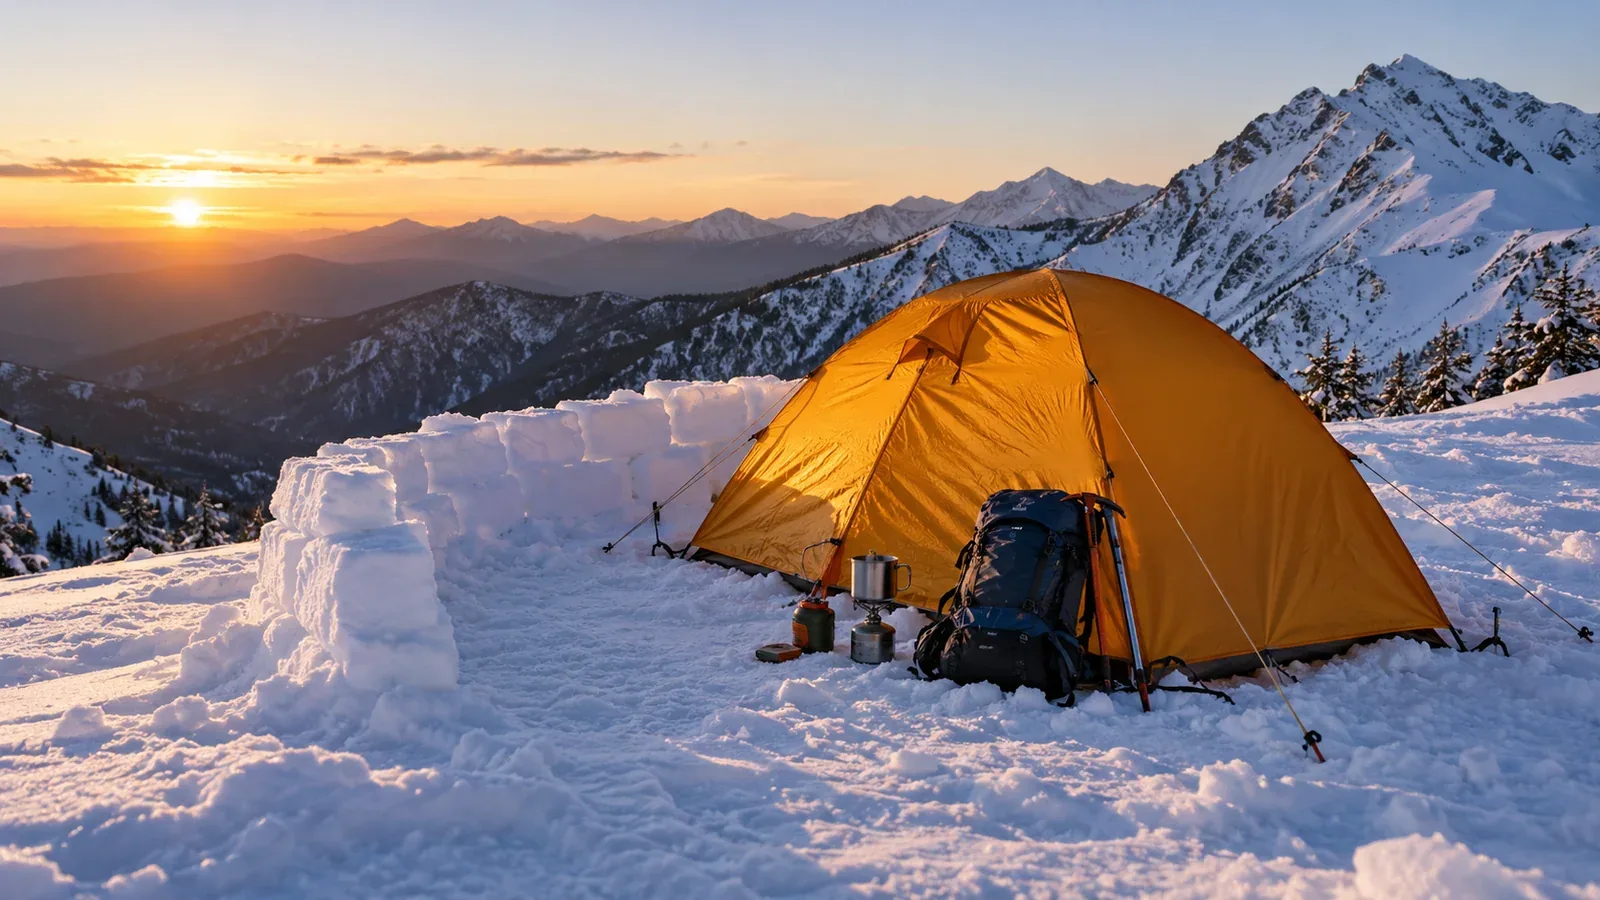
A winter night in a tent brings cold, wind, drifting snow and fewer options if something goes wrong. Choose a site you can reach and leave safely, and give yourself time to set up before dark.
This guide walks through site choice, pitching, the overnight routine and packing up for a first night camping on snow.
For your first outing, go with an experienced winter camper or a qualified guide. Check the campsite’s rules, access, weather and avalanche information. Choose a different plan if you can’t confirm a suitable site or retreat.
Choose the site before you pitch
Ask the land manager, municipality or hut whether winter camping is permitted, what facilities are available and whether you need a reservation. A summer campsite can be closed, buried or exposed to different hazards in winter.
Look at the ground where you would sleep and the terrain above and around it. Avoid these places.
- Exposed ridges and crests. Wind and drifting snow can overload the tent or pull out its anchors. The lee side of a ridge can collect wind-drifted snow.
- Gullies and stream beds. They can collect cold air and funnel avalanche debris. Snow can also conceal running water or weak snow bridges.
- Avalanche paths, runouts and ground beneath cornices. Snow released uphill can reach apparently flat terrain. Choose a site clear of these areas.
Choose level, sheltered ground away from overhead hazards. Look for a natural windbreak with no unstable branches, blocks of snow or ice above it. Check the site’s surroundings even if you see old tent platforms or footprints.
Preparing the snow and pitching the tent
Practise pitching your tent at home with gloves on. On the hill, keep the tent secured while setting it up and follow its instructions.
1. Pack a level platform
On suitable snow, use boots or snowshoes to pack a level area large enough for the tent, and smooth bumps with a shovel. Carry a shovel you can use with gloves on. Avoid digging into a steep bank or beneath an overhang.
2. Use a low snow windbreak if it helps
Where permitted, a low snow wall set back from the tent can reduce direct wind. Allow room for drifting snow, the guy lines, vents and exits. There is no fixed height or spacing that works in every site. Choose a more sheltered site if wind or drifting would still overwhelm the tent.
3. Use anchors suited to the snow
Use snow stakes or a buried horizontal anchor where appropriate for the snow and the manufacturer’s instructions. Anchor holding varies with the snow and setup. Test the placement, tension the guy lines and recheck them if wind or snow changes. Tent anchors are for securing the tent.
4. Check the flysheet and guylines
Walk around the tent and check poles, clips, flysheet fasteners and the tension of the lines. Make sure vents and exits are clear and that you can operate them with gloves on.
Staying warm and managing condensation overnight
Set up your sleeping system, dry layers, water and headlamp before the temperature drops or visibility worsens.
Balance ventilation and warmth
Moisture from breathing and wet gear can condense or freeze inside either a single-wall or double-wall tent. Keep the vents open as the design and conditions allow, and clear snow away from them. Rely on dry insulation and a sleeping mat suited to the cold for warmth.
Cooking and stove use
Use fuel-burning stoves outdoors, away from tents, vestibules and other enclosed spaces. Carbon monoxide is colourless and odourless and can build up indoors. An open zip or vent does not make using a stove inside a tent safe.
Follow the stove manufacturer’s guidance for fuel, storage and cold-weather operation. Never heat a canister by improvised means or store it in a sleeping bag to warm it.
Manage hydration and body heat
Drink regularly, and keep drinking water in a clean, closed, insulated container. Keep the sleeping bag dry. If you use a hot-water bottle, use one made for that purpose and follow its instructions to avoid burns and leaks.
Change out of wet layers and keep dry clothes within reach for the night and morning. Use a sleeping bag and insulating mat suited to the temperatures you expect.
Prepare for overnight weather changes
Check the local forecast, warnings and snow conditions before leaving. Plan when to leave the site, shorten the next day or abandon the trip, including how to reach a safe place if visibility worsens.
If wind or snow increases, reassess the tent, exits and conditions early. Clear accumulating snow and check anchor tension when it is safe. Carry the repair parts for your tent, and use the retreat plan if the tent or site becomes unsafe and you can move safely.
Keep a headlamp and a shovel where you can reach them from inside. Keep exits and vents clear and check for drifting snow before sleeping and when conditions change.
Packing up wet gear
Start packing early enough to work with gloves and cold hands. Keep dry gear separate from wet gear and keep control of the tent until you can pack it.
Brush snow and frost off the flysheet before packing. Store it separately from dry clothes and insulation, and air-dry the tent fully after returning.
If anchors have frozen in, loosen the surrounding snow with a shovel without striking the anchors or lines. Remove all anchors and equipment.
Pack out food scraps and rubbish, and follow the site’s instructions for human waste. Snow can hide waste until it melts.
Before you go
Choose one permitted winter campsite and an easy way back for your first overnight with an experienced partner or a qualified guide. Confirm the site and local restrictions shortly before leaving. Nordwand’s Base Camp and guide request tools can help you find someone to go with.
Further reading
- Japan Meteorological Agency forecasts and warnings
- National Police Agency annual mountain incident reports
- Japan Mountain Guides Association qualifications and directory
References and sources
- Japan Meteorological Agency · Weather forecasts
- Japan Meteorological Agency · Warnings and advisories
- National Police Agency · 2025 mountain incident report
- Japan Mountain Guides Association · Guide qualifications
- Japan Mountain Guides Association · Certified guide directory
- Japan Avalanche Network · Avalanche terrain
- U.S. Consumer Product Safety Commission · Carbon monoxide and camping equipment
- U.S. National Park Service · Winter camping guidance
- MSR · Pitching and anchoring a tent on snow
- MSR · Stove, fuel and tent care