
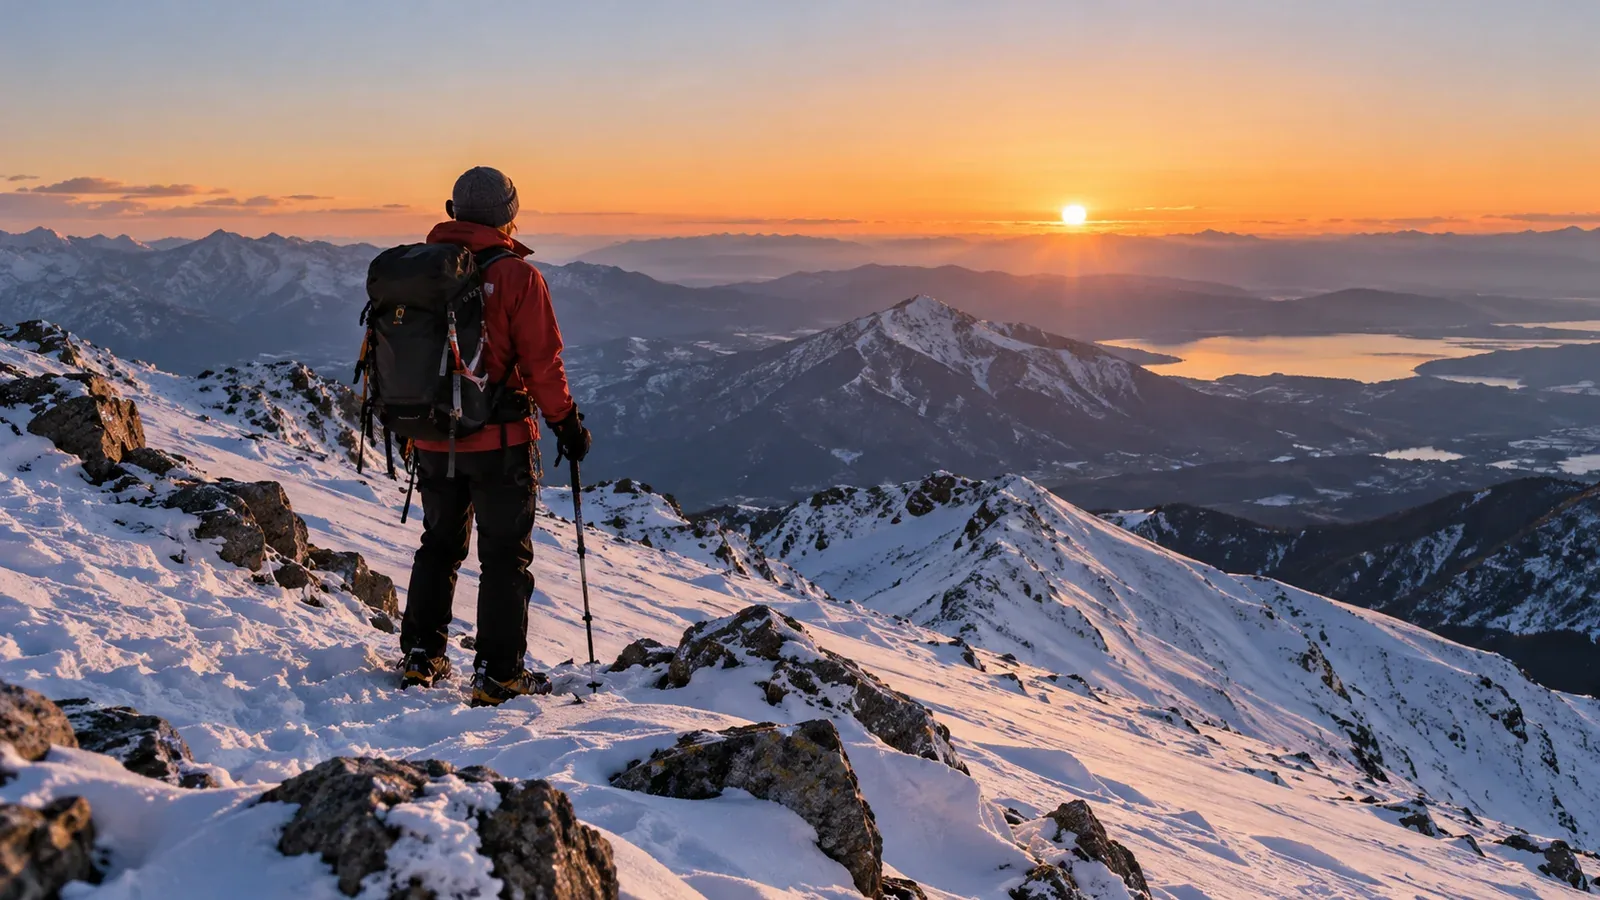
Winter day hikes can take longer than planned. Breaking trail, checking the route and changing equipment all take time. A late descent can add darkness and cold when the group is already tired.
Start by setting the time you want to be back at the trailhead or other safe endpoint. Work backwards from that time to allow for descent, turnaround, ascent and preparation.
This guide explains how to make a schedule, what can slow you down and when to shorten the plan. It’s for hikers who are new to winter routes or who want to estimate their time more realistically.
Why to plan from the return time
Summer route times provide context. In winter, snow, ice, wind and changes in visibility can make progress much slower, and time spent on route checks or equipment adds up. Use recent conditions and the group’s experience to estimate the trip.
After dark it can be harder to see tracks, read terrain and find junctions. Cold and wind can make stops more serious, and the temperature can drop. Pack a headlamp with spare power even when you plan to finish in daylight.
Set a target return time that leaves room for delay. Choose a shorter route if the group would need everything to go as planned to finish.
Five steps to plan backwards
Step 1: check local sunset
Use the National Astronomical Observatory of Japan’s calendar calculator for the date and a location near the route. Sunset varies with date and location. A ridge or valley wall can block the sun earlier, and cloud and snowfall can cut visibility before sunset.
Choose a return time comfortably before you expect to lose usable daylight. Consider terrain, forecast visibility, how far you are from a safe exit and the last bus or lift. Allow extra time for uncertainty.
Step 2: estimate the descent in winter conditions
Build a descent estimate from the route, recent local reports and the slowest person’s pace in similar conditions. Allow for these sources of delay.
- Breaking trail. Soft or drifted snow can slow progress and increase fatigue. Allow time for the group to rotate who leads.
- Walking in crampons. Budget time to fit them in a safe place and use careful footwork on hard snow or ice.
- Steep descents. Check how exposure, the snow surface and the group’s skills affect your pace. Pick a simpler route if the descent is beyond the group.
- Poor visibility and wind. Plan for route checks and safe stops. Shorten or change the route when the conditions make those checks unreliable.
Snow conditions can change within the same route. There’s no reliable winter multiplier for a summer estimate. If you can’t make a realistic estimate with room to spare, choose a shorter or more familiar route.
Step 3: set the latest turnaround time
Subtract the winter descent estimate, including its delays, from the target return time. The result is your latest planned turnaround.
For example, if the target return is 15:30 and the descent including delays is estimated at three hours, the latest turnaround is 12:30. Start back at that time wherever you are on the route. Turn sooner if conditions or the group’s pace call for it.
Write the turnaround time down and agree on it with the whole group before leaving.
Step 4: calculate the start time
Work backwards from the turnaround using your winter ascent estimate. Allow for equipment, navigation, food and clothing stops as well as walking.
If the same example has a three-hour ascent estimate, 09:30 is the latest start for that calculation. Allow time before it to reach the trailhead and get ready. If the schedule is too tight, shorten the route.
Step 5: write and share the itinerary
Record the route, alternatives, party, start, turnaround and target return. Check local requirements and accepted submission methods, including whether Compass is accepted. Share the plan and a check-in time with someone who can raise the alarm if the group is overdue.
Four delays that are easy to miss
Even with a timely start, winter routes can run slow. Plan for these stops and reassess if they start to take longer than expected.
1. Changing equipment and layers. Putting on crampons, adjusting gaiters or adding a shell takes time, especially with cold hands. Practise at home and stop somewhere secure to make changes.
2. Breaking trail and fatigue. Taking turns at the front costs time, and walking in deep snow can slow the group later in the day. Shorten the route when the actual pace leaves little margin.
3. Stopping to navigate. Fresh snow can hide the trail and junctions. Budget time to check a topographic map, compass and offline position from secure places.
4. Cooling during stops. Damp clothing and wind can cool you during breaks. Adjust layers before sweating heavily, and put on insulation promptly when you stop.
Keep your turnaround decision on the day
It’s easy to keep going when the summit looks close. An agreed time and a plan for deteriorating conditions make it easier for someone in the group to speak up.
Agree to turn back at the latest planned time or earlier if conditions worsen. If you’re already in a tricky spot, get to a safe place to turn or use the planned retreat. Do not extend the limit because the summit looks close.
A phone or watch alarm can help, but carry a time source that works in the cold and check it as you go. If you’re new to winter hiking, go with a qualified guide or an experienced companion.
Recheck the plan twice: the evening before and the morning of the hike
Check the plan before you leave home and again at the trailhead. Update it if conditions or the group’s pace are different from what you expected.
The evening before
- Read the latest forecasts and warnings, including wind and visibility at route elevation.
- Confirm sunset, access and the last return transport if needed.
- Check recent snow and ice reports, and avalanche information where available.
At the trailhead
- Check actual snow, ice and drifted areas on the approach.
- Look for route markers and confirm you can navigate without relying on footprints.
- Compare wind, visibility and precipitation with the forecast and check the group’s readiness.
If the snow is deeper, access is delayed or visibility is worse than planned, make the route shorter, turn back sooner or cancel. Keep an alternative you can reach and leave with plenty of daylight.
Before you go
Write down your target return, descent estimate and latest turnaround. Check the ascent and setup time, and plan a shorter option with your group. Nordwand’s guide request tool can help you find a guide qualified for the route and season.
Further reading
- National Astronomical Observatory of Japan sunset calculator
- National Police Agency annual mountain incident reports
- Prefectural hiking plan requirements and accepted submissions
References and sources
- National Astronomical Observatory of Japan · Sunrise and sunset calculator
- National Police Agency · 2025 mountain incident report
- Japan Mountaineering and Sport Climbing Association · Where to submit a hiking plan
- Yamanashi Prefectural Police · Winter hiking and plan submission
- Niigata Prefecture · Winter hiking and turnaround planning
- Compass · Participating authorities
- Japan Meteorological Agency · Forecasts
- Japan Meteorological Agency · Warnings and advisories
- Japan Avalanche Network · Local avalanche information and education