
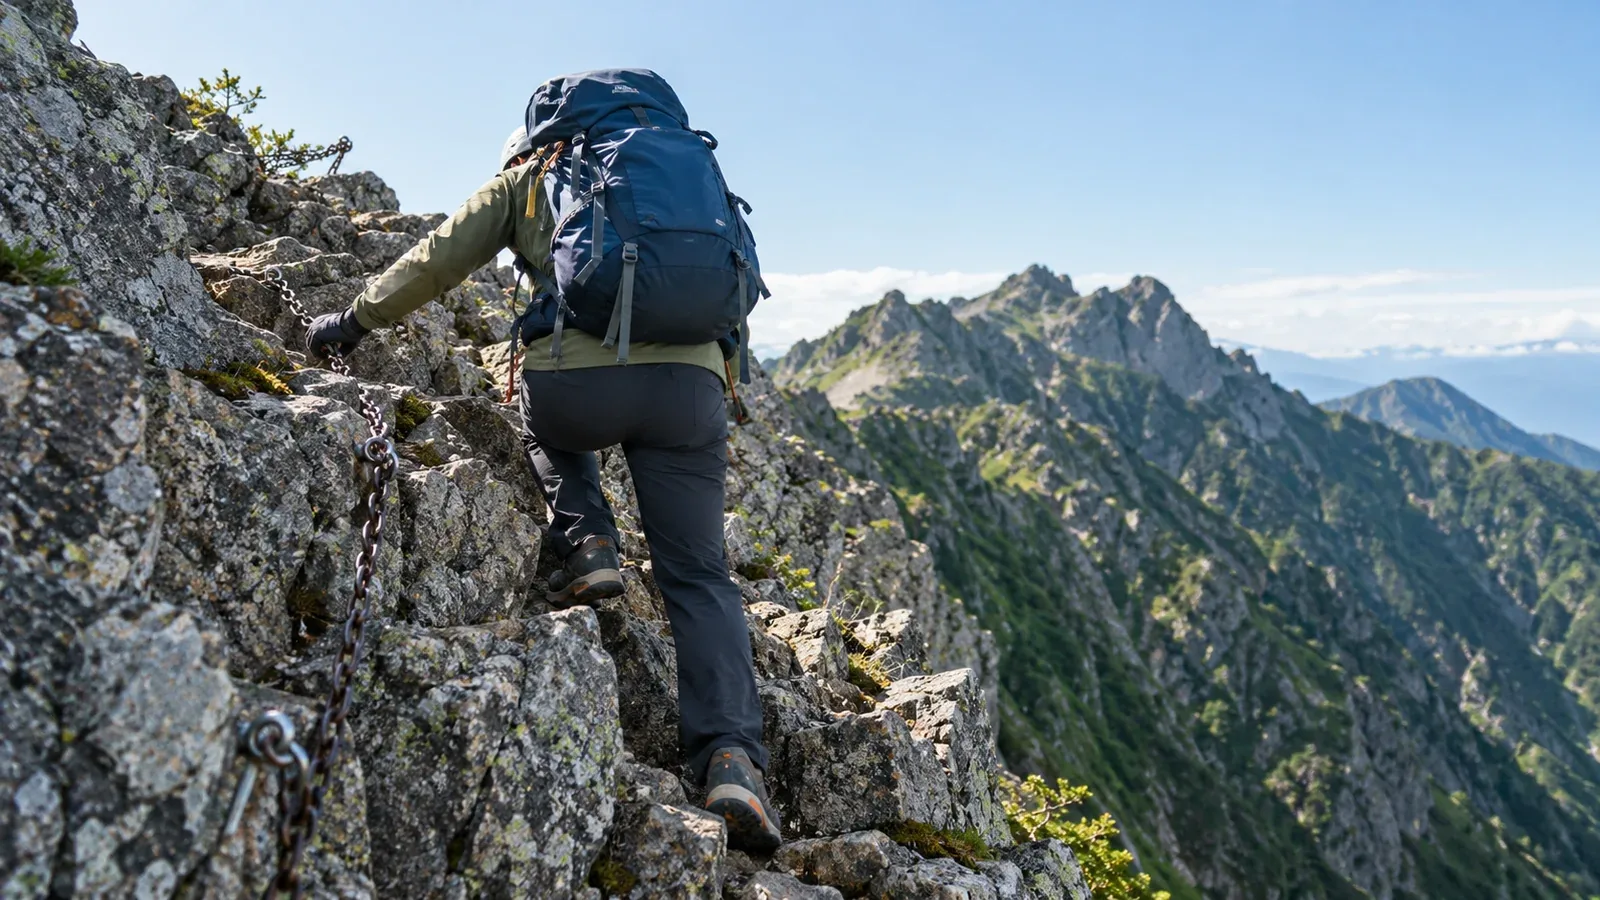
On rocky or chain-assisted sections, a backpack can restrict your reach or catch on rock and metalwork. A shifting load can also affect your balance when you step, turn or lower your body.
Start by checking the pack you already have. Try packing and fitting it for the movements your route requires. Use the same checks if you are considering a different pack.
How a pack affects balance on rock
A load that feels steady while walking may shift when you lean forward, step sideways or reach for a handhold. Gear farther from your back can make the pack feel as if it is pulling you backwards.
Keep dense items close to your back and spread the load evenly side to side. Some manufacturers recommend placing dense gear lower on challenging terrain than on easy trails. Choose the position that keeps your own pack stable and lets you move freely. Check it on low, stable ground.
How to pack for a rocky section
Pack at home or make changes at a safe spot before the rocky part of the route.
Keep heavy items close to your back
Put dense gear such as food and water near the back panel. Use softer items to stop the load shifting. Choose the height according to the pack’s instructions, the terrain and how it feels when you step or reach.
Use lighter items to fill the remaining space
Use light, bulky items such as insulation and spare clothing to fill space around denser items. Keep rain gear and essentials accessible for a stop on safe ground. Secure the contents so they do not move when you lean.
Keep side pockets and the lid compact
Secure bottles, food and other small items so they cannot fall. Protruding poles, shovels, crampons or sleeping mats can catch on rock or chain fittings. Repack them if they stick out or move.
Check attachments before the rocky section
Store poles inside if they fit or use the pack’s intended attachment points. Fasten all loose ends, cover sharp points and check that the gear stays within a compact profile and leaves your hands free.
Pack shape and features that help prevent snagging
Assess the pack when it is loaded for the trip. Consider its width, height, hip belt and pocket positions.
A compact shape
Check how far the sides or lid extend when loaded. Reach overhead and turn on stable ground to see whether the pack or attachments restrict movement. The size and shape when loaded matter more than whether the pack opens from the top or front.
A secure hip belt
Fit the belt according to the pack maker’s instructions. Check whether the padding or loose ends catch when you turn. Keep the pack stable during movement. If the belt needs adjustment, stop on secure ground before the section.
Side pockets and attachments
Choose pockets and loops that hold items securely and leave space for arm movement. Check whether mesh or loose straps could catch on rough rock. Put hard or sharp items in a suitable protective holder or inside the pack.
Checks before entering a chain section
Stop on a broad, stable part of the trail away from rockfall, and check fit and attachments before needing both hands.
- Check the shoulder harness. Adjust it and any load lifters according to the maker's instructions. The pack should stay close without preventing you from reaching a hold.
- Check the chest strap. Set it as directed so the harness stays in place, with room to breathe and move your arms freely.
- Secure the outside. Check poles, mats and tools for loose ends, sharp tips and protruding parts. Confirm the load stays put when you bend or turn.
- Plan when to open the pack. Put essentials where you can reach them at the next safe stop. Keep the pack closed on an exposed step or chain.
Pack capacity and rocky terrain
Choose capacity from the gear, water, food and emergency equipment your route requires. Compare the loaded pack rather than treating a litre figure as a measure of how safely it will handle.
- Day hike. Choose a compact pack that carries your required layers, water and safety equipment without loose items outside.
- One or two nights. Account for food, water and the shelter arrangements, and check how the loaded pack moves through narrow steps.
- Longer trips. A large load can limit movement and make narrow sections harder. Plan your route and test the actual load before committing to exposed terrain.
If a loaded pack limits your movement on a route where a slip would be serious, change the load or choose a route with a safer option. A qualified guide can help judge the terrain and the equipment you will need.
Before your next rocky hike
Pack dense items close to your back, secure external gear and try reaching, stepping and turning on low, stable ground. Recheck the fit before exposed terrain. If you are planning a rocky ridge or snow route, ask a qualified guide about pack size, attachments and essential equipment for that outing.
Further reading
- Japan Mountaineering and Sport Climbing Association safe hiking resources
- National Police Agency and Fire and Disaster Management Agency mountain incident reports
References and sources
- Japan Mountaineering and Sport Climbing Association · Safety resources
- National Police Agency · Mountain incident reports
- Fire and Disaster Management Agency · Rescue statistics
- Deuter · Packing by load and terrain
- Osprey · Pack volume and loading
- Osprey · Model-specific size and fit guidance
- Nagano Prefecture · Guidelines for safe hiking
- Nagano Prefectural Police · Hiking equipment and packing