
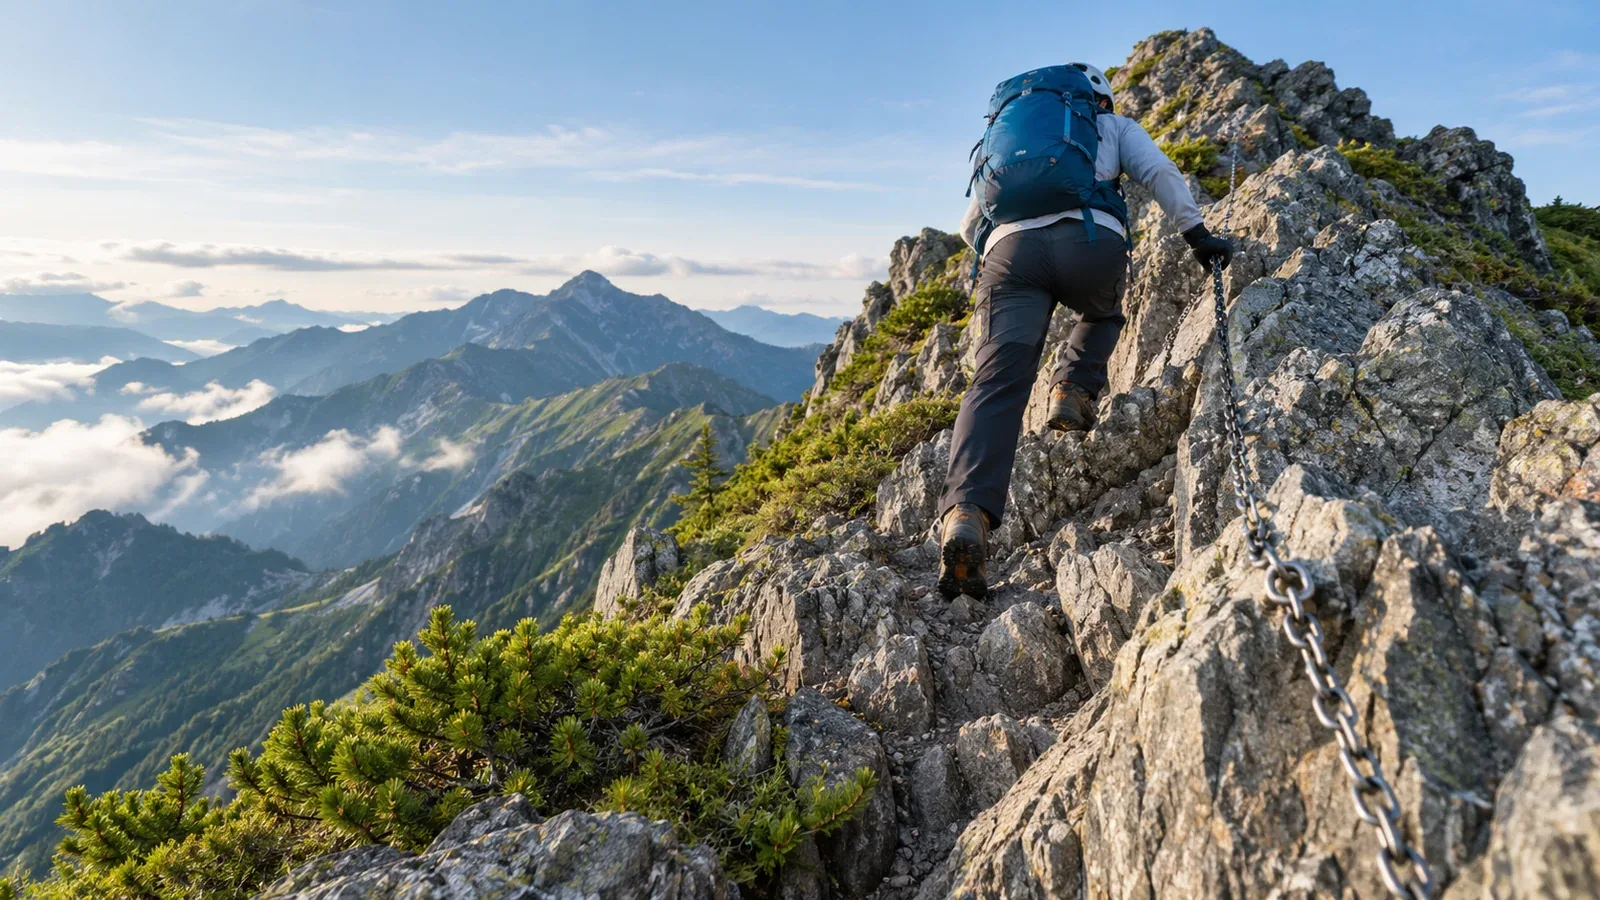
On steep rock, pulling yourself up by a chain can tire your arms and leave you with less control over your feet. Slow down, look for solid footholds and assess whether you can climb and descend the section with your current skills.
This guide covers footwork, balance, pace and descent on rocky trails with fixed chains. Learn the movements on low-consequence terrain with instruction before relying on them in an exposed place.
What the chain is there for
On Japanese hiking trails, a fixed chain can provide a handhold on steep terrain and show where a route goes. Treat it as a climbing aid. A hand-held chain is not a fall-arrest system, and you can lose your grip or find damaged hardware.
Look from secure ground for damaged links, loose fixings and loose rock. If the chain or rock is suspect, avoid the section and report it to the trail manager. If you need technical protection, choose a different route or get instruction from a guide qualified for that terrain.
Place your feet before shifting your weight
Look for a solid foothold, place your foot and test it before transferring your weight. Keep stable contacts while you move one hand or foot at a time. Move only after you know where the next secure hold is.
Use as much of your sole as the hold allows, and check for loose stones, mud, ice or wet rock. Avoid relying on a tiny or unstable edge if you have a more secure option. There’s no foot position that works on every rock surface.
Use sound rock holds or the chain as appropriate for balance. Keep your hands free of poles, phones and other objects, and avoid hanging your full weight from your arms.
Balance on the way up and down
Climbing uphill
Choose a position that lets you see the next hold and stay balanced. Facing the rock often helps on steeper sections. Position depends on the shape of the rock, the holds and how exposed the section is, so there’s no fixed slope angle for changing technique.
Keep your weight supported by your feet where possible, and move in small steps. If a pull on the chain takes your feet off stable holds or pulls you away from the rock, stop and reassess.
Facing the rock on descent
Footholds are often harder to see on the way down. Before climbing up, look at the descent or confirm the permitted return route. Some trails specify different routes or directions for ascent and descent.
On steeper ground, facing the rock can help you keep secure contacts. Look for and test the next foothold before shifting weight. Move one limb at a time and keep the others secure. If you can’t see or reach stable holds, stop in a secure place and reassess.
Three points of contact means keeping the other holds secure when you move one limb. It is a movement technique, and the holds themselves must be sound.
Pace, gloves and space between hikers
Pause only where you have secure footing and can stay clear of other hikers. Plan enough time to move without rushing, especially on descent.
Well-fitting gloves can protect your hands and help you grip, depending on the surface and material. Try them before the hike. Wet metal or rock can still be slippery, and worn gloves can make it harder to feel a secure hold.
Follow local directions and wait off the exposed section while another person uses it. Keep clear of the fall line under other hikers, and take care not to dislodge stones. A fitted mountaineering helmet can reduce head injury from falling objects. Leave the section if the conditions are unsuitable.
When the section feels too hard
Near-vertical walls with few footholds
If the holds are too small, far apart or insecure for you to move comfortably, turn back from a secure point or use a permitted alternative. Practise on easier rock with instruction before attempting an exposed wall.
When exposure makes you freeze
Stop where you can maintain secure contacts. Look at the next reachable hold and breathe slowly. Tell your companions what’s happening. If you can’t continue or retreat safely, call for help rather than forcing the move.
Before you go
Check the trail manager’s notices for closures, direction, rockfall and damaged equipment. Plan to turn back before exposure if the rock, weather or group is unsuitable. Nordwand’s guide request tool can help you find instruction for rocky trails.
Further reading
- Japan Mountaineering and Sport Climbing Association training materials
- National Police Agency annual mountain incident reports
- Prefectural guidance on rocky trails and chain sections
References and sources
- Japan Mountaineering and Sport Climbing Association · Mountain coach training criteria
- Nagano Prefecture · Safety guidance for rock, ladders and chains
- National Police Agency · Mountain incident reports
- Yamanashi Prefectural Police · Mountain equipment checklist
- UIAA · Via ferrata systems and equipment
- Japan Mountain Guides Association · Qualification scope