
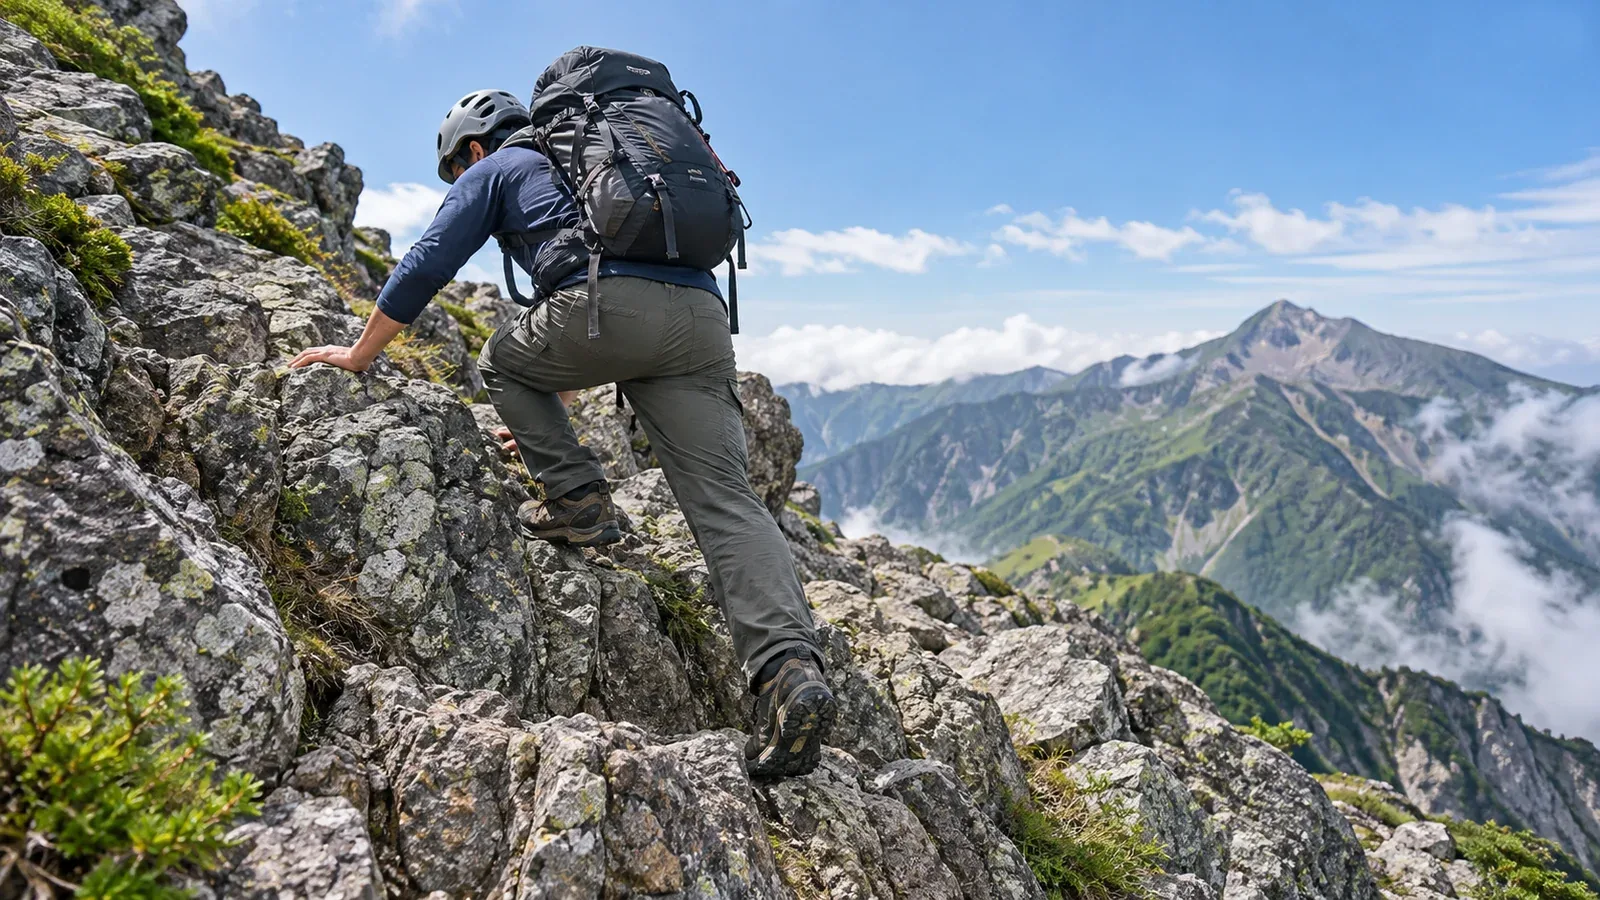
When a shoe slips on rock, look at the surface, the way you placed your foot and the shoe itself. The stiffness of the whole sole, the rubber and tread, and how the shoe fits all affect how it feels. Choose for the terrain and your load, and leave a margin when rock is wet or exposed.
This guide explains what stiffness and rubber change, how a pack can affect balance and what to check when you try on shoes for a rocky route.
What sole stiffness changes
The outsole is the rubber in contact with the ground. The midsole and any stiffening components also affect how the shoe bends. The flexibility of the whole shoe and the softness of the rubber are different properties.
A stiffer shoe can feel more supportive when you place its edge on a small solid foothold. For snow and ice, check the exact boot, crampon and binding combination against the manufacturer’s instructions before relying on it.
A more flexible shoe can conform to some broad rock surfaces and make foot placement easier to feel. Support, outsole and technique still matter. Try the shoe on low, secure terrain before relying on it with a loaded pack or on exposed rock.
How the rubber and tread affect grip
Rubber compounds are designed for different surfaces and uses. Some are made to grip rock, others for mixed terrain and durability. Softness alone does not tell you how a shoe will grip a particular wet or dry surface.
Tread shape and condition also matter. A wider contact area at the toe can help on some rock holds, while open lugs may shed mud better. Look at the specific outsole rather than assuming harder rubber grips or lasts better in every situation.
Approach shoes can combine a climbing zone at the toe with tread for walking. Climbing shoes and approach shoes are designed for different tasks. Compare heel grip, fit and walking comfort for the full route, including any long approach and descent.
What changes when you carry an overnight pack
A heavier pack changes how you balance and can make a small foot placement harder to hold. Keep the load stable, use a controlled pace and try the footwear with the pack you plan to carry on easier terrain.
For a rocky backpacking route, look for secure heel and midfoot fit, enough room at the toes on descent and support that feels right under your load. A higher cuff and a stiffer sole are options to try. Their suitability depends on the shoe, fit, terrain and your experience.
If the route mixes dirt, gravel and rock, look for footwear you can walk in comfortably that also feels stable on the rock you expect. No outsole guarantees grip, and a shoe can’t make an exposed move safe if you cannot control it.
Grip on wet and dry rock
Water, mud, algae, moss and ice can reduce grip even on rubber intended for wet surfaces. Test a placement on secure ground, and reassess wet slabs, steep traverses and any place where a slip could become a fall.
Keep stable points of contact while moving one hand or foot at a time. Avoid rushing or loading a questionable foothold. If you can’t maintain secure contact or the consequences of a slip are serious, use a permitted alternative or turn back.
Five checks when choosing footwear for rock
Use the route, your load and a test fit to choose footwear before your trip.
- Check the route. Look at recent local information for rock, exposed sections, wet areas, ladders and the descent, as well as the approach distance.
- Try the shoe with your planned load. Compare how models flex and support your feet with the pack you’ll carry. No fixed pack weight determines the right stiffness.
- Check heel and toe fit. Wear your hiking socks and walk uphill and downhill in the shop if possible. Look for a heel that stays in place, no painful pressure and enough room to avoid hitting your toes on descents.
- Check the outsole design. Read the maker’s intended use for rubber and tread. Consider the surfaces you’ll encounter and whether the model can be resoled.
- Inspect wear. Check for smooth or uneven tread, damage, loose soles and loss of grip. Use the maker’s care guidance to decide when to resole or replace the shoe.
Before you go
Look at the sole and fit of your current shoes and compare them with the route you’re planning. Try any new footwear on easier ground with the expected load. Nordwand’s Base Camp and groups can help you find hikers familiar with the area.
Further reading
- Japan Mountaineering and Sport Climbing Association technical training materials
- Geospatial Information Authority of Japan maps
- Footwear and crampon manufacturers’ technical information
References and sources
- Japan Mountaineering and Sport Climbing Association · Mountain coach training criteria
- Nagano Prefecture · Safe movement on rocky trails
- Geospatial Information Authority of Japan · Topographic maps
- Vibram · Example of a compound designed for wet rock
- SCARPA · Example of an approach shoe with a climbing zone
- Petzl · Crampon compatibility and technical instructions