
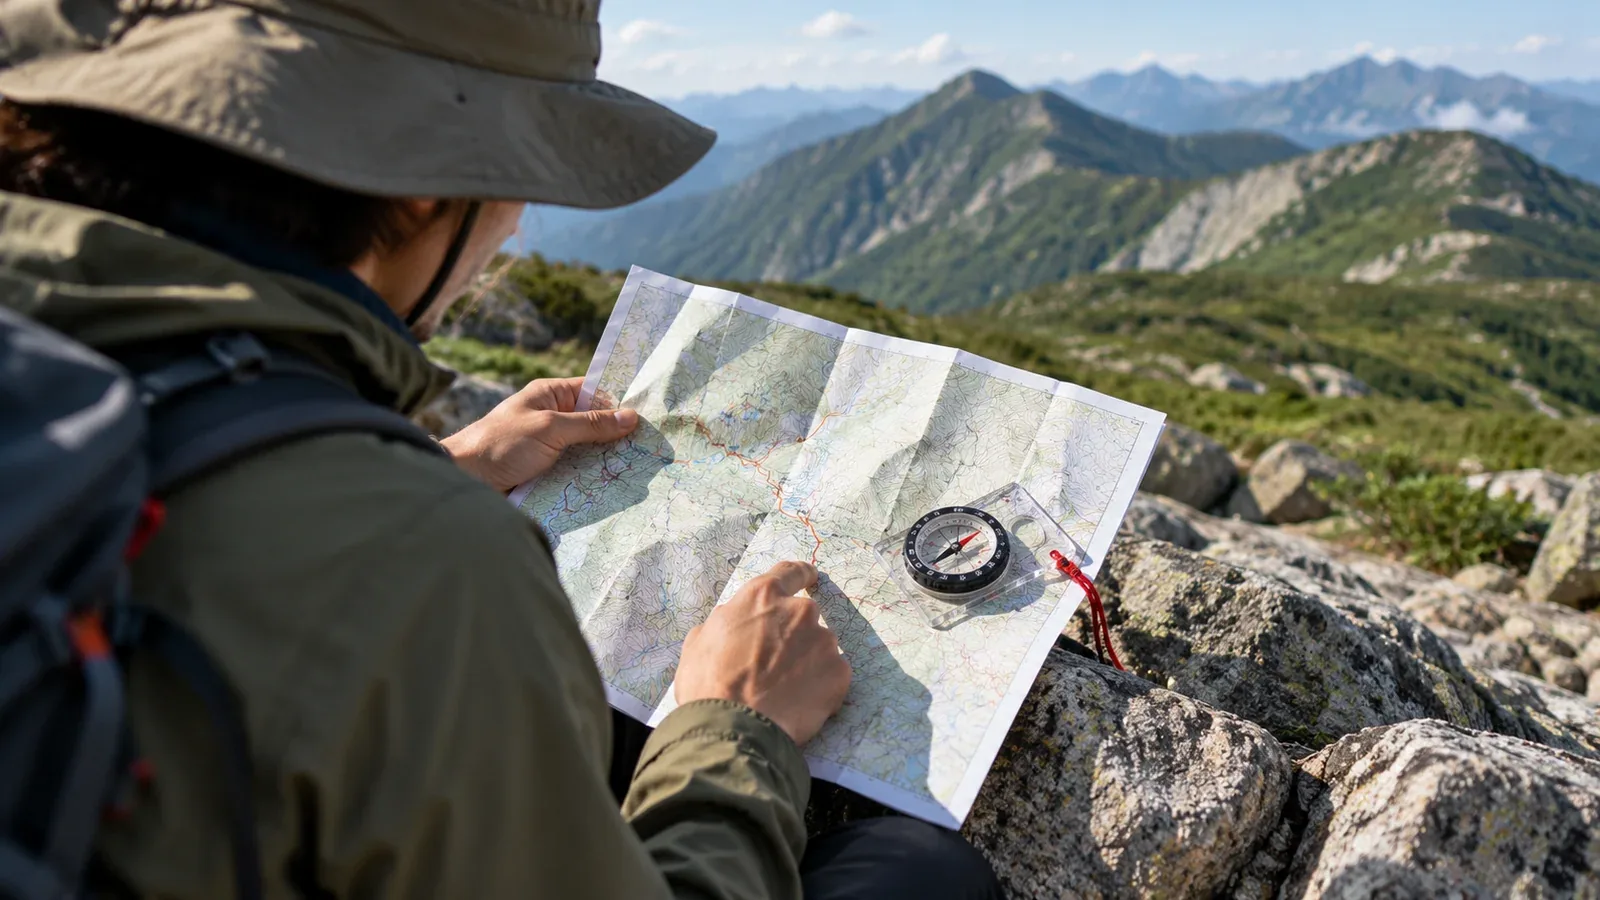
A Japanese hiking map may show figures like 1:30 or 0:45 along the trail. These are estimated walking times for individual sections, widely used as a starting point when planning a hike.
Those times do not guarantee that everyone can keep that pace. If you do not know how the estimates were made, your plan may slip badly and leave you descending after dark. When using a hiking map for the first time, learn what the figures mean and how to use them.
How map walking times are estimated
Publishers generally base the figures on an average hiking pace. Methods vary by publisher and map, but the estimates usually count time spent walking and exclude breaks.
What counts as an average hiker also varies. One map may use the pace of a fit adult man, while another may make allowances for a wider range of hikers. That is why two maps can give times several tens of minutes apart for the same route.
The times are shown section by section, so you get more than a single estimate from trailhead to summit. For example: trailhead to first rest area, 0:50, and first rest area to summit, 1:20. Comparing sections helps you see where a steep climb may slow you down and where you may move faster.
Finding your personal pace
The times on the map are a reference. Planning gets more accurate when you know how your own pace compares, expressed as a personal time multiplier.
If you are new to hiking, start by timing yourself on a short route you already know. Here is how.
- Write down the map’s walking time for each section.
- Record your start and arrival times for each section. Record the beginning and end of breaks separately.
- Add up only the walking time and compare it with the map’s estimate.
If the map estimates 3 hours 00 minutes and your walking time is 3 hours 45 minutes, your multiplier is about 1.25. Using it on your next hike gives you a more realistic estimate.
A common starting point for beginners is to allow 1.2 to 1.5 times the map’s walking time. Fitness, pack weight and trail conditions matter, so leave a generous margin on your first few hikes.
What the estimates leave out
Map times generally estimate only the walking itself. They usually exclude the following.
- Breaks: time for a drink, food or stopping to enjoy the view.
- Photos and map checks: even short stops can add up to 30 minutes or more.
- Crowds and waiting: chain-assisted or rocky sections on popular mountains can develop queues.
- Bad weather and changes in how you feel: muddy trails and changing temperatures directly affect your pace.
For a day hike, multiply the sum of the map’s section times by your personal multiplier. Then add breaks, allowing roughly 10 to 15 minutes per section as a guide. Use this estimated total to work backwards and decide when to leave the trailhead to finish the descent before sunset.
Beginners often underestimate the descent. Going down puts more strain on the knees, your pace may drop later, and fatigue can lead to mistakes in foot placement. Allow at least as much margin as on the ascent.
Why maps differ and what to check
Several publishers produce Japanese hiking maps, including Shobunsha’s well-known Yama to Kōgen Chizu series. Some digital map apps also show walking times.
Two maps may show different times for the same route because they use different assumptions. If you are starting out, allow the longer time to give yourself more room.
Many maps give different estimates for the uphill and downhill directions on the same section. Check the legend and direction arrows to match the figure to your direction. Using an uphill-only estimate for a round trip is a common beginner mistake.
How to use walking times in a plan
Keep the following points in mind when adding the times to your itinerary.
- Start with a route that totals 3 hours or less on the map. A short route makes it easier to learn what the estimates mean by timing yourself.
- Estimate total time as map walking time × your multiplier + breaks. If you do not know your multiplier, use 1.3 to 1.5 as a starting estimate.
- Work back from sunset to set your latest finish time. Before leaving, choose a turnaround point so you can turn back if you are likely to finish too late.
- Adjust for the range and season. Snow, ice, mud and overgrown trails slow you down. Account for the conditions instead of applying the usual estimates unchanged.
You cannot predict every change in weather or how you will feel. Leaving time in reserve is part of planning a safe hike.
What to do next
Open a hiking map or app and write down the estimate for each section of a route you want to try. Add the times without breaks, then estimate the total with breaks and work back from sunset to choose a start time. After walking a short route, compare your recorded walking time with the map to find your multiplier. Nordwand’s hike log makes it easier to review your times by section.
References
- Shobunsha’s Yama to Kōgen Chizu series: legends and notes on walking times for each map
- Geospatial Information Authority of Japan: using maps for hiking
- National Police Agency and prefectural police: mountain incident statistics