
When looking up a hike in Japan, you will soon see terms for going out and back, following a loop or attempting a ridge traverse. Each describes how you walk the route. Knowing the difference helps you interpret the map’s walking times and prepare for the trip.
The three terms describe how the trailhead, summit and point where you finish the descent fit together. Changing that layout affects how you pace yourself, what you carry, how you arrange transport and what risks you face. Understanding these terms is a first step toward a more precise plan.
Out-and-back: return along the same trail
An out-and-back route takes you from the trailhead to the summit or other destination, then back to the same trailhead along the same route. In Japanese it is called pisuton, after the way an engine piston moves back and forth along the same path.
The main advantage is that you already know the way back. On the descent you can recognise scenery and signs from the ascent, which is reassuring in a range you are visiting for the first time. The logistics are also simpler if you leave a car at the trailhead or if public transport only runs in one direction from the area.
You will, however, encounter the same hazards on both legs. A section that felt slippery on the way up is still slippery on the way down, when fatigue makes a fall more likely. Take note of trail conditions during the ascent. Add the walking times for both legs: if a summit is given as 2 hours away on an out-and-back, allow about 4 hours in total.
Loop: follow a circuit back to the start
On a loop (shūkai in Japanese), you take different routes up and down and finish at the same trailhead. You may also see it called a circuit.
As with an out-and-back, you return to your car or other transport at the same trailhead. The descent, however, takes you along a trail you have not seen on the way up. Put extra effort into two things: checking the terrain and signs on the descent in advance, and confirming on the map whether to follow the loop clockwise or anticlockwise.
Many loops have a recommended direction. A steep slope is generally safer to climb than to descend, so route guides often send you up the steeper ridge and down a gentler one. Check the noticeboard at the trailhead or official information for the area before choosing a direction.
Ridge traverse: link ridges and descend somewhere else
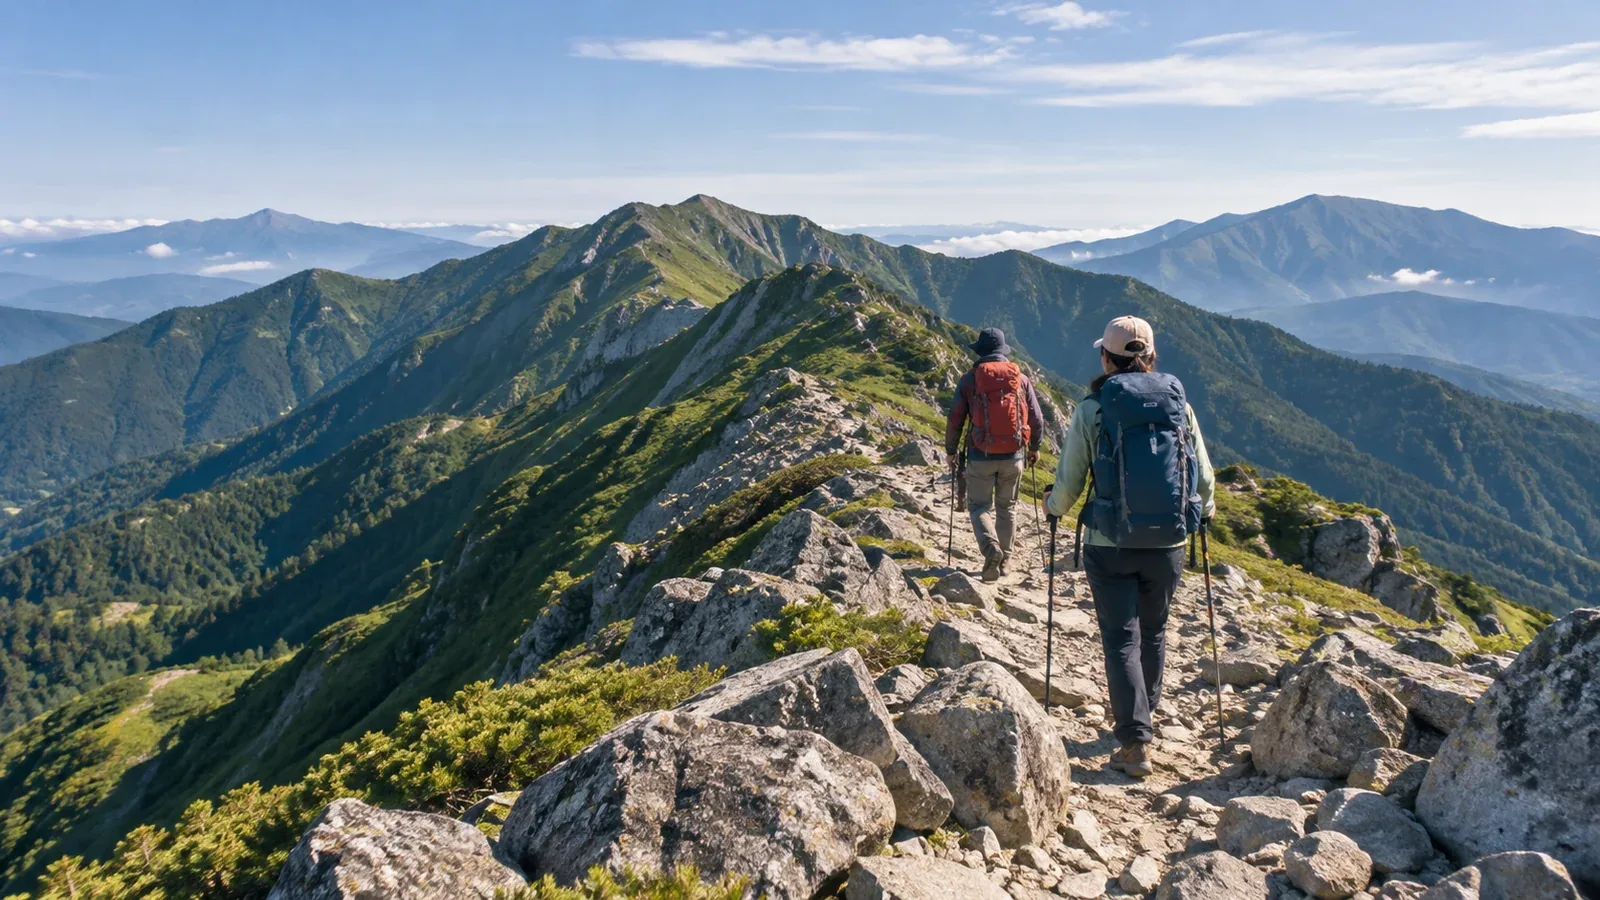
A ridge traverse (jūsō in Japanese) links several peaks or passes and finishes at a different place from where you started. As these routes often stay on the ridge for a long time, they are sometimes called ridge walks.
On a traverse you need transport at both ends. If you leave a car at the start, work out how you will get back to it after the descent: public transport, a taxi or a lift from someone in your group. On multiday traverses, check hut availability and opening seasons in advance. Look for current information from each hut, the local authority or the regional mountain tourism association.
Traverses tend to involve a large cumulative elevation change, including both climbs and descents. As well as the map’s walking times, allow for pack weight: carrying camping gear can change how long you need compared with staying in huts. On a first traverse, build a buffer into each day’s schedule.
How to choose between the 3 route types
Use the following four points to decide which route type fits your trip.
Transport constraints. An out-and-back or loop works well when you drive to the trailhead. Public transport or a lift opens up more options for a traverse.
Familiarity with the area. An out-and-back usually presents the fewest risks in unfamiliar terrain. You are less likely to lose your way on the descent, and it is easier to turn back if you tire sooner than expected.
Energy and time. A loop adds an unfamiliar descent. A traverse adds more time on the move and more gear to manage. Choose a route that gives you a comfortable margin for your fitness and the time available.
Weather and season. If the weather deteriorates during a traverse, you can spend a long time exposed to wind and rain on the ridge. Follow the forecast until just before departure, including the Japan Meteorological Agency’s mountain-weather information, and be ready to change your plan.
A progression for beginners
Many hikers start with out-and-back routes, move on to loops as they gain confidence and try traverses once they have more experience.
Out-and-backs let you practise reading a route, pacing yourself and deciding when to turn around. As you retrace your steps, you can look again at terrain you noticed on the climb and develop a better feel for the shape of the mountain.
When you try a loop, make a point of practising how to read the map for the descent. You often see less of the ground ahead on the way down and can miss signs more easily. Study the topographic map in advance and make a mental note of the junctions.
Multiday traverses take planning, suitable gear and steady management of your progress. Start with a short day traverse, such as linking neighbouring peaks and descending to a different trailhead, to practise arranging transport and managing your pack.
What to do next
Look up the mountain you have in mind and identify the route as out-and-back, loop or traverse while reading the map. Once you know the type, you can work out transport, walking time and how much gear to take. Nordwand trip reports show how other hikers have walked the same route. A certified guide is another option for routes that require transport coordination, such as a traverse.