
You might be looking for a route to try fixed chains for the first time, or you might have some experience and want a more demanding route. In either case, check whether the individual sections suit your skills before counting how many chains there are.
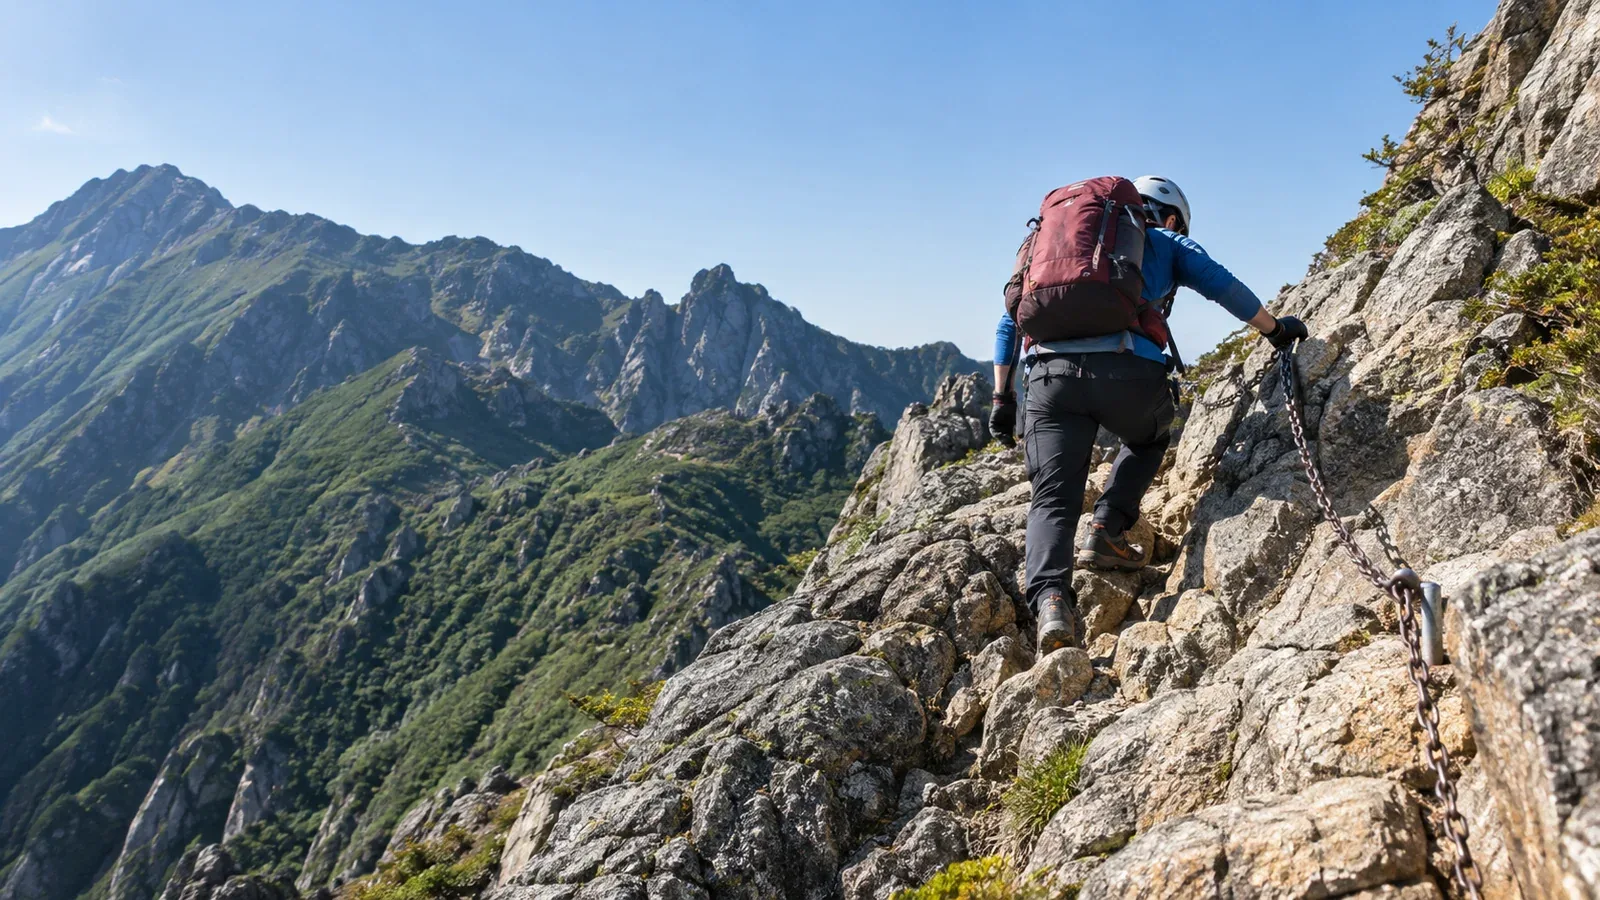
A chain section is a steep rocky part of a trail with a fixed chain to help hikers move through it. A fall can have serious consequences. A single long, near-vertical wall can be a challenge for a less experienced hiker. Here’s what to look at when choosing a route for your level.
Four things that determine how hard a chain section is
Use these four checks to assess a section.
Slope and rock
The steeper the rock and the fewer the holds, the more skill it takes to move steadily. Wetness, ice, mud and loose stones change the footing even on the same rock type. The Geological Survey of Japan at AIST provides an overview of the bedrock. Use the latest trail information and conditions underfoot to decide whether to proceed.
Consecutive sections and ways back
Several short sections in a row can be tiring. Some have separate ascent and descent paths, and turning back partway can be difficult. Check a route map and current reports for escape options, decide whether to continue before entering the difficult terrain and follow signs for the direction of travel.
Chain condition and maintenance
Chains and anchors can be corroded, bent or loose. Check the latest trail information from the operator or hut. If you see damage or a loose fitting, avoid using that chain or entering the section and choose a safe way back.
Queues and crowds
Popular chain sections can be busy on holiday weekends. Leave plenty of space and let others clear the section before you move on from a safe waiting place. Allow enough time so you don’t feel rushed by the queue.
How to assess your skills
Start with a short section where the footholds are easy to inspect and you can turn back before entering. Use official route grades and current reports to check slope, footing, fall exposure and ways out. Learn the skills for repeated difficult passages or exposed ridges with an experienced hiker or qualified guide before attempting them.
Secure footing on steep ground is the starting point. On rock, ladders and chain sections, stow poles and keep three stable points of contact, moving one hand or foot at a time. Use the chain for assistance, check your footing and leave plenty of space between you and other hikers.
Wear a climbing helmet on rocky and chain-assisted sections for protection from falling stones and head injuries in a fall. Check the local rules and recommendations, and put it on in a safe place before the difficult section.
Gloves can protect your hands against rock and metal. Choose a pair that fits and lets you hold securely. Check your grip when the gloves are wet.
How to read routes known for difficult chain sections
Hatchō Ridge on Mount Ryōkami, the rock ridge on the Okusha side of Mount Togakushi and Bessan Ridge on Mount Tsurugi all have sections where falls are a serious hazard. Use route maps from local authorities and police to check the following for each route.
- Where the crux is: Is it near the start or just below the summit? A crux reached after hours on the trail requires planning for fatigue.
- Whether you can avoid the chain sections: Other trails on the same mountain may have fewer or different chain sections.
- Current restrictions and closures: Rockfall or damage can close a section. Check official notices from local authorities, trail operators and huts just before setting off. Account for rain, fog and snow too.
Three checks before departure
Read topographic and route maps. Closely spaced contours on GSI Maps show steep ground. Compare them with a route diagram to see where the chains are and what terrain surrounds them.
Ask the hut or trail operator. Calling or emailing is a way to ask about recent conditions, how demanding the section is and what gear is needed. Huts may have local reports from people who recently used the trail.
Save energy for the descent. Footholds can be hard to see and fatigue can build on the way down. Estimate ascent and descent separately, allow for queues and delays, and set times to clear the chain section and to turn back.
Next steps
Think back to routes you’ve already walked and whether you could move steadily through any chain sections. Compare route maps, official notices and current conditions before choosing the next route. If you want a guide, ask about their qualifications for rocky terrain and the areas they cover.
References
- Geospatial Information Authority of Japan: GSI Maps, topographic maps and elevation data
- National Police Agency and prefectural police: mountain incident statistics and safety information
- Official information from local authorities, mountain huts and trail operators
References and sources
- Nagano Prefecture: guidelines for safe mountain hiking
- Nagano Prefecture: areas where helmets are recommended
- Nagano Prefecture: Shinshū mountain route grades
- Saitama Prefectural Police: Mount Ryōkami mountain incident hazard map
- Nagano City: hiking information for the Togakushi area
- Toyama Prefecture: detailed map of the Bessan Ridge route on Mount Tsurugi
- Geospatial Information Authority of Japan: GSI Maps
- Geological Survey of Japan, AIST: Seamless Digital Geological Map of Japan
- National Police Agency: mountain incident statistics