
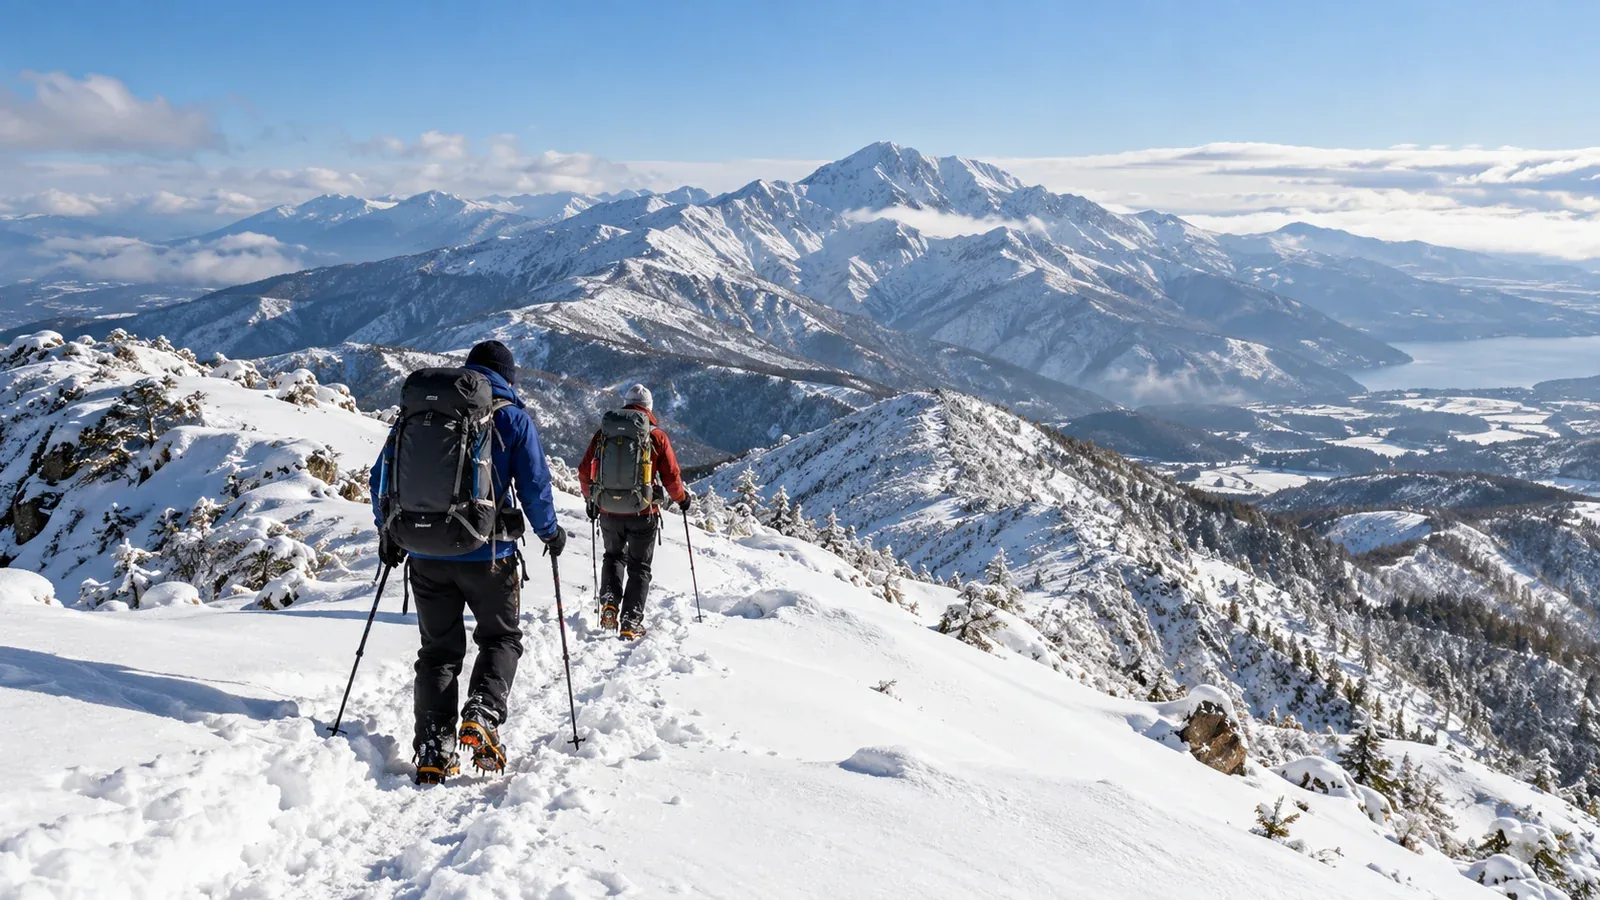
If you want to hike in the snow, it can be hard to know where to start. Even on low mountains, winter conditions bring risks of falls, hypothermia and whiteouts. A route described as beginner-friendly can change considerably with the season, weather, equipment and experience of the group.
This guide explains how to tell whether a route fits your current skills and equipment, and how to research and narrow down your choices.
Winter hiking requires different skills
Even a trail rated easy without snow can require different skills and equipment on snow and ice. The choice of chain-style traction, crampons or an ice axe depends on the surface, the slope and what would happen if you slipped. Learn to use equipment in a safe place before entering terrain where you need it.
Snow, fog and blowing snow can hide landmarks and trails. Check your position with a map, compass or a map saved for offline use. Tracks alone can lead you astray. If visibility deteriorates and you can’t verify the route, stop advancing.
Five things to check when choosing a route
Use these five checks for your first trip on snow.
1. Slope and terrain
Choose a short route where you can turn back easily and avoid steep slopes, exposed ridges and gullies. Trees may reduce the wind, but it is still possible to get lost or encounter avalanche terrain in a forest.
Slope angle alone can’t tell you whether the route suits a beginner. Use a topographic map to locate steep slopes. Check where avalanches from slopes above could reach you, where snow or debris can collect in gullies and what lies below a potential slip. Choose a route that avoids avalanche terrain.
2. Descent time and daylight
Deep snow, breaking through the crust, ice and putting equipment on or taking it off can all slow you down. Use winter route information and your group’s pace to estimate time, and add a margin for breaks and delays. Set a turnaround time so you can finish with plenty of daylight left.
3. Escape routes and emergency shelters
Check where you can turn back or find emergency shelter if the weather changes. Look up opening arrangements for shelters and staffed huts with the operator or local authority. They can change from year to year.
4. Reliable access
Roads to trailheads or car parks may be closed in winter. Public transport may use a winter timetable or suspend some routes. Check current restrictions with local authorities or road managers and look up the operator’s timetable.
5. Your skills and equipment
Make sure you have equipment for the day’s conditions and know how to use it. Bring winter boots, insulating layers, windproof and waterproof clothing, gloves and spares, a hat, a headlamp, a map and compass and emergency insulation and bivy gear. Choose traction devices, crampons or an ice axe based on the route and snow, and practise using them.
How to read reports on “beginner-friendly” winter hikes
Guidebooks and online articles make assumptions when they describe a route as suitable for a first winter hike. Their date, equipment and snow conditions may differ from yours.
Check the following details.
- When was it written? Access rules and hut arrangements may have changed since an older report.
- What time of year does it cover? Snow conditions on the same mountain can differ considerably between January and March.
- What equipment does it assume? A report saying light crampons were sufficient refers to a particular set of conditions.
The person posting a trip report may have different experience, fitness and gear. An uneventful trip for an experienced winter hiker gives only part of the picture for a beginner.
What you can learn with an experienced leader or guide
For a first outing, go with a leader experienced on snow or a guide qualified for the route. In the field you can learn how to choose equipment for the surface and how to respond when the weather changes.
Practise fitting crampons and walking in them, checking your location on a map and deciding when to turn back. Build those skills through training or guided practice over time. Before going alone, make sure you can apply the skills and make decisions in a range of conditions.
If you hire a guide, confirm that their qualifications cover winter hiking and that your route is within their scope.
Where to check winter conditions
Keep checking these sources up to departure.
- Weather: Check Japan Meteorological Agency regional forecasts, warnings and advisories, and a forecast for the area and elevation. Look at wind, temperature, snowfall and visibility.
- Snow and avalanches: Check Japan Meteorological Agency avalanche advisories, local snow reports and Japan Avalanche Network bulletins where and when issued. Plan a route that avoids avalanche terrain even if no bulletin is available.
- Trail conditions: Check official information from the local government, forest management office or mountain hut.
- Access rules: Confirm winter closures and restrictions with the local authority or park office.
Check again the day before and the morning of departure. Conditions can change considerably in a few days.
Next steps
Check winter conditions for your shortlist with local authorities, huts or forest managers. Write down the gear your route and conditions require and practise using it. Ask experienced hikers in Nordwand’s Base Camp and consider a course or a first trip with an experienced leader or qualified guide.
References
- Japan Meteorological Agency: regional forecasts, warnings and advisories
- National Police Agency: mountain incident reports
- Japan Avalanche Network: avalanche bulletins and terrain
- Ministry of the Environment: park-specific visitor rules
References and sources
- Nagano Prefecture: winter mountain and backcountry safety
- Nagano Prefectural Police: winter mountain safety guide
- Yamanashi Prefectural Police: safe winter hiking
- Japan Avalanche Network: avalanche bulletins
- Japan Avalanche Network: terrain exposed to avalanches
- Japan Meteorological Agency: weather forecasts
- Japan Meteorological Agency: warnings and advisories
- National Police Agency: mountain incident statistics
- Ministry of the Environment: national park visitor etiquette