
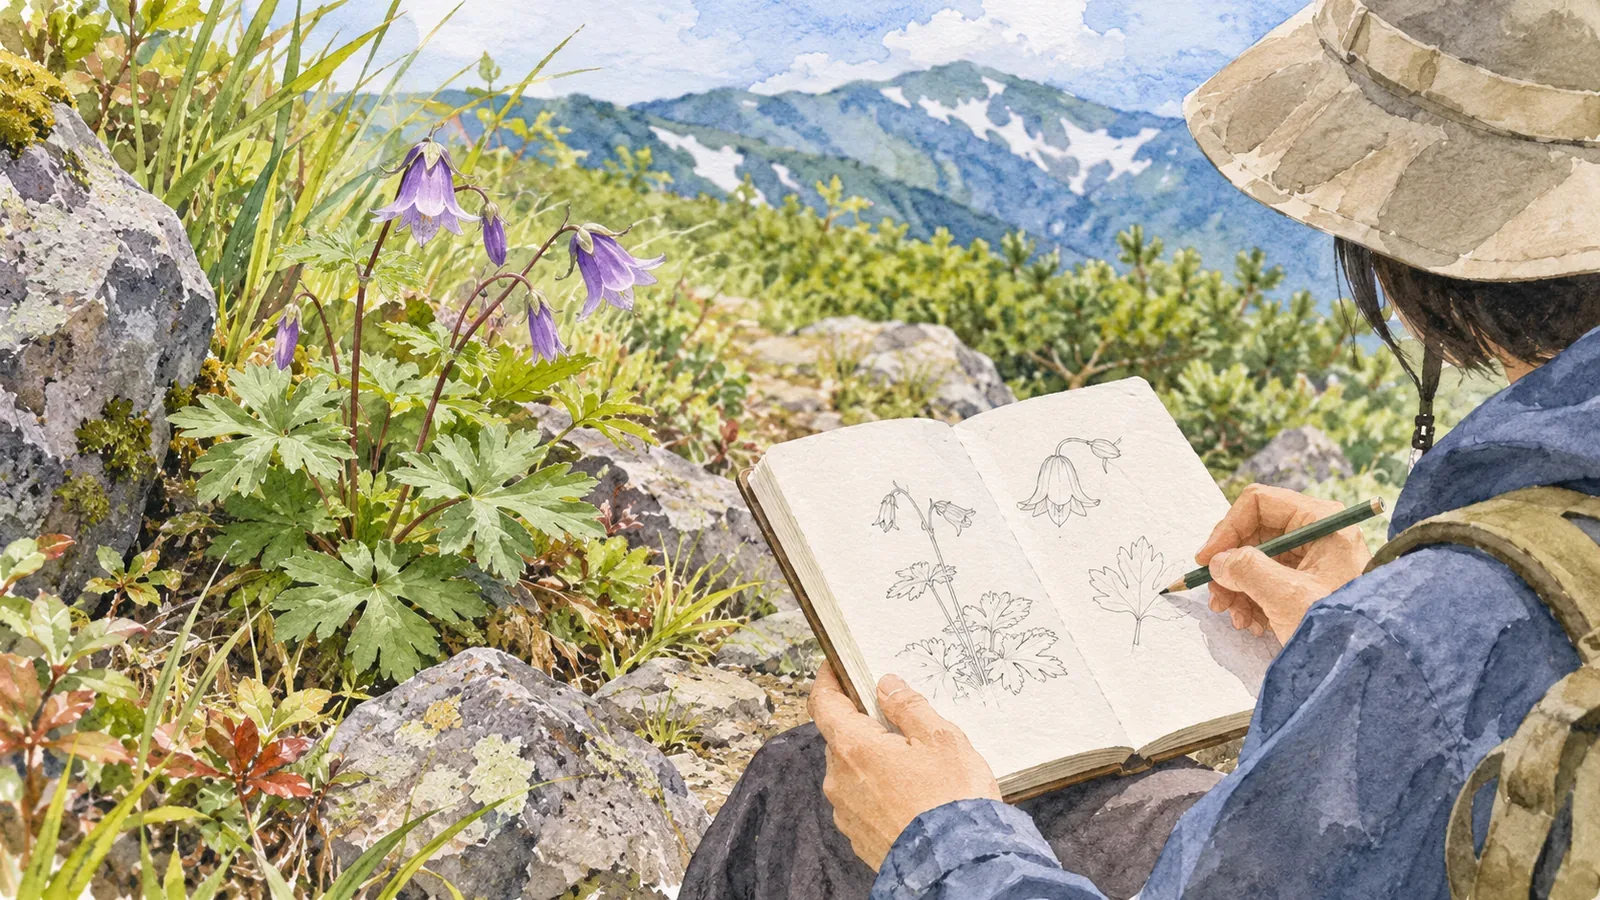
Choose an order for looking at a plant, then stop on stable ground and record what you can see. Use words and simple lines for the whole plant, its leaves, flowers or fruit and surroundings. These details can help you look it up at home. The method below draws on park guidance and seasonal monitoring. Mark details that were out of view and leave uncertainties open.
Leave the plant in place and record visible features
Article 20, paragraph 3, item 11 of Japan’s Natural Parks Act regulates collection of and damage to alpine and other plants designated by the environment minister in special zones of national and quasi-national parks. The ministry explains that the system maintains the landscape and helps protect rare plants. The list is organized by park and marked current as of July 22, 2025. Check the list for your destination before you go.
Nagano Prefecture asks visitors to enjoy plants and animals in place. Collecting or capturing them may be prohibited and penalized depending on the location and species. Fuji-Hakone-Izu National Park also asks visitors to leave flowers and plants where they are and follow any site-specific rules.
Leave all plants in place and put the visible shapes on paper for later. The trail may give you only one side or hide some details. Keep branches where they are and stay on the path. Mark what you couldn’t check. If the notes leave the name uncertain, you can leave it open.
Look from the whole plant to the details
Start with larger features you can see from a distance, then work toward the details. The farther away you are, the harder the smallest features will be to see. Try this order.
First describe the overall form: woody or herbaceous, growing upright or spreading along the ground. Next come the leaves: arrangement, toothed or smooth edges, and general color. For flowers, note color, visible number and direction. Add any traces of flowers or any fruit. Finally, describe the setting: sunny or shaded, rocky or in woods. Label estimates as such. A boot at your feet or the width of the nearby path gives little sense of the size of a distant plant. If you can’t tell, leave the size unknown.
Write “out of view” for a feature you couldn’t see. A blank could also mean you didn’t look. The distinction helps when you try to identify the plant. A separate article explains how to handle the species field.
Sketch and photograph what you can see from the trail
A rough outline of the whole plant and one detail of a leaf or flower are enough. Add a few words with arrows. A photo captures the view you frame, while a sketch can single out a shape or arrangement. A photo can miss details because of focus, lighting or an obstruction. Add notes for details that don’t show and for what drew your attention.
Stay on the trail for both. Nagano Prefecture explains that leaving it to photograph can damage the path and expose you to a fall. Keep out of vegetation and roped-off areas. Trampling plants can leave bare ground and change what future visitors will see. Mark any part you can’t see from the trail as “out of view.”
Stop before drawing or writing. On a narrow trail, Nagano recommends waiting on the safe uphill side, away from the exposed edge, and watching for loose stones and rockfall. If there’s nowhere stable to stop with room to pass, leave the entry for later. Mark anything you write from memory as “recalled after the hike.” A line saying there was nowhere to stop also records why you skipped it.
Keep single visits and repeated observations clear, and practice at home
Japan’s National Institute for Environmental Studies started a long-term volunteer monitoring program in fiscal year 2021 with the Japan Meteorological Agency and Ministry of the Environment. It recommends a site accessible three or four times a week, ideally daily and at least once a week. Volunteers can report what they recognize or follow just one favorite species.
A single hike records what you saw on that day, in that place. For the first day of flowering or leaf color, you would need repeated visits. The phenology manual accounts for differences in individuals and growing conditions by following a selected tree. It records any replacement and the year the new tree was chosen. If you can return to a place, focus on one species and use the same fields to compare plant shapes.
Japan’s National Police Agency’s 2025 report recommends a schedule with enough time for rests. Allow time for drawing and writing, and end the observation early if you fall behind. The planned descent and how you feel take priority over finishing the sketch. An incomplete entry can still tell you what to look for next time.
Practice at home with a potted plant or a flower in a vase. Follow the same order, sketch the outline and add a few words. A familiar routine can keep the session brief when footing and time are limited. Time your practice to get a sense of how long you need.
In brief: Stop safely and draw what you can see
Check the rules and decide what to look at first. Write from a safe stop on the path. Mark what you couldn’t see and skip the entry if there’s nowhere safe to stop. Check the park’s designated plants and local rules, write down your observation order, and try a sketch at home. Use each entry to describe that day. If you can return, compare the same species.
References and sources
- Japan Ministry of the Environment: Designated plants in national and quasi-national parks
- Nagano Prefecture: Guidance for park visitors and hikers
- Japan Ministry of the Environment: Visitor etiquette in Fuji-Hakone-Izu National Park
- National Institute for Environmental Studies: Citizen monitoring of seasonal changes in plants and animals
- Climate Change Adaptation Platform: Phenology Observation Manual, version 3
- National Police Agency of Japan: Overview of mountain incidents in 2025