
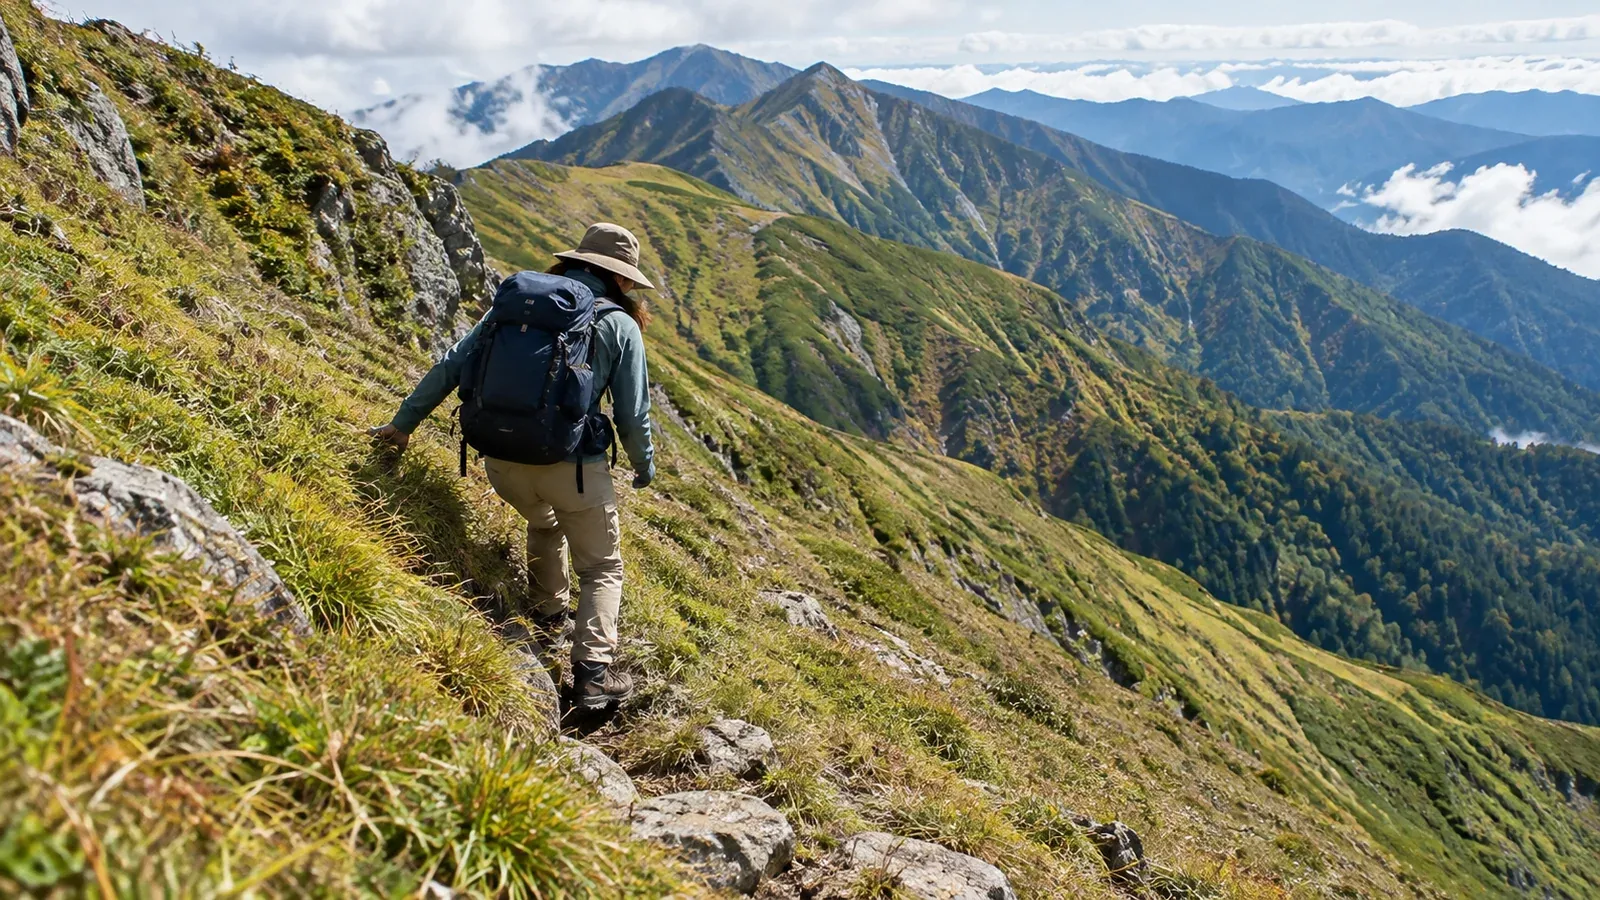
A fall can start on wet roots, loose stones or a grassy slope that looks easy to cross. In Japan’s 2025 police figures, 626 of the 3,623 people involved in mountain incidents were classified under sliding falls. The figure shows how common these incidents are, while local reports illustrate the terrain where they can happen.
Judge a passage by its footing, its exposure and what would happen if you slipped. Here is what to check before committing to it.
Terrain where slips can become serious
A small loss of grip can have very different consequences on a broad path and on a narrow traverse above a drop.
Slopes that look manageable. A grassy hillside, loose slope or snow crossing can look walkable from a distance. Even a moderate incline can be dangerous if you have no way to stop a slide before a drop, rocks or a stream.
Surfaces that look solid but are unstable. Leaves or sand on rock, wet roots and boards, thin ice and stones that shift underfoot can all offer less grip than expected. Slow down and choose visible, stable footing.
Later sections of a descent. Fatigue, haste and fading daylight can make your steps less controlled. Shorten your stride and stop somewhere safe if you begin to stumble or struggle to hold your pace.
Five things to check before crossing
Pause where you can stand safely and check what would happen if your footing failed, what you can see and whether you can turn back.
1. Look at where a slip would take you
Check what lies below the route. A slope running into a drop, boulders or a stream raises the consequences of even a short slip. Choose a safer marked alternative or turn back if you cannot manage the exposure.
2. Check that you can see the footholds
Grass, flowing water and snow can hide the surface beneath. Look for a stable, visible line before putting your weight on a foothold. If you cannot verify the surface from safe ground, choose another way or turn back.
3. Check whether rock and stones are secure
Before relying on a hold, assess it from a stable position. Avoid pulling on suspect rock or stepping on stones you cannot trust. Keep people out of the line below loose material and move one at a time where appropriate.
4. Check the grip of your footwear
Mud in the tread, wear and wet surfaces can all reduce grip. Inspect your footwear before departure. Stop in a safe place to clear clogged tread or reassess if it no longer grips well.
5. Check your time and energy
A passage you can handle when fresh may be harder when you are tired or running late. Consider the slowest person in the group and whether everyone can cross and return safely. Decide before you commit.
What to watch for on different surfaces
Grassy slopes
Wet grass can be slippery, and grass may hide smooth rock or soft ground. Stay on the marked path and use deliberate steps where there is stable footing. Poles may help with balance on suitable ground. Turn back if a slip could take you over a drop.
Snow crossings
Snow may remain at elevation in summer. It can be hard or icy after a cold night and soften as temperatures rise, sometimes hiding weak snow bridges or running water. Check the latest report from the trail authority, police or hut. Travel on steep snow requires equipment suited to the conditions and the skills to use it. Turn back if either is missing or the consequences of a slip are severe.
Steep descents
Keep your speed controlled and use short, stable steps suited to the surface. Follow marked switchbacks. Straight shortcuts can leave you on loose or steeper ground and damage the trail.
Approaches to chains and ladders
Check the footing before, during and after a fixed aid. The approach or exit can include wet rock or loose stones. Wait in a stable place for room, and avoid pulling on equipment that looks damaged or continuing past your ability.
When to question an easy-looking passage
Pause when your confidence is based on someone else’s movement, a previous visit or the appearance of the map.
- Another hiker crossed it, but their equipment, experience and balance may differ from yours.
- It was dry last time, but the surface can change with rain, frost, snow and trail damage.
- It looked easy on the map, but a map may leave out loose stone, wet roots or running water.
Identify a turnaround point before entering exposed ground. It is easier to reassess while you still have secure footing, time and a clear route back.
Before your next hike
Check the planned route for steep descents, traverses and lingering snow. Look up the latest weather and trail reports, match equipment to those conditions and agree on when to turn back. Nordwand can help you find local accounts or connect with hiking partners. A qualified mountain guide can help if you are learning to assess unfamiliar terrain.
References
- National Police Agency mountain incident statistics
- Fire and Disaster Management Agency rescue reporting
- Geospatial Information Authority of Japan map guidance
- Official notices from prefectural mountain rescue teams
References and sources
- National Police Agency — Japan’s 2025 mountain incident figures
- Fire and Disaster Management Agency — Rescue activity reporting
- Geospatial Information Authority of Japan — Topographic maps and magnetic declination
- Nagano Prefectural Police — June 2026 mountain incident bulletin
- Gifu Prefectural Police — May 2026 patrol on Mount Norikura
- US National Park Service — Spring hiking and snow hazards
- Japan Meteorological Agency — Weather forecasts