
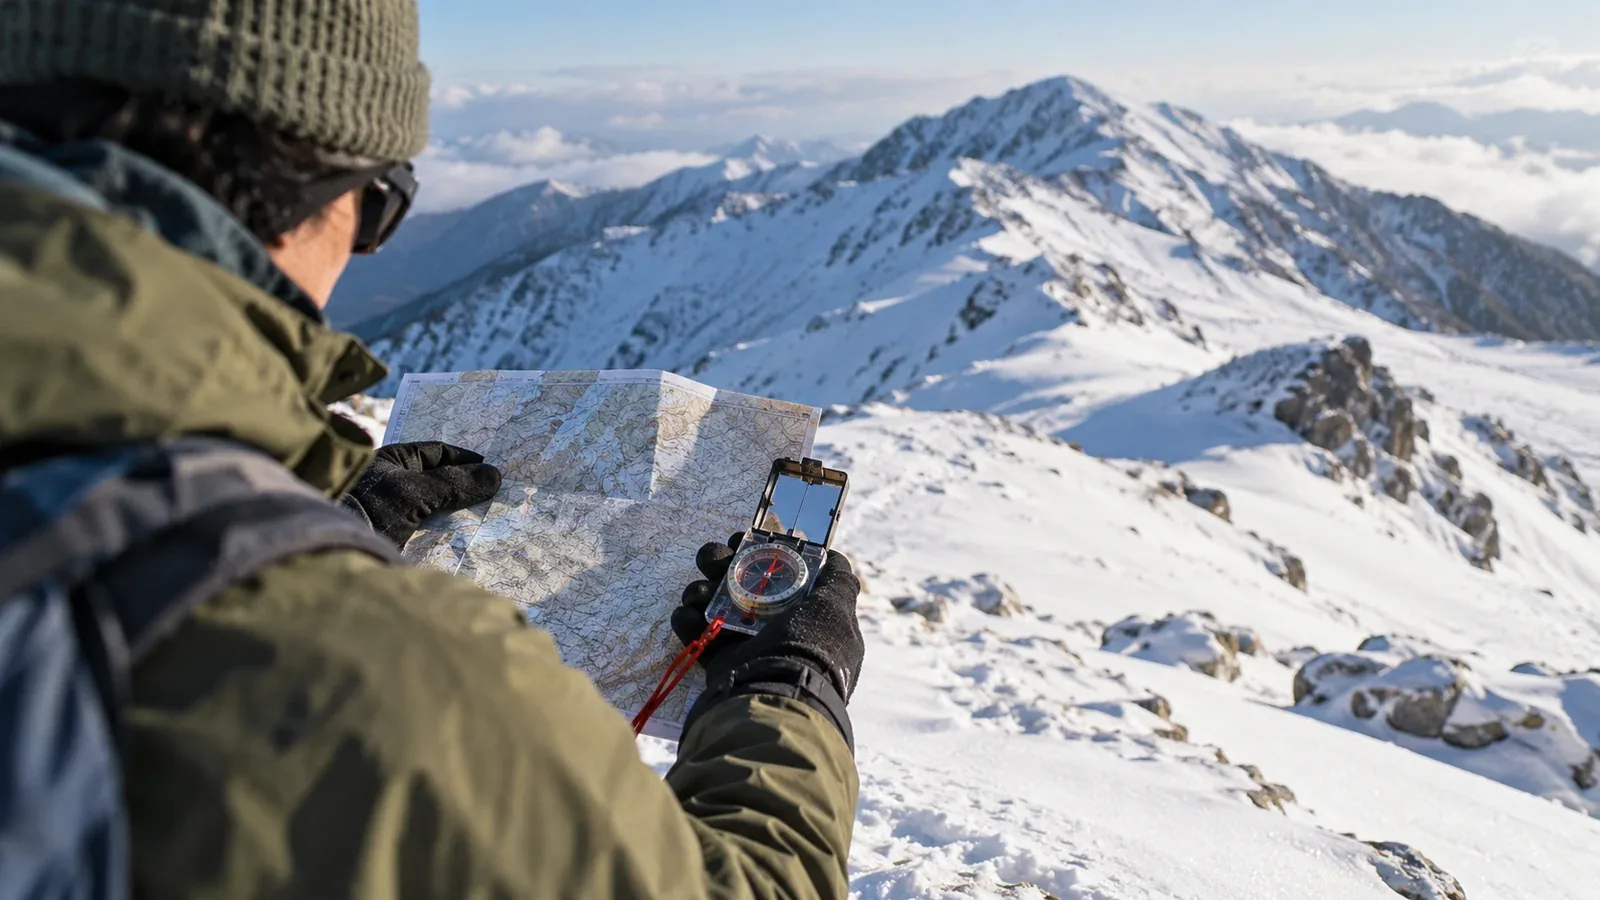
A familiar trail can look different when snow buries signs and erases footprints. Route finding means knowing where you are, choosing a line for current conditions and checking it as you go.
A wrong turn can cost daylight and take you towards an avalanche path, cornice or steep slope. This guide focuses on planning for those changes, checking your position and deciding when to stop or turn back.
How snow hides a summer trail
Wind moves snow unevenly. Drifts can cover paths and signs, while exposed sections may be scoured or icy. Snow can fill a trail's shallow groove so it blends into the surrounding slope.
In flat light, even nearby hollows and slope changes may be hard to see. Fog, cloud or blowing snow can produce a whiteout and remove the horizon and most visual references. Plan how you will navigate and retreat before you lose them.
Study the route before leaving
Use the map to identify where the summer path may be hidden and where the usual line may cross winter hazards. Check current local information for closures or a designated winter route.
A topographic map such as Japan's 1:25,000 mapping helps you identify features and plan each leg. Look for these areas.
- Ridges. A ridge can be a useful handrail, but wind, ice and cornices can change where it is safe to travel. A cornice can break behind the visible edge. Plan a line away from it and from the slope beneath.
- Wooded ground. Trees may provide references, while the actual path can disappear between them. Check contours and direction, and consider slopes or avalanche paths above openings.
- Broad slopes and plateaus. Widely spaced contours may provide few distinct references. Plan bearings and checkpoints before entering a featureless area.
- Saddles and changes of direction. Note the expected descent, the low point and the direction of the next rise. Check for exposed slopes or cornices before crossing.
Mark decision points, safe retreat options, turnaround time and terrain to avoid. Consider avalanche start zones, tracks and runouts, and share a trip plan with someone who can raise the alarm if you are overdue.
Cross-check terrain, compass and GPS
Use independent checks. If they disagree, stop on safe ground and find out why before continuing.
Read the terrain
Compare the map's contours with visible ridges, gullies, rocks and changes in slope. Identify what should come next and what feature would show that you have gone too far. Recheck whenever you reach a junction or leave a known point.
Use a compass for direction
Set a bearing for a leg you have assessed for hazards. Use the relevant map and compass correction and keep metal and electronics from affecting the reading. Practise following short legs and checking distance on safe ground with gloves before using the technique in poor visibility.
Check position with GPS
An offline map and GPS device can help confirm position. Check the location accuracy and compare it with terrain and compass, especially near cliffs or in poor signal conditions. Carry a protected paper map, compass and suitable spare power. Download and test the maps and route offline before leaving.
What to do when the clues disappear
When footprints end
Tracks may lead to a different destination or into dangerous terrain. Stop at a safe stance. Check the last position you confirmed, where you are now and what should come next. Return to a known point only if you can do so safely.
When visibility worsens
Stop before entering terrain you cannot assess. If you know a safe route back to a confirmed point or shelter, consider using it before visibility gets worse. If movement could expose you to a fall or avalanche, protect the group where it is safe to wait. If you cannot move safely and need rescue, call 110 or 119 in Japan and share your location and conditions.
When a buried trail seems to be nearby
A guess about the summer path is a poor basis for dropping down an unfamiliar slope or climbing a ridge. Stop, check your position and compare alternatives from secure terrain. If you cannot verify a safe line, use a confirmed retreat if possible and ask for help if needed.
Build navigation skills in stages
Practise when you have room for mistakes and can turn back. Use an instructor for your first winter sessions.
- Learn map and compass skills without snow. Match contours to terrain, follow bearings and check distance on familiar ground.
- Move to gentle snow with low exposure. Choose terrain free of connected avalanche slopes and serious fall hazards. Confirm your position even when tracks are visible.
- Practise with a qualified guide or experienced instructor. Ask them to review your route, bearings and decisions to turn back.
- Practise limited visibility in controlled terrain. Use a training setting with known boundaries and a safe return. Stop when conditions exceed the agreed training plan.
For your first winter outings, go with people who can check navigation and terrain decisions with you. Practise using a second source to confirm position before committing to exposed ground.
Your next step
On a topographic map, mark broad plateaus, ridge changes and transitions from trees to open ground. Add winter hazards and safe turnaround points. Check the latest weather, regional avalanche observations where available and official access information. If you find a guide through Nordwand, ask about winter navigation training.
Official and technical resources
- Geospatial Information Authority of Japan topographic maps and slope layers
- Japan Meteorological Agency warnings and avalanche terrain guidance
- National Police Agency statistics and winter navigation training
References and sources
- Geospatial Information Authority of Japan — Topographic and slope information
- Geospatial Information Authority of Japan — GSI Maps
- Japan Meteorological Agency — Weather warnings and advisories
- National Police Agency — Mountain accidents and statistics
- Mountaineering Scotland — Winter navigation
- Mountaineering Scotland — Cornice hazards
- Japan Avalanche Network — Avalanche terrain and runouts
- Japan Avalanche Network — Scope of regional observations
- Prime Minister’s Office of Japan — Winter mountain preparation