
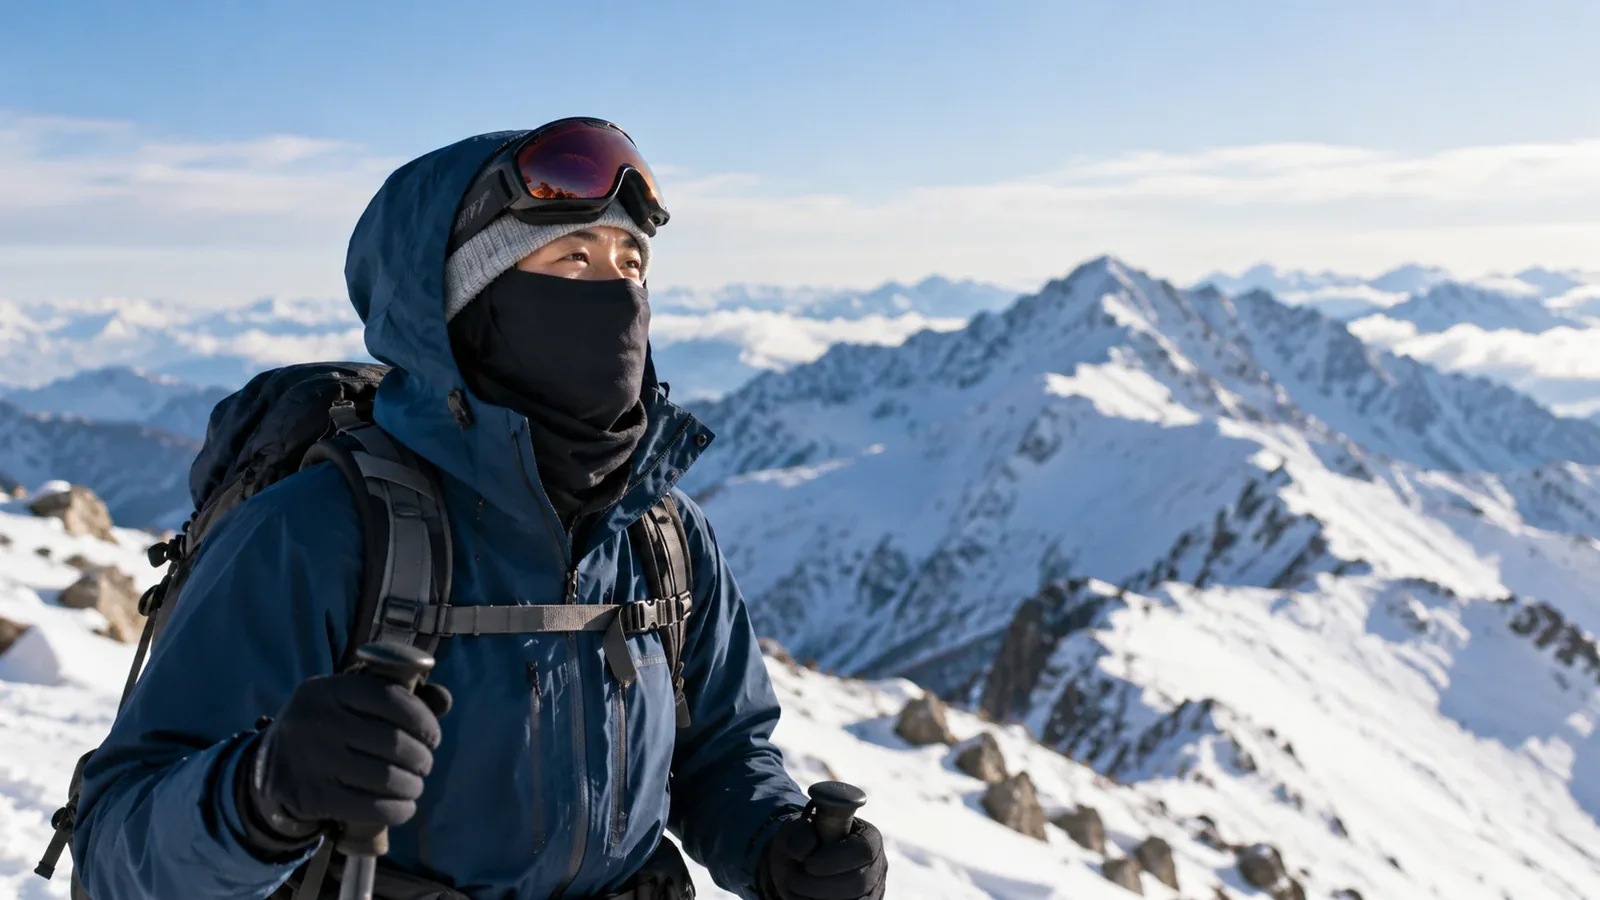
In snowy mountains, wind and cold can chill exposed cheeks, ears and nose. A balaclava and a neck gaiter cover different areas and can work with a hat, hood, helmet and goggles. This guide explains how to choose, adjust and change them on the route.
Bring the protection your route and forecast call for, with a way to keep it dry or replace it. A light gaiter may be useful for sheltered movement. More coverage can help on an exposed ridge or during a long stop.
How a balaclava and a neck gaiter differ
A balaclava is a fitted hood that covers the head and neck and usually part of the face. Openings vary. Some expose most of the face and others cover the nose and mouth. Choose coverage that keeps the eyes clear and lets you breathe comfortably.
A neck gaiter is a tube that covers the neck and can often be pulled up over the chin, cheeks or nose. It is easy to adjust as your effort changes. Check that it stays in place and works with your hood and goggles.
A balaclava can cover the crown, ears and forehead as well as the neck. A gaiter generally leaves the upper head and ears to a hat or hood. Think through the combined coverage and wind protection before choosing.
Choosing fabric and thickness
Choose by effort, moisture, wind and how long you expect to be exposed. These are common options.
Thin polyester or merino blends. A light layer can help manage sweat on the move. Check how it dries and whether it fits comfortably under a hat or helmet.
Midweight fleece or wool. A warmer layer can help at a stop or in exposed terrain. Make sure the fit leaves room for the layers you plan to combine.
Wind-resistant panels or fabric. These can add protection on an exposed ridge. Some designs may hold more warmth or moisture while moving. Check ventilation around the nose and mouth.
Gaiters also come in thin, fleece and wool designs. Fabric and thickness affect drying. Bring a protected dry option if the one you wear could get wet from sweat, breath or snow.
When to use each covering
Adjust coverage when moving and stopping
During a climb, you may need to vent a light covering if conditions allow. Before stepping into strong wind or stopping, cover exposed skin and add a warmer dry layer or hood as needed. Make the change in shelter when possible.
A gaiter can add coverage at the neck over a balaclava. Check that the combination does not bunch, restrict movement or interfere with other equipment.
Check the fit with goggles and a face covering
Try the exact balaclava, goggles and helmet together. Arrange the layers so the goggles sit securely, you have a clear field of view and their vents remain open. Check the manufacturer’s fitting guidance. Change the arrangement if the face covering pushes the goggles out of position.
Moisture from breath can collect near the goggles and fog the lens. A suitable fit can direct breath away from the lower edge of the lens. Try the setup before the trip and make adjustments from a safe, sheltered position if you lose visibility.
Practise putting it on and taking it off
With the gloves or mitts you will use, practise adjusting and removing each layer. Find a way to do it without exposing your hands or losing a loose item in the wind. Use a secure pocket for anything you take off.
Managing damp fabric and freezing
Sweat, breath and snow can wet a face covering. When you stop or the wind picks up, damp material can cool and stiffen. Keep a dry replacement protected from moisture.
These steps can help you plan for a change.
- Choose a breathable layer for movement and keep a dry warmer option accessible for stops or delays.
- Check the drying time of the actual fabric, and decide where to keep wet layers separate from dry ones.
- Change in a sheltered, secure place while you can still use your gloves and see clearly. If your skin becomes numb or unusually pale, end the cold exposure and seek medical help if you suspect frostbite.
How many to pack for an overnight trip
Plan coverage for movement, stops and a delay. On a day trip that could wet or freeze your main covering, carry a dry replacement that gives enough protection for the route. For an overnight outing, allow for the chance that a wet layer will not dry before morning.
Keep each layer where you can reach it and protect the spare in a waterproof bag. Assign a use to each item so you can find what you need without unpacking in the wind.
Look up current weather warnings and a forecast for the route and elevation, then check local access and trail information. Think through how long you will be exposed on ridges and what you would wear if you had to stop.
Your next step
Try the balaclava and gaiter with your gloves, hood or helmet and goggles at home. Check coverage, breathing, vision and access to the spare. Consult the latest local weather and access guidance before leaving. Use Nordwand’s Base Camp to compare observations from people who know the area.
References and sources
- Japan Meteorological Agency — Weather warnings and advisories
- Central Council for Mountain Accident Prevention — Winter advisory and equipment checklist
- Mountaineering Scotland — Winter clothing and equipment
- U.S. Centers for Disease Control and Prevention — Preventing frostbite
- NIOSH — Cold stress and protective clothing
- Smith — Goggle fit, ventilation and fogging