
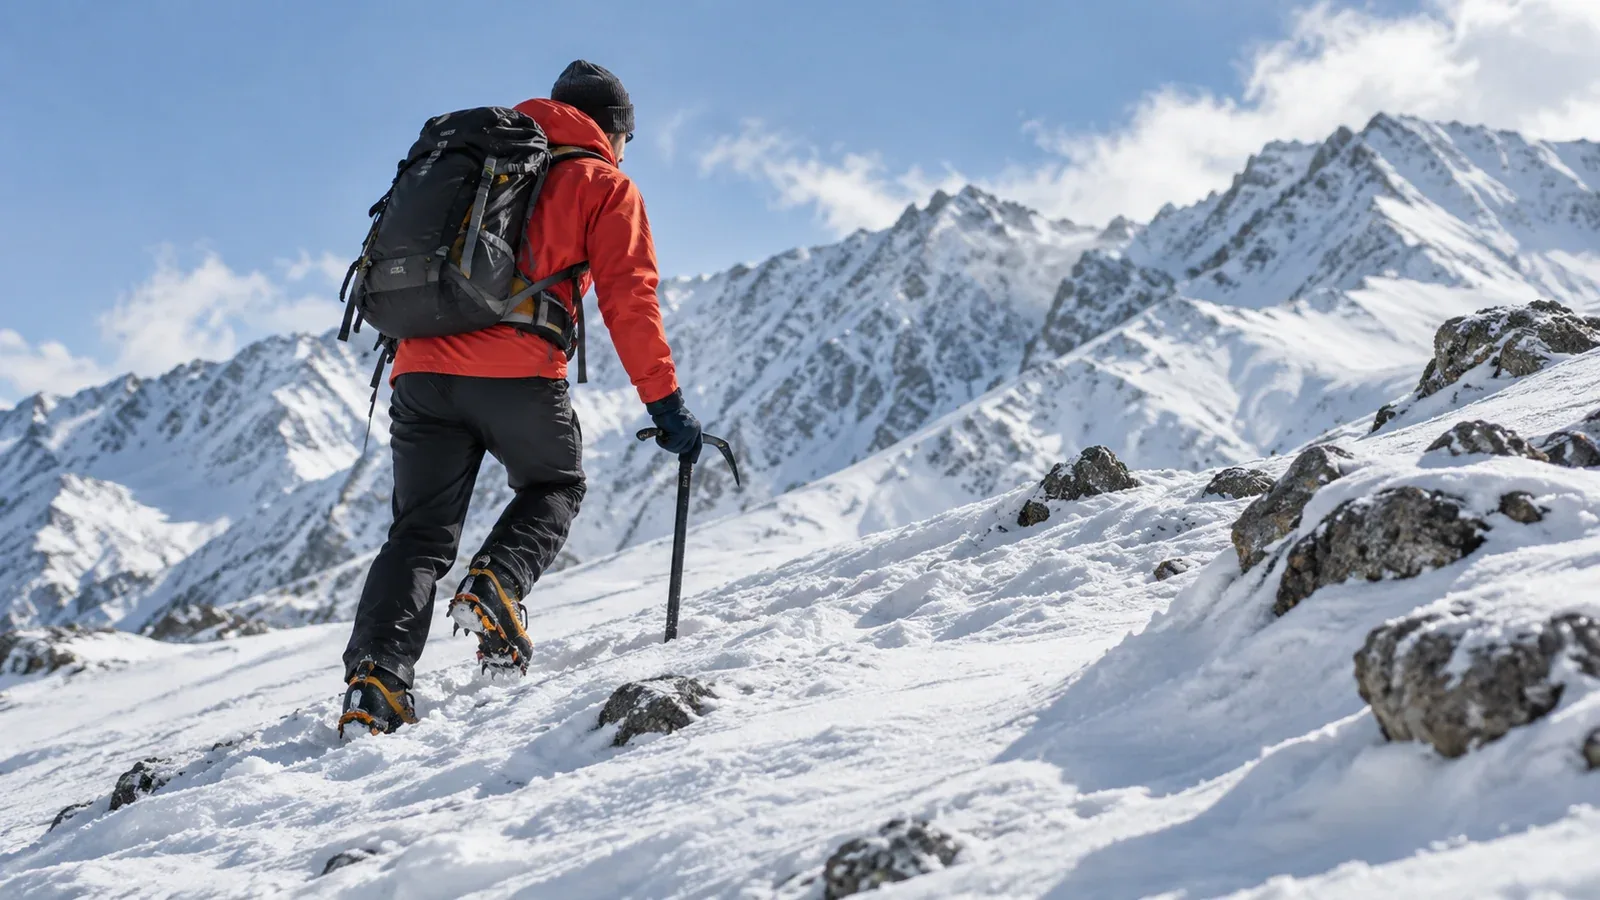
When you shop for a first ice axe, several lengths and shapes may look suitable. Start with how you expect to use it, then compare lengths and check the grip while wearing the gloves you will take.
This guide explains the parts of a mountaineering axe, what to look for in the shop and what to practise under instruction. It focuses on an axe for winter walking and general mountaineering. Technical ice climbing and steep mixed routes call for different tools and training.
Get to know the parts of an ice axe
The head is at the top, the shaft is the long handle, and the spike is the point at its lower end. The design of each part depends on the axe's intended use.
Head. The pick is the curved, pointed part. A mountaineering pick can bite into suitable snow during self-arrest. The flat adze can be used to cut or clear snow, depending on the design.
Shaft. Length, shape and grip affect how the axe handles. Many general mountaineering axes combine a steel head with an aluminium shaft. Check the product's intended use, technical notice and condition.
Spike. The spike at the base can be planted in suitable snow for support when walking. Inspect it for wear or damage and follow the manufacturer's care instructions.
Choose a length for the terrain and your reach
Height provides one starting point. How the axe feels also depends on arm length, gloves, how you move and the terrain where you will use it.
How length affects handling
Compare how each length feels in the positions an instructor has shown you.
- A longer walking axe may be easier to plant for support on gentle snow, especially if you have a longer reach to the surface. Check that you can control it and change grips comfortably.
- A shorter axe may be easier to handle close to the body on steeper terrain. On gentle ground it may be too short to plant comfortably. Suitability for technical climbing depends on the axe's design and your training.
A fixed subtraction from your height cannot reliably tell you the shaft length. Compare the manufacturer's sizes in person and ask a qualified instructor which fits the way you will use it.
A first axe for general mountaineering
For introductory snow travel, start with a general mountaineering axe you can grip and control in winter gloves. Choose the route to match your skills, even when the tool feels comfortable in the shop.
Use these checks to narrow your choice.
- Check your reach. With boots on, hold the head and relax your arm. Compare where the spike sits and how the length feels. Treat this as a fit check and follow the maker's guidance.
- Describe your route and likely snow. Discuss when you need support on gentler snow and whether the route has steeper or exposed sections. Select suitable terrain for your experience.
- Try it with gloves. Grip the head and handle and check that you can change grips without losing control. Ask a shop or instructor to help you compare sizes.
Practise the grips with an instructor
A grip depends on the snow, slope, fall consequences, axe and technique. Learn how to change grips while you are still on secure ground.
Holding the head for walking
An instructor can show you how to hold the head and plant the spike on suitable ground. The pick orientation and whether to use a leash depend on the situation, the axe and the technique. Follow the manufacturer's instructions and discuss the trade-offs with your instructor.
Learn secure movement before practising self-arrest. A fall can accelerate too quickly to stop on hard, steep snow. Practise with qualified supervision on a slope with a clear, safe runout, and learn how the technique changes when wearing crampons. Choose a route where a slip is less likely to become a serious fall.
Holding the shaft on steeper terrain
On some snow slopes, a trained climber may grip the shaft for a particular movement or support technique. A shaft placed in snow does not automatically provide a reliable anchor. The method depends on the snow, the axe and the training you have had.
Choose the grip based on conditions, your ability to move securely and the guidance you have practised. There is no single slope angle for changing grips. Turn back before you reach terrain you cannot manage.
Check how the axe feels with gloves
Thick gloves change how securely you can hold the head and shaft. Check that you can grip the axe without forcing your fingers into an awkward position and that you can maintain control when you change grips.
Take your winter gloves to the shop. If the manufacturer supports a leash or other accessory, learn to adjust it with your gloves and ask when to use or remove it.
Straight or curved shaft
A straight or slightly curved shaft is common on axes for winter walking and general mountaineering. Check how the head, spike, length and grip work together for the intended use.
Some curved designs suit general mountaineering, while more pronounced curves and particular grips are common in technical ice or mixed climbing. Consult the product's intended use and get instruction for the terrain.
Choose a general mountaineering axe for your first snowy outing where an axe is needed. Try it with your winter gloves and learn to use it before taking it on a consequential route.
Your next step
Describe your first route and likely snow conditions to an instructor or specialist shop. Bring your winter gloves, compare suitable axes and book a supervised session before the trip. If you look for partners through Nordwand's Base Camp, ask about their winter experience and choose a route within the group's skills.
Official and technical resources
- Mountaineering associations' guidance on selecting and using an ice axe
- Instructor-led winter skills courses
- Manufacturer instructions, equipment standards and care guidance
References and sources
- British Mountaineering Council — Ice axe design and selection
- British Mountaineering Council — Footing and the limits of self-arrest
- Mountaineering Scotland — Practical winter skills training
- Petzl — Example of a mountaineering axe and its technical notice
- Petzl — Technical ice axe instructions and limits
- UIAA — Ice tool standard 152
- German Alpine Club — Ice axe and crampon selection
- Central Council for Mountain Accident Prevention — Winter advisory and equipment checklist