
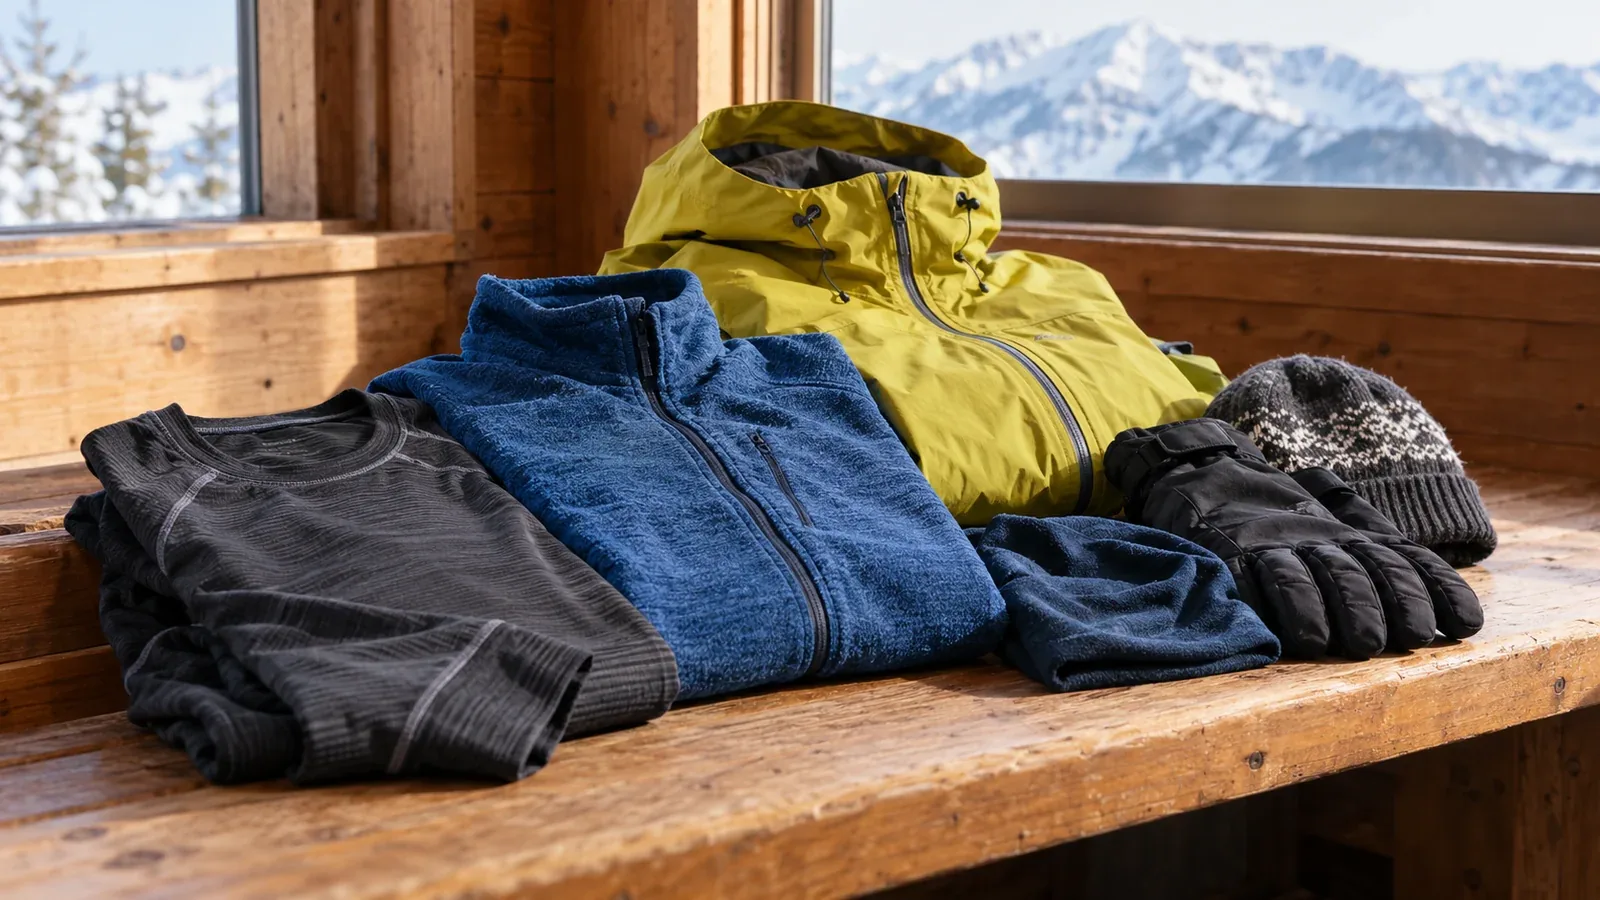
Winter layers need to work during both hard movement and long stops. Climbing in too many layers can soak your base layer with sweat. When you stop in wind or snow, wet clothing and reduced effort can make you lose heat quickly.
This guide explains how materials work, how to choose each layer and when to adjust them. Start with the weather and effort you expect, and plan for a delay as well as the planned walking time.
Why damp clothing matters in the cold
You can sweat while climbing or breaking trail even in freezing air. When your effort drops, evaporation from damp clothing and exposure to wind can cool you. Wet insulation may also trap less heat. Vent before you soak your layers and change into dry clothing when you can do so safely.
Cotton holds moisture and tends to dry slowly. For a winter mountain base layer, choose a material that moves moisture away and dries more readily. Carry a dry change protected from snow and rain.
Wool and synthetic fabrics are both used for base layers. Performance depends on fabric construction and thickness. Compare how the garment manages sweat, dries and feels on your skin.
What the three layers do
A base layer manages moisture, a midlayer insulates and an outer shell protects against wind and precipitation. Some garments combine functions. Keep enough flexibility to add or remove warmth as conditions change.
Base layer: manage sweat next to the skin
Choose a comfortable base layer that moves moisture away from the skin and dries readily. The right thickness depends on how hard you expect to move and what you wear above it.
Wool, often merino. It can buffer moisture and may hold less odour over repeated wear. Many wool garments dry more slowly than comparable synthetic layers. Compare the thickness and care instructions.
Synthetic fabrics, often polyester. Many dry quickly and are easy to care for. Odour retention and moisture handling vary between fabrics and finishes.
Choose the material and thickness for your effort, the cold, the length of the trip and your options to dry clothing. A thinner layer can help during sustained climbs. A dry spare is useful when your base layer gets wet.
Midlayer: keep warm
Insulation traps air. Look at the whole garment, its fit and how you will keep it dry. Down fill power describes loft per unit weight and does not by itself tell you how warm a jacket will be.
Down can provide considerable warmth for its weight and pack down small. It loses loft and warmth when wet. Water-repellent treatment can help with light moisture, while you still need to protect the jacket from getting soaked. A dry down layer can work well for stops.
Synthetic insulation often retains more loft when damp than untreated down and can dry more readily. Fleece or a breathable synthetic layer can be useful while you are moving and may sweat. Check the design and thickness for the conditions.
A light fleece plus a separate insulated jacket gives you options. Use the lighter layer when moving and keep the warmer one dry and easy to reach for breaks or delays.
Outer shell: protect against wind and precipitation
A shell blocks wind and rain or wet snow according to its design. Waterproof-breathable fabrics let some water vapour escape, and vents can help manage heat during hard effort.
Breathability figures can come from different test methods. Try the fit over your insulation and check taped seams, closures, cuffs, vents and hood. If you use a helmet on the route, confirm that the hood fits and you can see and move freely.
A breathable, water-resistant softshell can work while moving in suitable dry conditions. Carry a waterproof, windproof shell when the route and forecast call for it. Put it on before exposure to strong wind, snowfall or rain if your current layers will not protect you.
When to change layers on the move
Adjust clothing before you become very sweaty. Open a vent, remove insulation or slow down while you are still warm and conditions allow it.
Anticipate a steep climb or the move from sheltered trees onto an exposed ridge. You may need less insulation before a climb and more wind protection before leaving the trees. Choose a sheltered place to change a wet layer if you need to.
Add insulation as soon as you stop. Wind and damp clothing can cool you quickly at a summit, during a pause or while setting up camp. Keep your stop layer and shell within easy reach and put them on before you feel chilled.
Hands, head and feet
Protect exposed skin as well as your torso. Hands and feet can become cold even when your core feels warm. Choose coverage for the wind, temperature and time outside.
Gloves. A thin liner and insulated outer glove or mitt let you adjust warmth while keeping some dexterity. Use enough protection for the conditions, limit time with bare hands and carry a dry spare pair where you can reach it.
Headwear. Use a light hat for movement if needed and add a warmer hat, hood or balaclava when you stop or enter exposed terrain. Check coverage of your ears and face and keep your field of view clear.
Socks and boots. Choose wool or synthetic hiking socks and boots suitable for the expected cold and route. Check that the socks do not make the boot tight and that your toes have room. Carry dry socks for longer outings and get a fitting if you are unsure.
Common layering mistakes
Check these points before setting out.
- Wearing cotton next to the skin. It can hold moisture and dry slowly. Choose a base layer designed to manage sweat.
- Having only one insulation option. Consider a light moving layer and a separate warm layer for stops and delays.
- Keeping every layer closed during hard effort. Open vents, reduce pace or remove a layer when conditions allow.
- Waiting until you are chilled at a stop. Keep warm clothing at the top of the pack or in an accessible pocket and put it on early.
- Leaving the dry change behind. Keep spare base layers, socks and gloves protected from moisture so you can change if needed.
Your next step
Lay out your base layers, insulation and shell. Check which pieces will work for the route and put a dry change and your stop layer where you can reach them. Practise adjusting layers on a short, low-risk outing. Use Nordwand's Base Camp to exchange observations or ask a qualified winter guide about the conditions you expect.
Official and technical resources
- Japan Meteorological Agency weather warnings and winter information
- National Police Agency mountain incident statistics and national winter equipment guidance
- Cold-stress prevention and winter clothing guidance
References and sources
- Japan Meteorological Agency — Weather warnings and advisories
- National Police Agency — Mountain accidents and statistics
- Central Council for Mountain Accident Prevention — Winter advisory and equipment checklist
- Mountaineering Scotland — Winter clothing and equipment
- U.S. Centers for Disease Control and Prevention — Preventing hypothermia
- NIOSH — Cold stress and protective clothing
- Patagonia — Cold-weather layering and insulation
- GORE-TEX — Waterproof-breathable fabrics and seams