
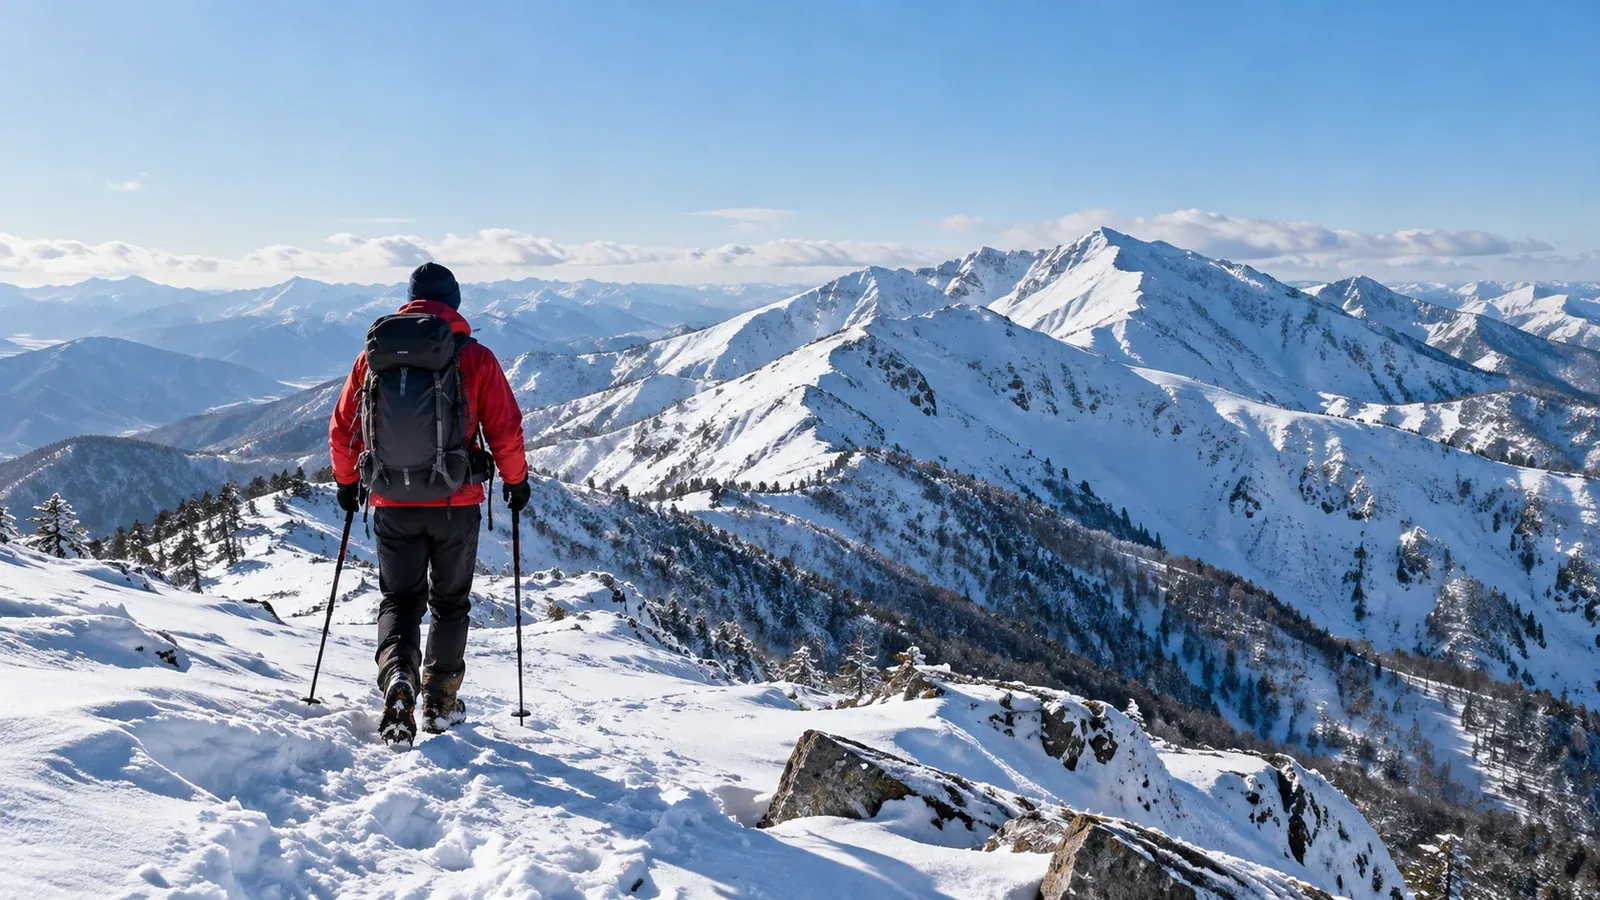
Going alone in winter leaves you without someone nearby to check decisions, share the work or call for help if you can’t. If you’re new to winter hiking, go with an experienced group or a guide qualified for the terrain and season.
A slip, navigation mistake, deep snow or cold can take away several options at once. When you’re alone, you have to notice the problem, make a decision and act without immediate help.
Use this guide to decide when to choose a partner, shorten the route or stay home. Match the terrain and conditions to your experience, and leave a margin for things to change.
Three risks that grow when you’re alone
1. Delays in getting help
A companion may be able to call for help if you cannot. Alone, an injury or confusion can keep you from using a phone or satellite device. Share your itinerary and a check-in plan, and carry a communication option suited to the route. A GPS receiver that only shows your position cannot send an SOS.
2. No one to check your decisions
Fatigue and cooling can affect judgement and movement. A companion may notice changes you miss. Decide before leaving what will make you turn back, such as poorer visibility, worsening footing, getting cold or missing a checkpoint.
3. Breaking trail and fatigue
In soft or drifted snow you can’t share the work of breaking trail. Pace can fall quickly, and the return may also be slow. Use recent local information and your own experience, and turn back while you still have daylight and energy. A fixed multiplier for group times cannot account for the conditions.
How to decide whether a route is suitable
Use these four checks and choose an easier plan if any of them leaves you with little margin.
1. Choose terrain well below the limit of your skills
Use a short, familiar route with a straightforward return. Choose terrain outside avalanche start zones, paths and runouts, and avoid sections that need a rope or involve a serious fall if you slip. Familiarity does not replace checking today’s conditions.
2. Plan for an overdue or missed check-in
Submit a hiking plan through the route’s accepted channel and check any local requirements. Give a trusted person the itinerary, alternatives, expected return and a time and action for a missed check-in. Verify that any satellite device can send SOS in the area, that service is active if required, and how to use it. Terrain and sky visibility can prevent a connection.
3. Be ready to leave the objective unfinished
Decide how you’ll respond to pressure to keep going, including travel time, a nearby summit or footprints ahead. Changing the plan early keeps more options available. Check that the way back is still safe before proceeding.
4. Know what the forecast means for the route
Explain where and when the wind, snowfall, temperature and visibility could change. Compare JMA forecasts and warnings with a mountain forecast and recent local reports. Look at the route, approach and return, and check whether wind can load slopes above you.
Pre-departure checks for a solo outing
Use this alongside your usual winter equipment and route checks.
- Have you submitted a hiking plan using an accepted local method?
- Does a trusted person have your route, alternatives and expected return?
- Have you agreed what they’ll do if you miss the check-in?
- Do you have a way to call for help, and do you know its coverage and limitations?
- Have you decided which changes in weather, condition, time or footing will make you turn back?
- Is the route familiar, outside avalanche terrain and comfortably within your ability?
If anything is uncertain, resolve it first or choose an outing with a partner, an easier route or no outing.
Building winter experience in stages
Learn each skill in conditions where a mistake still leaves room to recover.
- Start with an experienced group or qualified guide. Practise winter movement, navigation, clothing changes and decisions about retreat.
- Build experience on short, familiar day routes. If you later consider going alone, choose a marked route outside avalanche terrain, with suitable conditions and a simple return.
- Practise overnights with others. Learn to pitch, keep gear dry and leave camp in worsening weather with an experienced group. Carrying overnight equipment adds work and time.
Take time to learn which conditions you can recognise and manage. Choose a partner or guide if the trip calls for skills or decisions you haven’t practised.
What a plan can and cannot cover
There’s no checklist that makes a solo winter route safe in all conditions. Follow local closures, regulations and official advice. Published accident counts include both individuals and groups, and do not tell you the risk for a specific route on a given day.
A route outside avalanche terrain, a simple retreat and a dependable check-in reduce specific risks. A satellite device cannot replace a companion, and an avalanche transceiver requires another person to search for you. Choose an experienced group if the route involves avalanche terrain or you are still learning winter skills.
Check restrictions with the local authority. If cold or exertion could affect a health condition, ask a healthcare professional before committing to the plan.
Before you go
Choose a short route that fits your group and conditions. Set your turnaround and check-in times, confirm the plan submission method and tell someone how to respond if you’re overdue. Nordwand’s Base Camp and groups can help you find experienced winter partners.
Further reading
- National Police Agency mountain incident reports
- Japan Meteorological Agency weather charts and forecasts
- Prefectural mountain safety and hiking plan guidance
References and sources
- National Police Agency · Mountain incident reports
- Japan Sports Agency · Winter mountaineering safety guidance
- Niigata Prefecture · Winter hiking and turnaround planning
- Gunma Prefectural Police · Avoid travelling alone in winter backcountry
- Japan Mountaineering and Sport Climbing Association · Hiking plan submission channels
- Japan Meteorological Agency · Weather warnings and advisories
- Japan Meteorological Agency · Weather charts and upper-air products
- Japan Avalanche Network · Avalanche terrain
- Avalanche Canada · Group travel and companion rescue
- Garmin · inReach functions and service requirements
- Apple · Emergency SOS via satellite and connection limits