
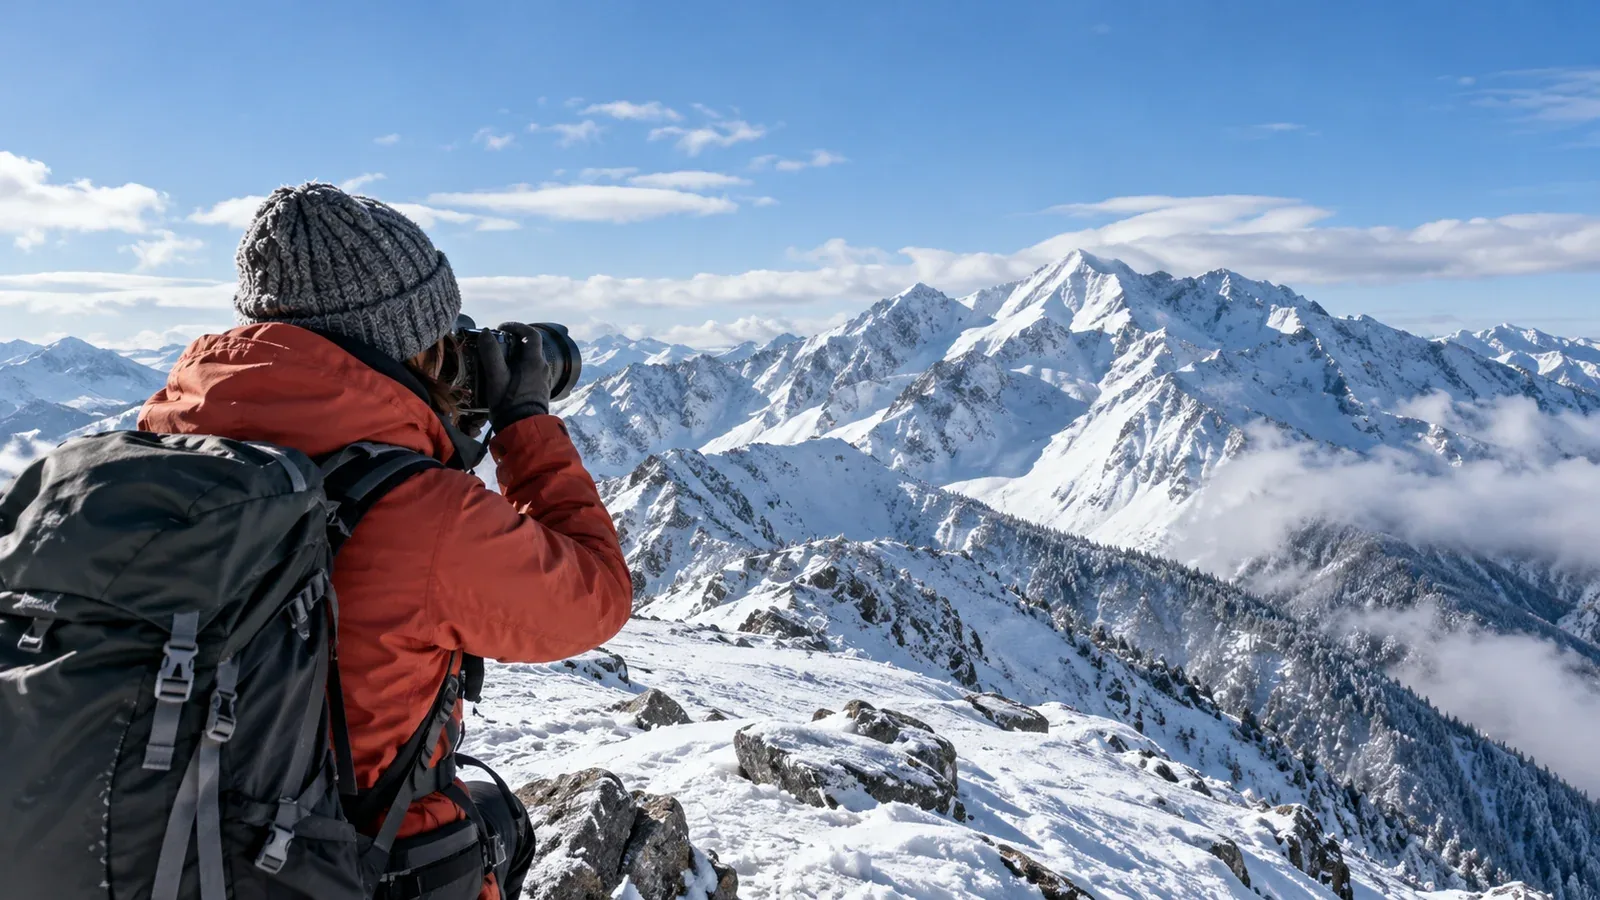
Snow can look grey in a photo, or bright areas can lose all their detail. Cold can also shorten battery life and shut a device down. A few checks before the trip can help with both.
Learn to read the histogram and highlight warnings, then plan how you’ll carry and operate the camera in the cold. Make adjustments at a safe stop, away from steep or exposed ground.
Why snow can look grey or lose detail
A reflective meter estimates exposure from the light reflected by the scene. When bright snow fills much of the frame, some metering systems can make it darker than it looks. A different composition, brightening too far or exposing for a dark subject can clip important highlights.
A phone’s HDR processing can help with a scene containing bright snow and deep shade, but results vary by device and mode. RAW gives you more editing room when the file still contains usable detail. Fully clipped information cannot be restored.
How to set exposure without losing important highlights
Try positive compensation if snow looks too dark
If auto exposure makes snow look grey, add a little positive compensation and take a test shot. Check that important detail remains in the snow and sky. If highlights are already clipping, reduce exposure. There’s no fixed EV value for every snowy scene.
Use the highlight warning
If your camera offers a highlight warning, turn it on before the trip. After a test shot, look at which areas blink. If texture you want to keep is flashing, reduce exposure and check again. On a phone, check which controls and warnings its camera app provides.
Read the histogram
The left side represents dark tones and the right side bright tones. Snow often puts much of the graph on the right. A pile-up against the edge can signal clipping, so use the highlight warning to see where it is and whether it matters. An in-camera histogram is a guide and may differ from the RAW data.
Use spot or centre-weighted metering when it suits the subject
Multi-area metering considers different parts of the frame. For a backlit person or a specific feature, spot or centre-weighted metering gives more weight to part of the frame. Check which area you’re measuring, then compare the test shot, histogram and highlight detail.
Why batteries run down faster in the cold
Cold can reduce how much power a battery can deliver temporarily. The device may display less charge or shut down, and the usable range varies by device and battery. Check your manufacturer’s operating, storage and charging limits.
Carry batteries protected from cold and moisture
Carry spares dry, with contacts protected from metal and moisture. Follow the manufacturer’s instructions and avoid direct heat such as hand warmers on batteries or devices.
- Carry the camera secured in a padded case or inside the pack when not using it
- Keep each spare battery in a protective case, in an inside pocket if its instructions allow it. Keep it away from coins, keys and hand warmers.
- Before moving cold gear into warm, humid air, seal it in a dry bag and allow it to reach the new temperature before opening, following the manufacturer’s instructions.
Choose how many spares to carry and when to charge
Start with charged batteries and plan spares for your device, temperature and intended use. Check before relying on a hut socket. Charge only within the manufacturer’s temperature range and wait until gear is dry and within that range after a cold stop.
Phones and power banks also lose performance in the cold
Keep the phone and power bank dry and insulated and within their specified limits. A cold device may stop charging or shut down. Keep a separate navigation and emergency plan if you also use your phone for photos.
Operate the camera with gloves on
Practise the essential controls at home with the gloves you’ll wear. In the field, choose a stable, sheltered place to stop, and keep your hands covered. A compatible liner glove can help with buttons or a touchscreen. Put the warmer glove back on as needed.
Use a strap or clip that keeps the camera secure and clear of your movement. Stop before reaching for it, and keep your attention on footing and the people around you.
RAW or JPEG?
RAW typically gives more flexibility for adjusting exposure and white balance where detail remains. It also uses more storage and may affect how quickly you can shoot or write files, depending on the camera. JPEG is smaller and ready to share. Test the mode you’ll use and pack enough storage and power.
Some phones support RAW or a device-specific format such as Apple ProRAW. Check the camera app and manufacturer’s instructions for your model.
Before you go
Turn on highlight warnings and the histogram if available. Practise changing exposure in gloves and pack charged, protected batteries and a dry bag. Choose safe places to take photos and keep enough time and battery for the return. Nordwand’s Base Camp and groups can help you learn from others who know the area.
Further reading
- Camera manuals for metering, histograms, files and battery care
- Phone maker guidance for RAW capture and operating temperatures
- Hut and land manager information for charging and access
References and sources
- Nikon · Metering and exposure compensation
- Nikon · Histograms and highlight display
- Nikon · RAW and JPEG recording options
- Nikon · Battery care and condensation
- Apple · Temperature and battery performance
- Apple Support · Apple ProRAW and compatible devices
- Japan Mountaineering and Sport Climbing Association · Mountain safety resources