
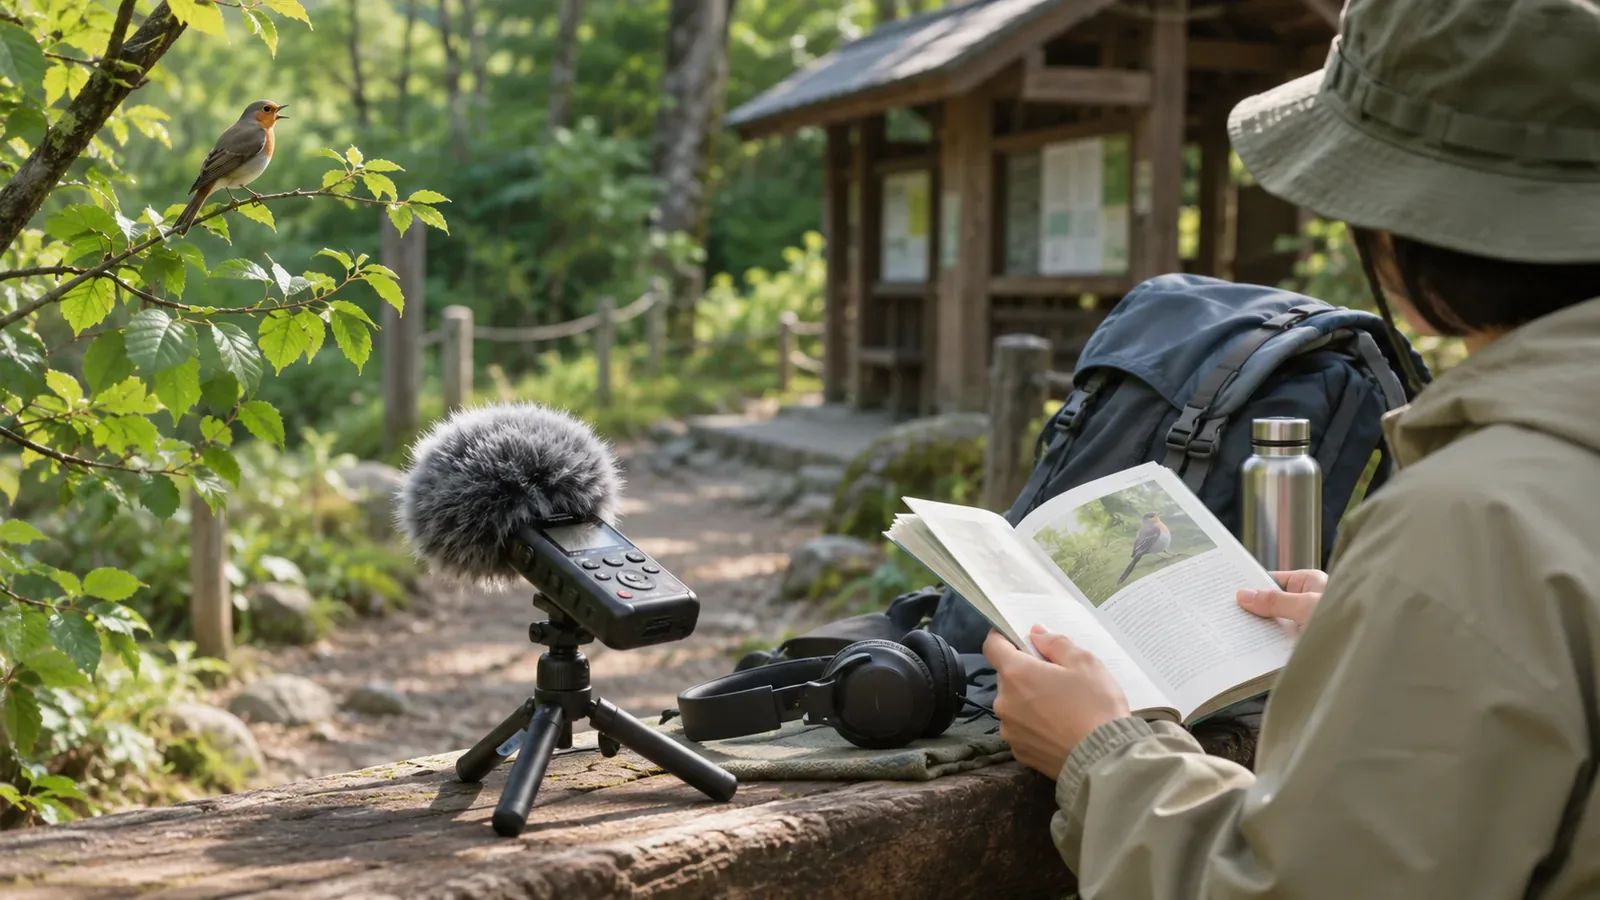
Before recording natural sounds in the mountains, check the rules for your location and method. Closed trails, wildlife disturbance, and equipment blocking a path all matter when you record. Permission procedures for personal recordings vary. If official guidance leaves a question about how you’ll set up or use equipment, describe your plans to the site manager. Here’s an order for checking before you leave.
Check etiquette, laws, and site rules
Japan’s Ministry of the Environment explains that some national park rules are backed by law in particular areas. Its animal-protection page says other laws or local ordinances may prohibit activities even when the Natural Parks Act does not, and asks visitors to respect local practices. Restrictions on capturing animals and related activities differ between special protection zones and parts of special zones. Ordinary sound recording is outside what that page discusses as capture.
Check general etiquette, laws and ordinances, and the rules of the site manager. Read which places and activities each one covers. Rules for photography may differ from audio rules, and a personal observation may differ from installing equipment for research. Ask about your equipment and method if the guidance is unclear. Apply the answer to the site, date, and group size that you asked about.
Check the rules your recording could involve
Even when the guidance says nothing specifically about recording, it may apply to things you do while recording. Here are four common examples.
First, leaving the trail. The Ministry of the Environment asks visitors to stay on trails and boardwalks to reduce the risk of getting lost, trampling plants, and eroding soil. Record from an open trail or designated observation spot even if it’s noisier than you hoped. Where the trail is narrow, keep moving and find a place with room for your equipment.
Second, approaching wildlife. The Wild Bird Society of Japan asks people to keep well back from birds and stay away from nests and birds raising young. Avoid following birds or stepping into brush for a louder recording. Follow any local access rules and distance requirements. If you can’t capture a call, listen from where you are. Avoid lingering near a nest or blocking a path while you wait. Check local notices to learn which restrictions apply where.
Third, respect residents and other visitors. The Wild Bird Society advises against trespassing on private land and asks tripod users to keep public paths clear. Consider how much space you and your recording gear will occupy. Fourth, check what you bring and how you get there. The Ministry of the Environment asks visitors to check vehicle restrictions and pack out trash. Plan how to carry and place your equipment and take packaging and other waste home.
Leave bird calls out of playback in the field
Avoid playing calls to attract birds. The Wild Bird Society of Japan advises against luring birds with recordings or bird-call devices. Birds may mistake the sound for an intruder, defend their territory, or leave a nest. If the species you hoped to record doesn’t appear, record the sounds you hear naturally.
When checking a take in the field, keep bird sounds from playing out over a speaker. If necessary, listen briefly from a safe stopping place where you can keep track of your surroundings. Leave detailed listening for home if the equipment is taking up your attention. Agree with recording partners in advance to skip playback for attracting birds.
This approach follows the etiquette of a Japanese birdwatching organization. Rules and penalties for playback vary by location. Check the site rules and choose a method that gives wildlife space. If you consult the manager, explain that you’ll avoid playback, stay on the trail, and keep away from animals. You can still record a sound you can’t identify.
Rehearse the checks on paper before you go
Use the following steps to collect what you’ll need to ask about. The U.S. National Park Service soundwalk activity also recommends scouting the route and carrying a map and a clock.
1. Mark the proposed recording point on a map and identify the park and zone. Different zones can have different rules. 2. Find the right contact, such as a regional environment office, local government, or facility manager. 3. Prepare your question. Explain that it’s a personal hobby, where you’ll stop, what equipment you’ll set up, how long you’ll stay, and that you’ll stay on the trail, keep away from wildlife, and skip playback. Ask whether recording is allowed and what conditions apply. 4. Note the reply, date, and office so you can check it against signs on site. 5. Check weather, access, trail conditions, and volcanic information. Japan’s Ministry of the Environment recommends using these details to plan a manageable trip.
If access or equipment placement remains unclear, choose another spot for recording. Mark paths and possible sites on the map. Keep confirmed sites for recording and use open locations with unresolved recording rules for listening only. Follow new signs on site, and if they differ from the answer you received, ask before setting up. Treat the map exercise as preparation and use current conditions to guide your decisions.
Check with the manager of the place you plan to visit
Choose a recording location based on trail and facility rules, the space your equipment occupies, and effects on people and wildlife. Read official guidance and describe your method to the site manager if you’re unsure. Record sounds as you find them, keep the path clear, and avoid playback that draws in birds. Follow signs and the weather on the day and leave recording off the plan if conditions aren’t right.