
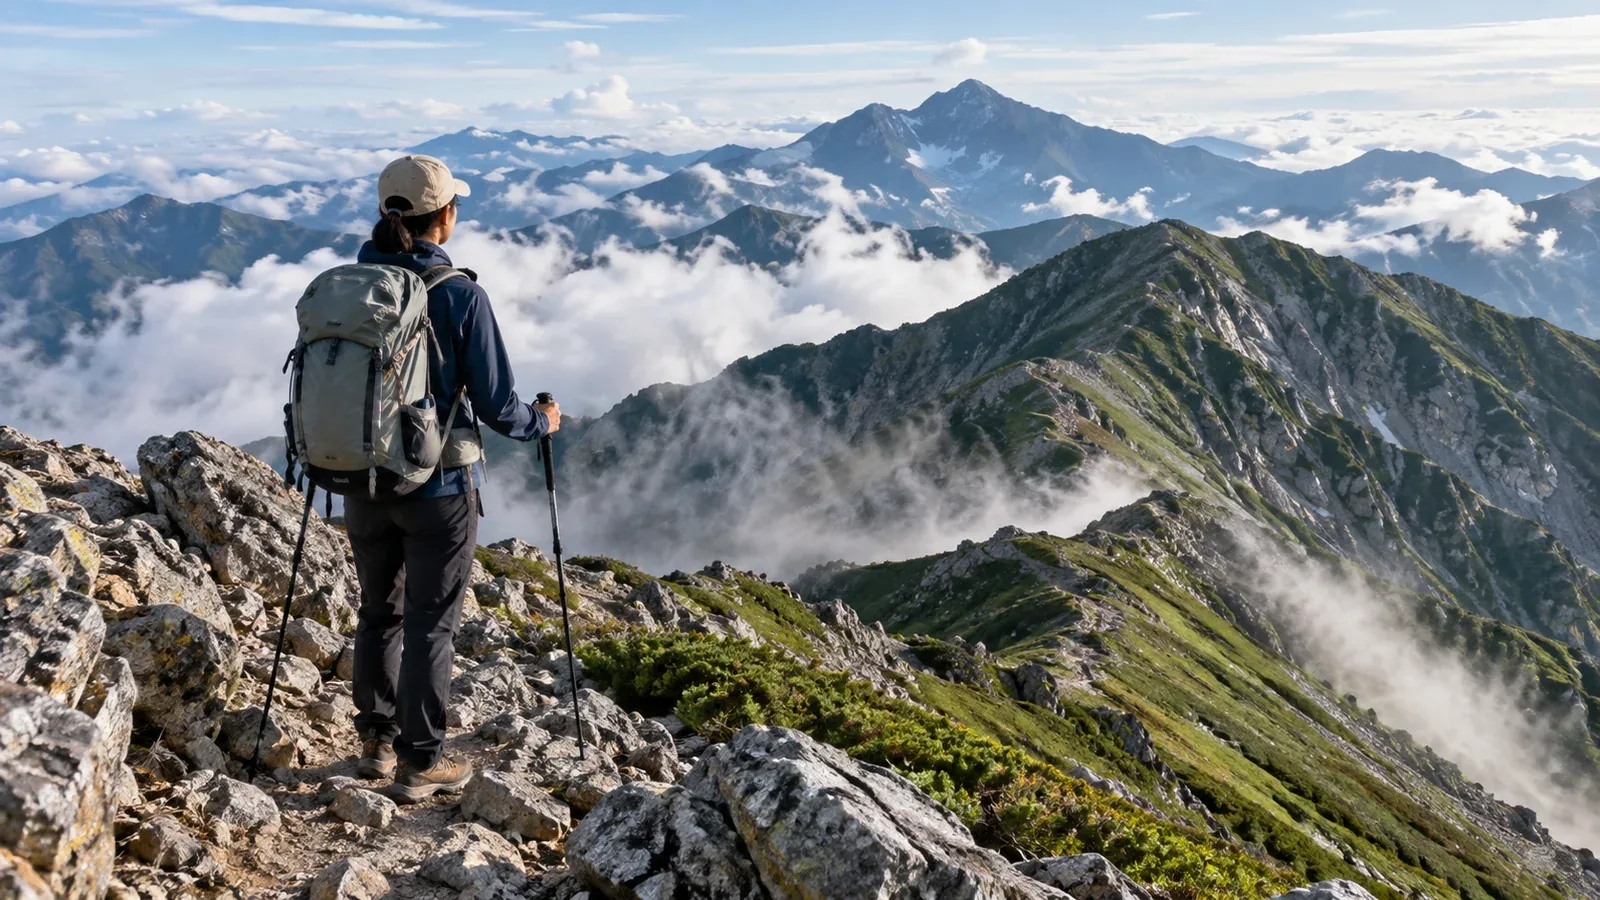
When you look up a list of dangerous mountains, you’re probably trying to gauge how risky your next hike will be. A ranking can’t answer that on its own. Risk depends on the mountain and on the combination of skill, equipment, planning and season.
This guide explains how to assess those risks and what you can check before leaving. Look at the individual factors instead of relying on a mountain’s reputation.
Risk depends on the mountain, the hiker and the conditions
Rockfall, avalanches and sudden changes in weather are hazards you can’t control on your own. To assess technical difficulty on a rocky ridge or a chain section, look at the terrain, its condition and the skills needed to get through. Some prefectural route grading systems distinguish technical difficulty from physical demand under good weather and snow-free conditions.
Several factors together can make a situation harder to handle, such as bad weather on an unfamiliar rocky ridge. Check that your current skills, fitness and experience match both your route and the day’s conditions.
Four factors in mountain risk
Work through these four factors when assessing your route.
1. Terrain
Rocky ridges, loose scree, steep slopes and streamside trails can involve falls, slips and rockfall. Closely spaced contours on a 1:25,000 GSI map help you locate steep slopes. Topographic maps alone won’t show chains, washouts or hard-to-follow sections, so check current trail information from local authorities and huts.
2. Weather
Wind, rain and low temperatures can cause hypothermia at elevation even in summer. Treeline varies by region. On open ridges, shelter from wind and rain can be hard to find. From autumn onward, check for snow and ice. On the day before and day of departure, look at Japan Meteorological Agency regional forecasts and alerts. Check forecasts for ridge winds, temperature and precipitation at the elevation of your route too.
3. Distance, elevation gain and time on the trail
Long routes and large elevation gains increase the risk of fatigue and running out of daylight. Base your plan on how you’ve done on comparable hikes. Allow for breaks and delays, and aim to finish with ample time before sunset. Decide on a turnaround time and other reasons to stop, such as a slower pace, severe fatigue or deteriorating weather.
4. Remoteness
If there’s no mobile signal or nearby shelter, calling for help and reaching you may take time. Plan escape routes and ways to contact others without assuming you’ll have reception. File your hiking plan through the local system, and share the route and expected finish time with a family member or another emergency contact.
How to read reports of frequent mountain incidents
The National Police Agency and prefectural police publish mountain incident statistics each year. They show where more incidents were reported, but the totals don’t measure the risk of individual hikes.
Raw counts are hard to compare when visitor numbers or reporting areas differ. The same number of incidents means something different on a mountain visited by several hundred thousand people a year and one visited by a few thousand. To compare rates, you need visitor numbers for the same period and area as the incident totals. For your hike, consider the route and season alongside the numbers.
Find the data on the national or prefectural police websites. Check which months see more incidents and what kinds are reported, such as getting lost, falls, fatigue or illness. Use those patterns to prepare for your own route.
How to match a route to your skills
Use these steps to turn your assessment into a plan.
- Check several sources for your area. Use guidebooks, local government or mountaineering club sites and hiking maps such as Shobunsha’s Yama to Kōgen Chizu. Look for sections off standard trails, chains or fixed ropes, and seasonal restrictions.
- Check seasonal hazards. Opening dates and the onset of snow and ice vary by area. Ask the local authority or hut, and check the information board at the trailhead.
- Compare the route with your experience. Have you managed a hike with similar elevation gain, walking time and difficulty? If a plan combines unfamiliar rocky ridges, streams or snow, build experience with each before combining them.
- Identify escape routes. At several points along the route, check where you could turn back or leave the trail if the weather worsens, someone feels unwell or you fall behind schedule. Set limits for time, weather and fatigue before departure.
- File and share a hiking plan. Even where filing is voluntary, it can help narrow the search area in an emergency.
How to prepare for a more demanding hike
Build experience step by step before tackling more technical routes. Develop fitness, skills and judgment on different routes and in different seasons.
A guide qualified for the terrain and activity can teach you how to read the ground, assess the weather and choose a route in the field. Rocky ridges, lingering snow and stream routes require different skills. Build experience through training or guided trips, then assess the conditions and your abilities before planning the next outing.
Next steps
Write down the four risk factors for your next hike: terrain, weather, walking time and remoteness. On the day before and the day of departure, check regional and mountain forecasts as well as official restrictions and opening information. If you want a guide, check their qualifications and the areas and activities they cover.
References
- National Police Agency: annual mountain incident reports
- Prefectural police: mountain incident statistics
- Japan Meteorological Agency: regional forecasts, warnings and advisories
- Geospatial Information Authority of Japan: topographic maps and online map service
- Shobunsha: Yama to Kōgen Chizu hiking map series
References and sources
- Nagano Prefecture: Shinshū mountain route grades
- Yamanashi Prefecture: safe hiking guidelines
- Nagano Prefecture: information for national park visitors and hikers
- Nagano Prefecture: hiking information desks and seasonal safety guidance
- Japan Meteorological Agency: weather forecasts
- National Police Agency: mountain incident statistics
- Yamanashi Prefectural Police: mountain incident reports
- Geospatial Information Authority of Japan: GSI Maps
- Shobunsha: Yama to Kōgen Chizu hiking maps