
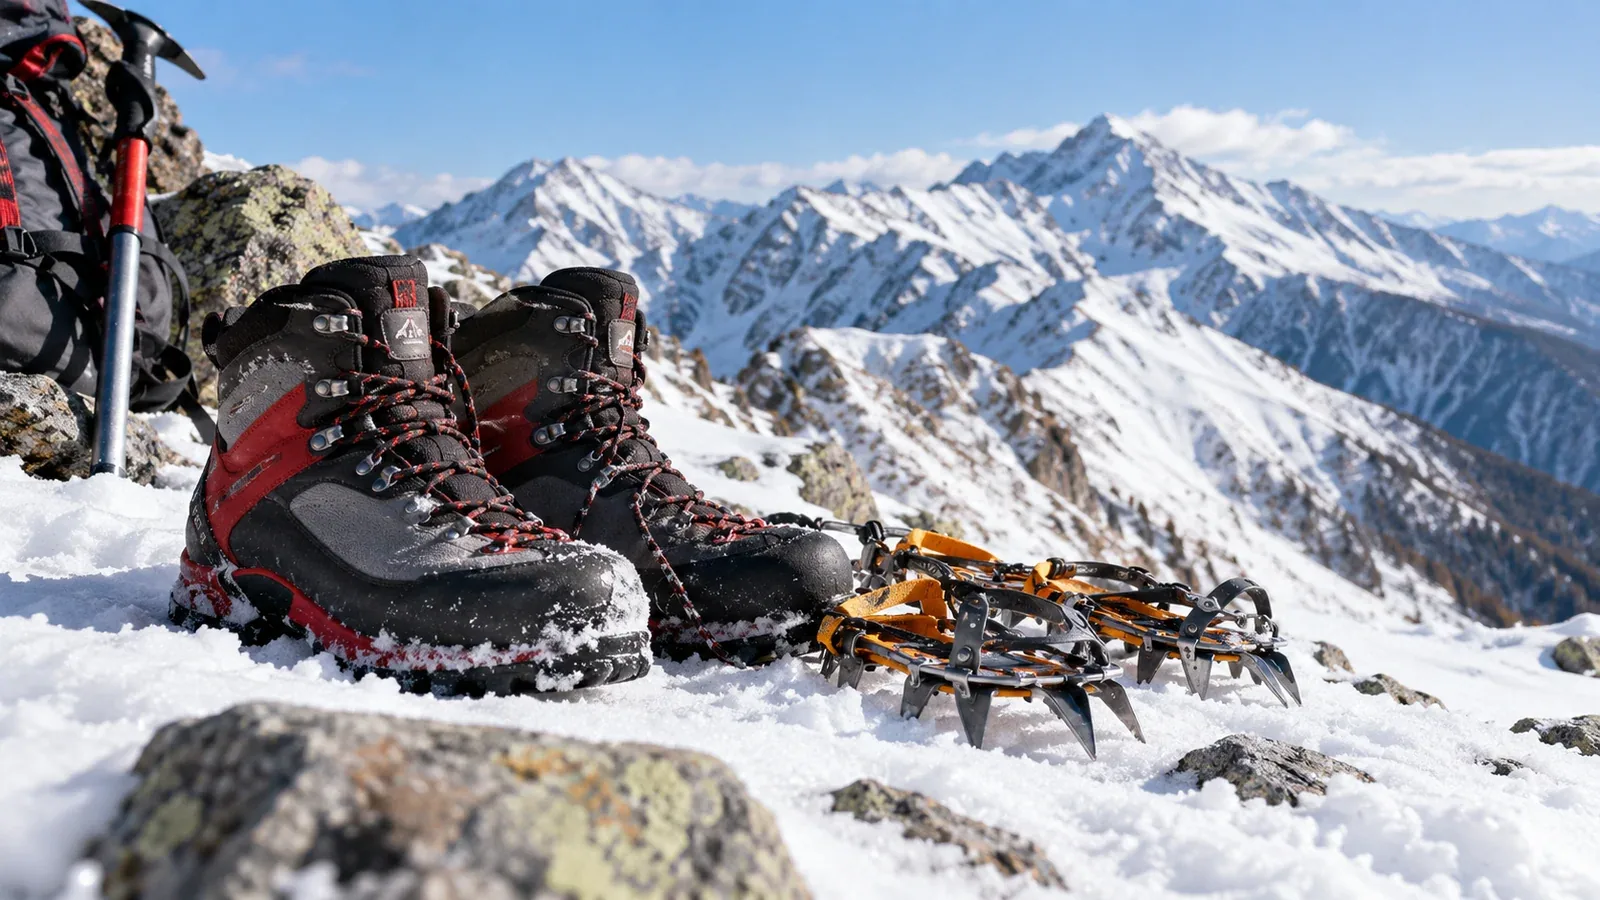
If you are planning your first snowy hike, it is natural to ask whether your three-season boots will do. The answer depends on warmth, traction and the consequences of a slip. Your boots also affect which crampons you can attach securely.
This guide compares boot construction, explains crampon compatibility and helps you decide what to take on the route you have in mind. Use it to prepare for a fitting and to choose a route within your skills.
How three-season and winter mountain boots differ
Start by looking at stiffness and insulation. Models vary within both categories.
Stiffness is how much the sole bends or twists. Many three-season boots flex more for walking. Winter mountaineering boots generally provide more support for crampons on steep snow and ice. A flexible sole can shift against a stiff crampon frame. Check both manufacturers' guidance and the actual fit.
Insulation helps limit heat loss in the cold. Waterproofing and insulation serve different purposes. Choose warmth for the forecast, wind exposure, time out and how readily your feet cool, including at stops. Cold, wet or compressed feet can become a problem even in insulated boots.
Crampons and boot compatibility
Traction devices range from short spikes for suitable low-angle paths to mountaineering crampons for steeper snow and ice. The points and binding system are separate design choices.
Mountaineering crampons
Mountaineering crampons can use strap, hybrid or automatic bindings. Strap systems may fit some boots without welts if the shape and sole stiffness are suitable. Hybrid systems commonly need a heel welt and automatic systems commonly need compatible toe and heel welts. Confirm how the exact boot, binding and frame work together. Serious snow and ice terrain also requires training and a route suited to the group.
Lightweight traction and microspikes
Some strap or elastic designs fit suitable three-season footwear. Use them within the maker's intended range, such as a low-angle path with compacted snow or limited ice and safe terrain around it. They can lack the grip and support needed on steep, hard or exposed snow or ice.
Try the actual boots and crampons together before buying. A compatibility chart is a starting point. The shape and height of boot welts and the sole profile vary between models, so check both boots in the actual pair of crampons at a specialist shop.
Decide from the route and expected conditions
Consider the surface, exposure, temperature and time outside. Check how you will descend and what you can do if conditions change.
When winter mountaineering boots may be needed
- Steep snow, hard snow or ice where a slip can lead to a serious fall
- Routes where local guidance calls for mountaineering crampons and compatible boots
- Long exposure on ridges or open snow in cold or wind, especially with stops
- Technical winter routes and snow-covered alpine objectives such as those in Japan’s Northern and Southern Alps, which also call for suitable skills and route choices
When three-season boots and light traction may be enough
- A gentle low-elevation path with snow or ice, little exposure and an easy turnaround
- Isolated icy patches in an otherwise snow-light area, within the device's intended use
- A simple introductory route where the local operator or hut recommends the setup for current conditions
Check recent reports from local authorities, trail managers or huts before relying on a lighter setup. Snow depth, ice and the hardness of the surface can change quickly. Consult the Japan Meteorological Agency and a forecast appropriate to the elevation, then reassess what you see on arrival.
How to choose a winter mountain boot
Take your planned route, socks and crampons to a specialist shop. Allow time to try different shapes and walk in both boots.
Check insulation for the expected conditions. Look at the maker's intended use and any published warmth information. Treat a stated temperature as guidance and account for wind, dampness, delays and your own sensitivity to cold.
Fit the crampon to the boot. Check the frame and sole shape, relevant welts, binding and strap length. There should be no movement that can unseat the crampon. Follow the exact instructions and practise adjusting and checking it before leaving.
Take time to check the fit. Wear the socks you plan to use. Check that your toes have room, that they do not strike the front on a descent, and that the heel stays comfortably in place. Tight boots or too many socks can restrict circulation and make your feet colder.
Consider weight and intended use. Extra stiffness or insulation can add weight. A short, gentle trip and an overnight traverse can call for different boots. Choose a pair you can move in securely while meeting the needs of the route.
Common mistakes to avoid
Review these points before you decide where your current setup can take you.
- Taking light traction onto steep hard snow. Use it only within its intended conditions. Turn back before a slope that needs mountaineering equipment or skills you lack.
- Assuming thin snow will be easy. Ice can sit under a light covering. Check traction before the exposed section and reassess if the surface changes.
- Upgrading boots while leaving other winter needs unaddressed. Plan layers, gloves, eye protection, navigation and emergency equipment, and carry an ice axe and crampons where the terrain calls for them and you know how to use them.
- Leaving without current local information. Check official trail and access updates, recent conditions, weather warnings and advice from local huts shortly before setting out.
Your next step
Choose a route and look up current winter access and gear guidance from its manager or huts. Take those details and your existing boots and traction to a specialist. Nordwand's Base Camp can help you compare recent observations from other hikers. If you are unsure about equipment or terrain, arrange a practical session with a qualified winter guide.
Official and technical resources
- Japan Meteorological Agency weather warnings and forecasts
- National Police Agency mountain incident information
- National and prefectural winter mountain guidance
- Current access and equipment guidance from local authorities and huts
References and sources
- Japan Meteorological Agency — Weather warnings and advisories
- National Police Agency — Mountain accidents and statistics
- Nagano Prefecture — Winter mountain and backcountry safety
- Central Council for Mountain Accident Prevention — Winter advisory and equipment checklist
- British Mountaineering Council — Boots, crampons and the limits of microspikes
- Mountaineering Scotland — Winter clothing, boots and equipment
- SCARPA — Manufacturer's boot sizing and fit guidance
- La Sportiva — Examples of boot construction and intended use
- U.S. Centers for Disease Control and Prevention — Preventing frostbite