
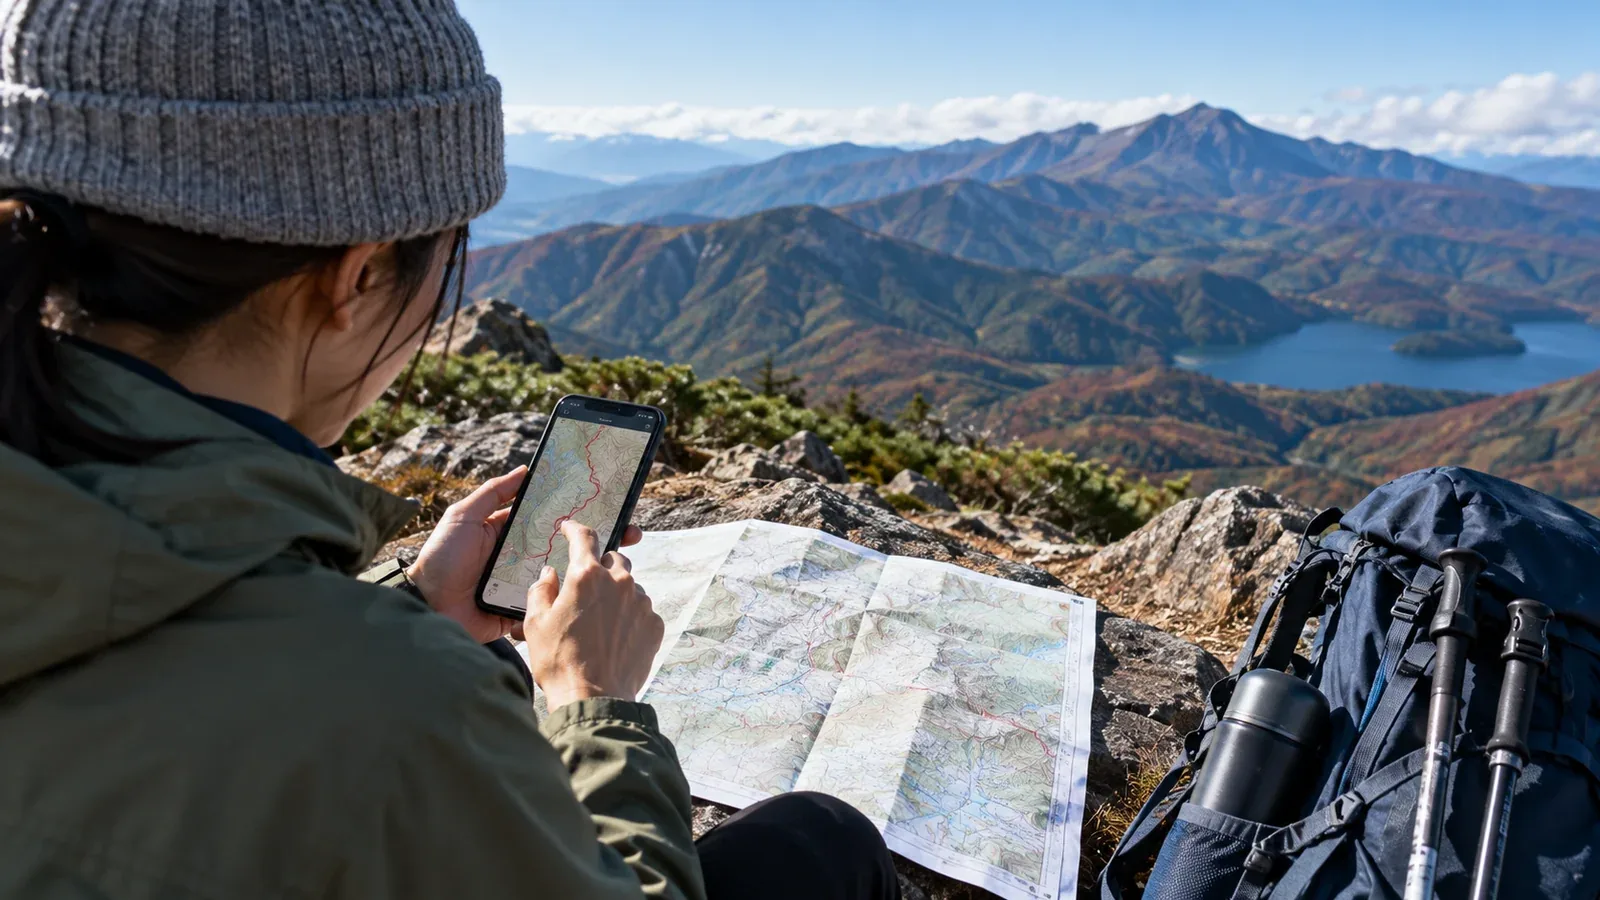
Which app should you use to plan a hike? The most useful features let you review distance, ascent, estimated time and terrain together before you leave. An app can show where your plan needs another look.
This guide walks through the planning decisions and where to use the app. Reading a topographic map will help you check what the software suggests.
Use the app to test the plan
Sketch a route, then ask whether it fits your group’s ability, the time available and the season. Try a different trailhead or a shorter route if the first plan leaves little room for delays.
A route drawn in an app can include a trail that is outdated, abandoned or closed. Check current notices from the park, municipality or trail manager. A hut can be a useful source for local trail conditions. Treat the line as a draft until you check the route and access.
Useful features to look for
Apps differ. Check which of these features are available in the app, map layer or subscription you will use.
Topographic map layers. A suitable map, such as the 1:25,000 topographic mapping of the Geospatial Information Authority of Japan (GSI), shows contours, ridges, streams and cliff symbols. Paths shown on a map may be incomplete or out of date.
Create and edit a route. Some planners let you add points, follow mapped paths automatically or import an existing route. When editing manually, stay on verified trails and check for straight segments that cut across obstacles or closed ground.
Elevation profile. A profile shows estimated elevation along a drawn line. Use it to locate long climbs, steep descents and the high point. Total ascent depends on the elevation data and how the app calculates it.
Estimated walking time. Some apps estimate section times using speed assumptions or a terrain model. Fitness, pack weight, weather, snow and footing can all change your actual pace. Allow time for breaks and route checks as well as delays.
Offline map downloads. If the app supports them, save the route and surrounding maps before leaving. A saved plan does not necessarily download its map. Test both without a network.
Steps for planning a hike
1. Choose the area, start and finish
Decide where you want to start, which way to walk and where to finish. An out-and-back or loop returns to the same area. A traverse with a different finish can require separate transport or parking arrangements.
Read a guidebook, current route guidance and recent trip reports to understand the established options. Check seasonal access and opening information with the operator. A line drawn from scratch can miss terrain features and access restrictions.
2. Read the terrain on the map
Before drawing the route, look at contour spacing, ridges, streams and marked water sources. Closely spaced contours indicate steep ground at the same scale and interval. Rain or snow can make a steep section harder. Confirm water availability before relying on a mapped source.
If you are new to contours, use the Geospatial Information Authority of Japan’s map-reading guidance to practise on familiar terrain.
3. Draw the route and inspect the elevation profile
After drawing the route, check the total ascent and where sustained climbs or descents occur. Compare it with hikes you know. Distance, surface, exposure, duration and conditions also matter, so the ascent figure is one part of the decision.
Steep descents can take longer than expected on rough or slippery ground, especially with tired legs. Allow additional time where the profile and map show a demanding descent.
4. Adjust the time for your group
An automatic time is a starting estimate. If your recorded time on a comparable trail was 20% longer than the same app’s estimate, that comparison can help you adjust this plan. Add time for breaks and delays separately when the app gives walking time only.
Compare past estimates with your own section times. Include the pace of the group and the conditions you expect this time. Keep an allowance for things your past records cannot predict.
5. Plan where to turn back or exit early
Check mapped, open ways to leave the route and how you would get home from each exit. Decide on a turnaround point or time before you go. If a ridge offers no safe exit, make the weather and timing decision before committing to it.
Common planning mistakes
Mistaking service roads for hiking trails. A line on the map can be a forest road, work track or restricted path. Check the route type and access with the manager or municipality when you are unsure.
Missing a closure. A landslide, washed-out bridge or work site may close a route before a map update reaches your phone. Check current notices from the responsible authority near departure, including the road or bus access to the trailhead.
Underestimating cumulative ascent. The difference between the highest and lowest points can be much smaller than the total climbing on an undulating route. Check the cumulative ascent and the profile, and remember it is an estimate.
Forgetting daylight. Check the sunset time for your area and date using the National Astronomical Observatory of Japan. Valleys can lose direct light earlier. Allow a margin for slow progress and aim to finish well before dark. Carry a headlamp.
Take a paper map and compass
A phone can run out of power, break or lose access to its map. Bring a paper map covering the whole route and alternatives, plus a compass you know how to use.
Use the app to compare the options before departure. Use the terrain and a paper map to check decisions on the ground when needed. Save the plan, waypoints and relevant maps and test them offline.
Before your next hike
Try rebuilding a familiar route in the app. Compare the time estimate with what you actually recorded and look for the steep or slow sections. On your next plan, add a verified way to turn back, check sunset and confirm current conditions. Trip reports shared in the Nordwand community can give context for familiar routes. Check dates and current local notices before using one.
References
- Geospatial Information Authority of Japan: topographic map reading
- Japan Meteorological Agency: forecasts and warnings
- National Astronomical Observatory of Japan: Local Calendar and sunset times
- National Police Agency of Japan: annual mountain incident reports and safety guidance