
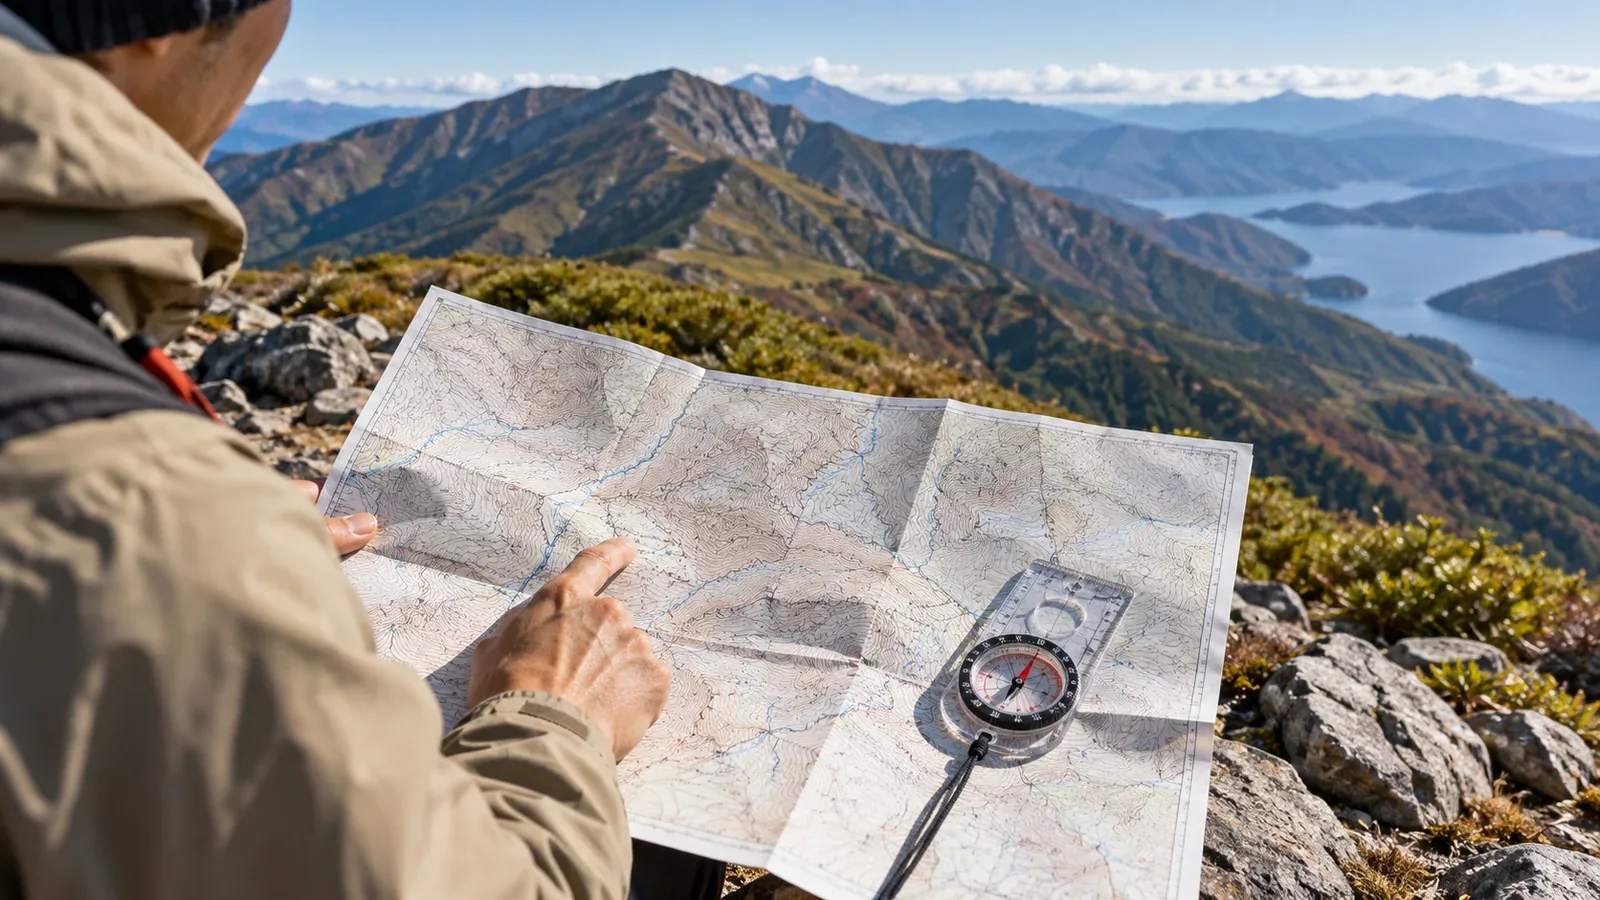
Open a hiking map and look at the contour lines. Each connects points at the same elevation, but turning those lines into a picture of a mountain takes practice.
This guide focuses on picturing the terrain from the contours. Even when a phone shows a GPS position, knowing how to read the terrain helps you check whether that position makes sense.
Three rules for reading contours
Start with three features that tell you how the land rises, falls and changes shape.
1. The spacing shows the steepness. On a map with a uniform scale and contour interval, close lines mean a steeper slope and wide spacing means gentler ground. Check for cliff symbols where the lines crowd together. Small features can fall below the map’s level of detail.
2. A closed loop can mark a high point or a depression. If the elevations increase towards the centre, the loop encloses a rise. If they decrease, it encloses a depression. Geospatial Information Authority of Japan (GSI) maps can use marks pointing towards the lower side of a depression. Compare the nearby labelled elevations and consult the legend.
3. A bend points uphill in a valley and downhill along a ridge. Where contours form a V or U across a valley, their tips generally point upstream towards higher ground. Along a spur or ridge, the contours bulge downhill. Follow several neighbouring lines and check elevations. The pattern still works in dry gullies.
Reading thin contours and bold index contours
On the GSI 1:25,000 topographic map, regular contours show the change of elevation and heavier index contours make it easier to count. Supplementary contours can show subtle or complex terrain.
- Regular contours, drawn with a thin line. The usual vertical interval on a GSI 1:25,000 topographic map is 10 metres.
- Index contours, drawn with a heavier line. Every fifth main contour is emphasised, so index contours are 50 metres apart in elevation on that map.
Look for a labelled index contour and work out which direction is higher. On the third thin contour uphill from an index line at 500 metres, the elevation is 530 metres. If you count downhill from 500 metres, the third thin line is 470 metres. Check the direction before counting.
Contour intervals can vary between maps, including ones with the same printed scale. Read the map’s legend before interpreting the lines.
Practise picturing the terrain in three dimensions
Once you know the rules, practise using them on a route you already know.
Step 1. Find the ridges and main valleys
Pick a labelled summit and follow the crests that extend from it. The contours bow towards lower ground along the ridges. Then trace the contours that turn uphill across valleys. That gives you the main shapes before you examine individual slopes.
Step 2. Spot where the slope changes
A sudden change in the spacing of contours marks a change in the slope. Where lines spread out above a steep section there may be a shoulder or small shelf. Look ahead for places where the descent steepens. The map can help you anticipate the change before you reach it.
Step 3. Orient the map and match the terrain
Turn the map until directions on it line up with the ground. Use a compass, accounting for magnetic declination where needed, or align it with several features you can identify. Compare a ridge, a valley and a trail junction before settling on a location. If GPS and the terrain do not agree, stop somewhere safe and check again before deciding where to go.
Terrain patterns that can mislead
These features are easy to misread when you look at only one line or one symbol.
Confusing a ridge with a valley. Check the elevations on either side of the bend, then orient the map so you can compare it with the view. Turning the sheet does not change which way is uphill.
Missing a small saddle. Between two summits the contours may form an hourglass around a saddle. A narrow or rocky saddle can be harder to cross than the map suggests. Check the contour spacing, map symbols and current route information.
Overlooking a cliff. Tight contours and a cliff symbol can indicate terrain too steep for a walking route. Read the legend and plan a marked alternative when needed. A contour map may omit smaller hazards, so check local route reports as well.
Misreading the head of a gully. The uphill bend may become shallower where the gully ends. The ground above could be steep or lead to a ridge. Do not follow the gully off the trail just because the contour bends fade. Check your route and the ground before going on.
Using contour reading with a digital map
When a hiking app displays your GPS position on contours, check what kind of terrain the dot sits on. If the app places you in a gully and you are standing on an open spur, pause and compare the map with your surroundings.
A phone can lose power, reception or access to a map. Carry a paper map covering the area and a compass. Practise using the terrain and the last place you confirmed to work out your position.
The Geospatial Information Authority of Japan publishes national topographic maps and a map legend. Hiking map publishers may use their own scales and symbols. Check the legend for the map you will carry.
Before your next hike
Open a 1:25,000 map or a topographic layer for a familiar trail. Find one ridge and one valley, then use labelled index contours to work out an elevation and find where the slope changes. A track shared in the Nordwand community can be another way to compare a route with the contours. Check it against current trail information and what you see on the ground.
References
- Geospatial Information Authority of Japan: reading terrain from contours
- Geospatial Information Authority of Japan: 1:25,000 map symbols and legend