
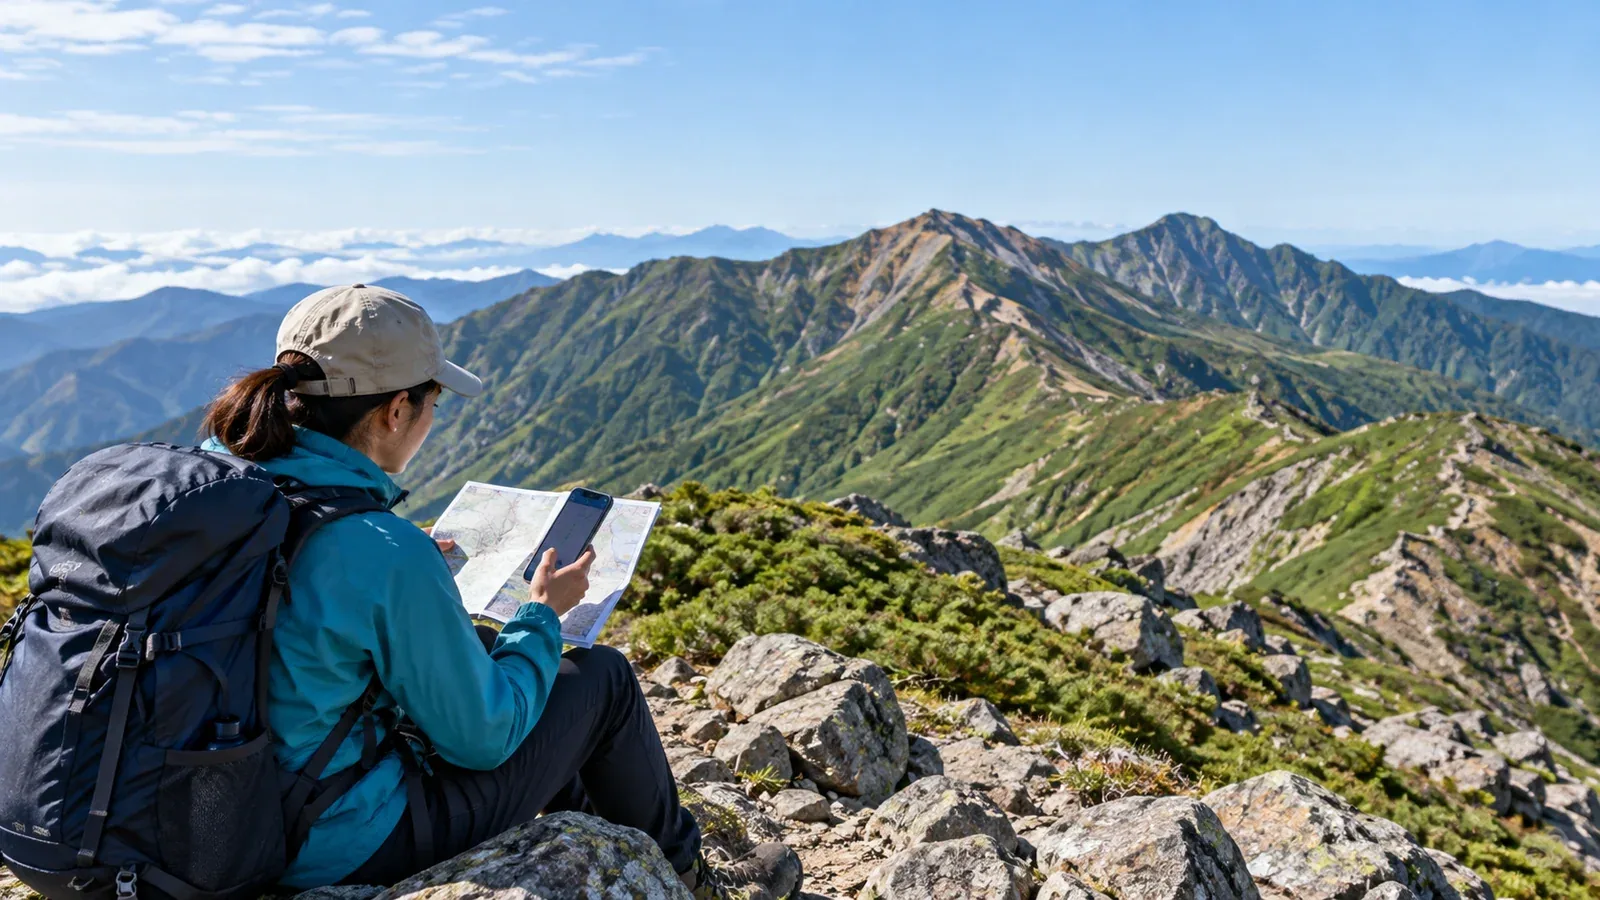
A hike shown as four hours in an app can take six hours from trailhead to finish. The difference may come from walking pace, stops, route choice or conditions. Compare what the number measures with what you actually recorded before using it to plan another outing.
A published walking time is a reference for a particular itinerary under certain assumptions. Apps may show different times for the same route, so first check the direction, start and finish and whether the times cover the same segments.
This guide explains where estimates come from and how to use past hikes to plan walking time, breaks and a margin for delays.
What a published walking time measures
Maps and guidebooks publish estimated times for individual sections. The publisher may state the assumed conditions and whether breaks are included. For example, Yamakei's Yama Time planner applies its pace multiplier to travel time and handles breaks separately.
Apps can use a guidebook reference, model the time from terrain or use recorded trips. YAMAP, for example, describes a terrain-based model for the standard times shown on its maps. Check what the app says about the particular figure you are reading.
Whatever the method, compare like with like. Separate the time you spend moving from the total time between departure and arrival. Conditions, the weight of your pack and the pace of your group can change both.
Why your actual time can differ
Check these factors when the app's estimate does not match your own time.
Pack weight. An overnight pack can slow the same walker, particularly late in the day or on a steep descent. Compare past outings with similar equipment and weight.
Ascent, descent and terrain. Steep grades, loose rock, chains or thick vegetation can take time that is hard to infer from elevation alone. Read recent descriptions to find sections where you may need to slow down.
Breaks and other stops. If the published number is moving time, add planned time for food, water, photos and gear changes. Keep a separate margin for delays you cannot schedule.
Fitness and experience. Use a few comparable outings to learn your current pace. Plan for the group, especially the person who needs the most time on the toughest sections.
Season, weather and temperature. Heat, snow, ice or poor visibility can slow you or make a section unsuitable. Check current conditions before applying an estimate from a clear, snow-free day.
How to estimate your own pace multiplier
Compare your moving time with a published estimate for the same sections and direction. This gives you a personal ratio to use on comparable routes.
Step 1: Pick a familiar route with published times
Start on a maintained, well-marked day hike with published section times. Choose a route that lets you compare without spending much time finding the trail.
Step 2: Record times at key points
Note when you start, pass major junctions, reach the summit and finish. The split times can show whether you slow down on descents or towards the end of the day.
Record the length of your breaks and other stops separately. Then you can compare your moving time with the app's moving-time estimate and still keep a record of the whole day.
Step 3: Divide moving time by the estimate
Divide your moving time by the published moving time. A ratio of 1.0 means they match. At 1.2, you took 20% more time. At 0.9, you took 10% less time.
Repeat the calculation across several similar hikes. Compare the uphill and downhill sections separately if they differ. Recheck the ratio when the route, weather, fitness or pack changes.
Step 4: Apply the ratio to your next plan
Multiply the published moving time by your ratio, then add stops and a margin for delays. For example, four hours × 1.2 gives 4 hours 48 minutes of walking. Adding 30 minutes of stops gives 5 hours 18 minutes before the delay margin.
Work back from the last bus, hut check-in and the time you want to be off the trail before dark. Use the earlier practical deadline and set a turnaround time. A valley or forest can become dark before the listed sunset.
Why times differ between apps
Two apps can show different numbers for the same starting point. Check whether the selected route is a loop, an out-and-back or a traverse and compare the same direction and sections.
Read the help page to see whether the number is a published walking time, a terrain estimate, a summary of recorded trips or an estimate adjusted to your pace. Check how pauses are treated and whether any automatic pause changed your recorded time.
A route based on an old or imprecise GPS track can also differ from the current trail. Cross-check the map and latest notices from the trail manager, especially for less-travelled routes or routes with closures and detours.
Leave room for a change of plan
Build in more room when the route or conditions are unfamiliar. A fixed multiplier cannot tell you whether a route is suitable.
- A new route. Leave time to check junctions, assess the trail and negotiate unfamiliar terrain. Mark a safe point where you can turn around.
- A heavier pack. Compare recent walks with similar loads. Allow more time for steep sections and rests, especially on an overnight trip.
- Uncertain weather. Check forecasts and current notices. If weather or visibility deteriorates, use your turnaround or another safe option instead of trying to make up time.
- Feeling unwell. Rest and reassess. At altitude, do not ascend with symptoms of altitude illness. If symptoms worsen while resting, descend if safe and seek help as needed.
Check your actual times at the points you planned. If you are behind, decide while a safe return or other planned option is still available. Confirm that any alternate hut or transport is operating before relying on it.
Your next step
Open the route you plan to hike and read its section times and the app's explanation. Compare them with your moving and elapsed times on similar outings. Check access, transport, hut hours and daylight, and write a turnaround time into your plan.
Official resources
- YAMAP map and pace guidance, and Yamakei’s Yama Time planner
- Geospatial Information Authority of Japan maps, and National Astronomical Observatory of Japan sunrise and sunset calculations
- National Police Agency incident statistics, Nagano mountain safety advice and CDC altitude illness guidance
References and sources
- YAMAP Help: standard walking times on maps
- YAMAP Help: how walking pace is displayed
- Yamakei Online: setting pace and breaks in Yama Time
- Geospatial Information Authority of Japan: GSI Maps
- National Astronomical Observatory of Japan: sunrise and sunset
- National Police Agency: mountain incident statistics
- Nagano Prefecture: mountain safety and daylight
- CDC: travelling at high altitude