
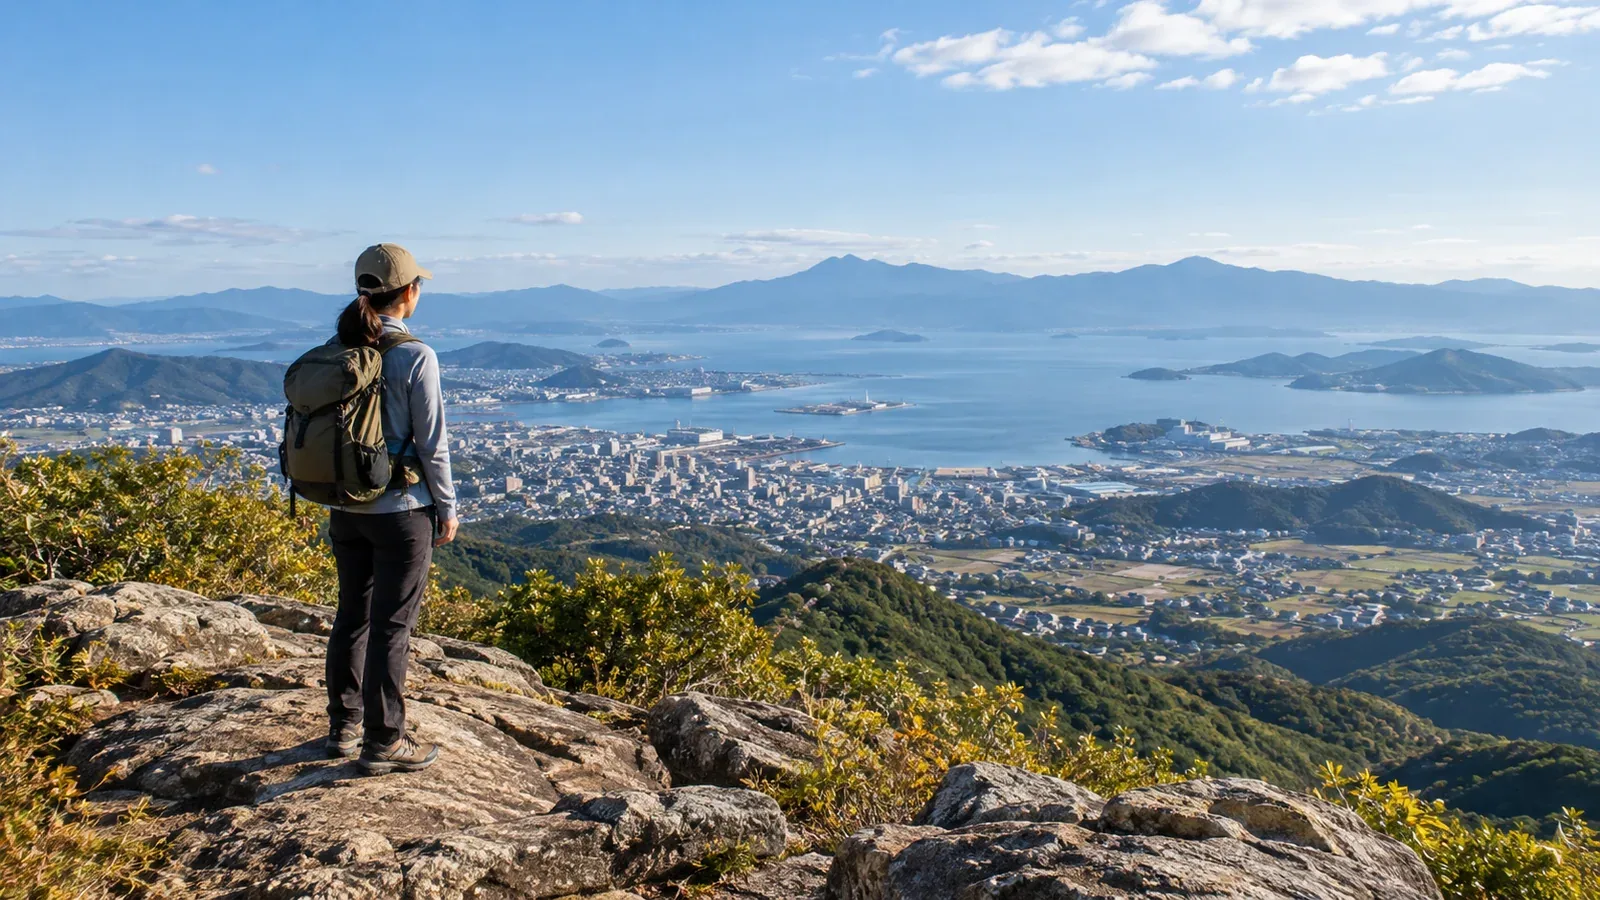
Even at low elevation, a summit or a viewpoint along the trail can look out over plains, the sea or distant mountains. Find out which direction is open and whether the view is on the way or at the summit, so you can plan the route around it.
Here is how to find a viewpoint by comparing topographic maps, photos, the season and the route.
Why views on low mountains can be hard to predict
Views depend on the trees and terrain along your line of sight. Even a wooded summit can have a lookout or an open rest stop elsewhere along the trail.
At the same elevation, the view can differ depending on where you stand and which way you look. Check maps and photos to see whether ridges or trees lie in the direction you want to look.
How to read a topographic map for a view
Open GSI Maps at the summit and at possible viewpoints. Look at contour lines and map symbols. Use the legend to work out what the map shows and what you still need to check.
- Rock cliff symbols: These show steep terrain. They do not tell you whether there is a view or a safe place to stand.
- Conifer and broadleaf forest symbols: These give an idea of the vegetation mapped there. Use local information for tree height and which directions are open.
- Widely spaced contours: They indicate a gentler slope. The area may still have plenty of trees.
- Closely spaced contours: They indicate steeper ground. When looking for a view, also check which trails are open to visitors.
Use a 1:25,000 topographic map or the GSI Maps legend and look for higher ridges in the direction you want to see. Where there is no vegetation symbol, check photos or the site manager’s information.
Use photos and trip records to confirm the view
After finding a candidate on the map, check the location, season and direction of photos in visitor guides and trip records. Find out whether a photo was taken at the summit or at a viewpoint along the way.
How the season affects the view
Where deciduous trees are common, you may be able to see farther through branches after the leaves fall. The date a photo was posted may differ from the date it was taken. Look for images from around the season of your visit.
Evergreen trees keep their leaves through winter. At a place surrounded by trees, check recent photos or visitor information to see where you might be able to look through the branches.
What to check
- Can you confirm the location and direction of the photo on a map?
- Does the guide mention a lookout or say which direction the view faces?
- Are there viewpoints away from the summit where you can stop safely?
Check lookouts and rest areas on routes open to visitors as well as the summit. Stay on the trail and outside closed service tracks when looking for a view.
Examples of places with open views
These examples show what you can see and from where, along with the mountain’s height.
A low mountain overlooking the sea: Mount Nokogiri in Chiba is one example. The 329-metre survey point and the ropeway’s upper-station lookout over Tokyo Bay are different places. Use a map to find the spot you want and how to reach it.
A low mountain overlooking plains and rivers: Mount Hiwada in Hidaka, Saitama, is one example. The city describes views of the Kantō Plain and Kinchakuda, a landform shaped by the Koma River, from the 305-metre mountain.
Viewpoints at historic sites or temples and shrines: Check which areas are open and at what times. A viewpoint may be inside the grounds, as at Jigoku Nozoki in Nihonji Temple on Mount Nokogiri.
Choose a route with a view
If there are several routes, find the section with a viewpoint and check the difficulty of the trail on both sides. Choose a spot where you can stop safely.
What to check on valley and ridge routes
- Open views: Valleys and ridges can both have lookouts. Check their locations against maps and information from the site manager.
- Effects of rain and wind: In valleys, watch for rising water and slippery footing. On exposed ridges, watch for wind and lightning.
- Difficulty: Whether the valley or ridge is easier depends on the route. Check steepness, surface, rocky sections and stairs.
On a first visit, look for a route that gives you a view without a difficult ridge. In strong winds, consider skipping exposed viewpoints.
A loop route may give you different views on the way out and back. Check the conditions and junctions on both parts of the route and the time left before sunset.
Choose the weather and time of day
The distance you can see changes with clouds, fog, mist and the way the light falls in the direction you are looking.
- Time and direction: Think about where the light will be. Looking east in the morning or west in the evening can put the sun in your eyes.
- After rain or a typhoon: A washout or high water can remain even under clear skies. Check the latest information from the site manager before going.
- Season: Fewer leaves can open a view. Days can also be shorter and trails can be icy.
Check the regional forecast, warnings and advisories the day before and the day of the hike. If fog or cloud reduces visibility, or wind and rain pick up, change the route and let the viewpoint wait.
Check trail access and facility opening hours, too. Allow time to return from the viewpoint and catch your transport home.
Your next step
Pick a low mountain nearby and use a map to find a public viewpoint and the direction you want to look. Find a recent photo taken from that spot, check the forecast and access, and choose a route you can finish in daylight.
Sources
- Geospatial Information Authority of Japan: GSI Maps
- Geospatial Information Authority of Japan: Map symbols
- City of Futtsu: Mount Nokogiri
- City of Futtsu: Mount Nokogiri Ropeway
- City of Hidaka: The view from Mount Hiwada
- Japan Meteorological Agency: Weather forecasts
- Japan Meteorological Agency: Terms for fog, mist and other conditions