
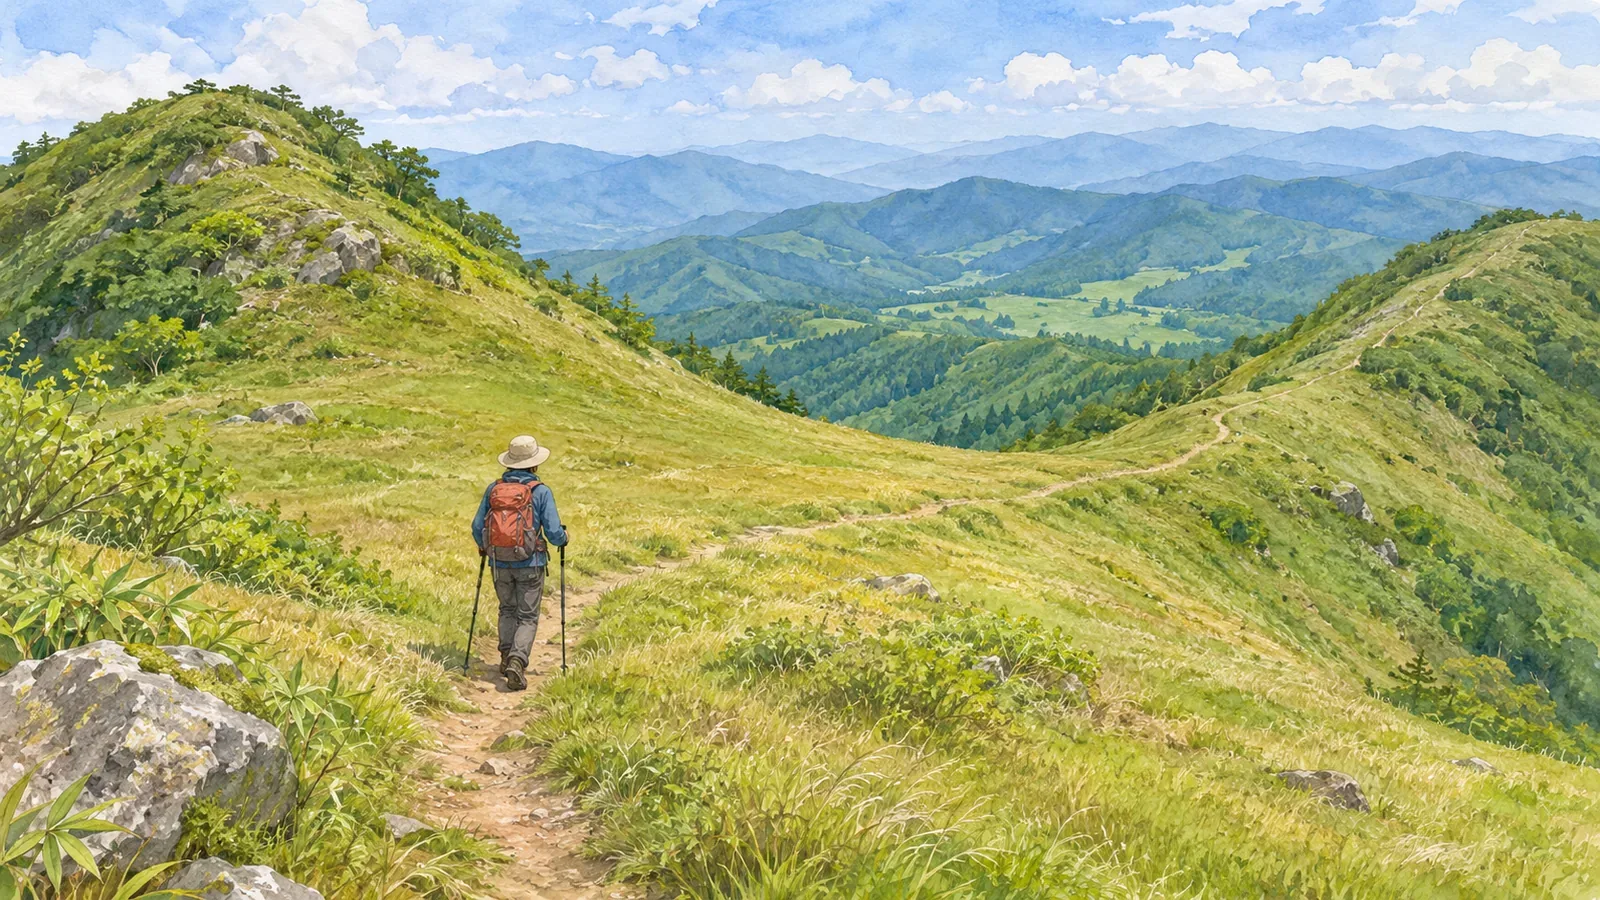
At a saddle, do you stay on the ridge or descend toward a valley? The name of the landform alone won’t tell you where your trail goes. Find the saddle on the map first, then trace the trails leaving it and see how each one relates to the terrain.
Distinguish the saddle from the trail junction
The Geospatial Information Authority of Japan’s Map Reading for Safe Mountain Hiking describes a saddle as the low ground between two peaks. Look at the two rises and the dip between them before focusing on a place name or trail line.
The same material places maps of saddles and mountain passes alongside 3D aerial photographs. Use them to compare the low area on the flat map with the surrounding rises and slopes. For current trail access at the illustrated locations, consult separate information.
We suggest checking whether the intended trail passes through the low ground itself or crosses nearby. Even after you identify a saddle, check separately whether there is a trail junction and which directions have walkable trails.
If you label the saddle S while working, note the area the label covers. S is just a label for the exercise. Even if the name of the pass helps you remember the trail, be able to describe where it is and what it connects to.
Follow the trail symbol through the contour lines
Article 24 of Japan’s 1:25,000 topographic map specifications places road symbols on their centerlines. Follow that line separately from the contours around it. A ridge extending beyond a saddle gives you no basis for drawing in a continuation of the trail.
Article 26 uses the footpath category for roads whose centerlines were recorded as less than 1.0 m wide. That category describes how the trail was mapped. Current maintenance, ease of walking and restrictions require separate checks.
We suggest tracing each planned trail from the saddle to the next place you can verify. First note the trail’s compass direction. Then read the contours and the high ground around it to see whether it climbs to a peak, descends toward a valley or traverses a slope. Follow the trail line before using the terrain to interpret it.
Where you can’t make out a trail line, mark it “map depiction to check” and leave the gap open. Record the map and zoom level so you can explain what was unclear when using another source. The existence of a trail and current access both need checking.
In the textbook example, the trail leaves a saddle for a valley
The introductory exercise in the Japan Sport Council’s instructor’s textbook includes a descent from a ridge into a valley. It checks an earlier saddle first, then uses a turn in the ridge trail toward the northwest to confirm the position at the next saddle.
After the descent into the valley begins, the exercise also checks that both valley and trail head roughly southeast. It connects reaching low ground with seeing that the trail leaves the ridge and checking the direction of the next part of the valley and trail.
The sequence and directions are specific to the exercise. Check the actual trail and directions separately for any hike. For your planned route, look for a similar sequence: reaching a saddle, seeing the trail leave the line of the ridge and checking whether the next section changes direction.
If you note that the trail leaves the ridge, add whether it descends toward a valley or traverses the slope. That helps relate the trail to mapped terrain. Use the exercise to practice describing the trail and the ridge as separate lines.
Add direction and elevation change to each trail
Suppose a map shows two trail lines leading away from an imaginary saddle S. Trail P heads toward a peak to the north, and trail Q descends into a valley to the east. P and Q are invented. They illustrate how routes leaving one saddle can lead into different terrain.
For P, write “goes north and climbs to a peak.” For Q, write “goes east and descends toward a valley.” Then indicate how far each description applies. If Q descends briefly and then traverses the slope, split it at the change.
The Japan Orienteering Association’s guide Different Ways to Establish Your Position says one trail junction can be mistaken for another. It recommends adding the direction of the branches and a landform such as a saddle. Check the direction and terrain alongside a label such as S or a marker.
We suggest four entries: destination and trail line, direction leaving the saddle, whether the route climbs or descends, and the next feature to check. Mark any unclear entry as such. Completing all four gives you a record for comparison. Establishing your location and safe passage still requires separate checks.
Even if the compass direction matches, check your assumptions if you keep descending where you expected to start climbing. A small step underfoot is on a different scale from the larger climb or descent shown on a map. Note how much of the terrain you are comparing.
Keep the exercise to the planned trail and avoid entering an unverified valley or another ridge to test it. Check official access information against your map and the signs, and leave any unknown trail out of your shortcuts or descent options. Treat a descent into a valley as a route that needs its own checks.
In brief: describe the trail beyond the saddle using the terrain
Once you identify the saddle, trace the trails from it. Check direction, elevation change and the relationship to ridges and valleys separately. As in the textbook example, pair finding the saddle with confirming how to stay on the trail beyond it.
Trails that leave the same place can require different checks if one climbs to a peak and another descends toward a valley. Keep the sections you can trace and the questions still open in your notes, without drawing in paths from terrain alone.
References and sources
- Geospatial Information Authority of Japan, Map Reading for Safe Mountain Hiking, pp. 1–2, saddles and comparison images
- Geospatial Information Authority of Japan, 2013 Specifications for 1:25,000 Topographic Maps, articles 24 and 26, including the March 30, 2026 revision
- Japan Sport Council, Safe and Enjoyable Mountaineering: A Textbook for High School Mountaineering Instructors, Part 4, Chapter 1, introductory exercise, printed p. 132
- Japan Orienteering Association, Different Ways to Establish Your Position