
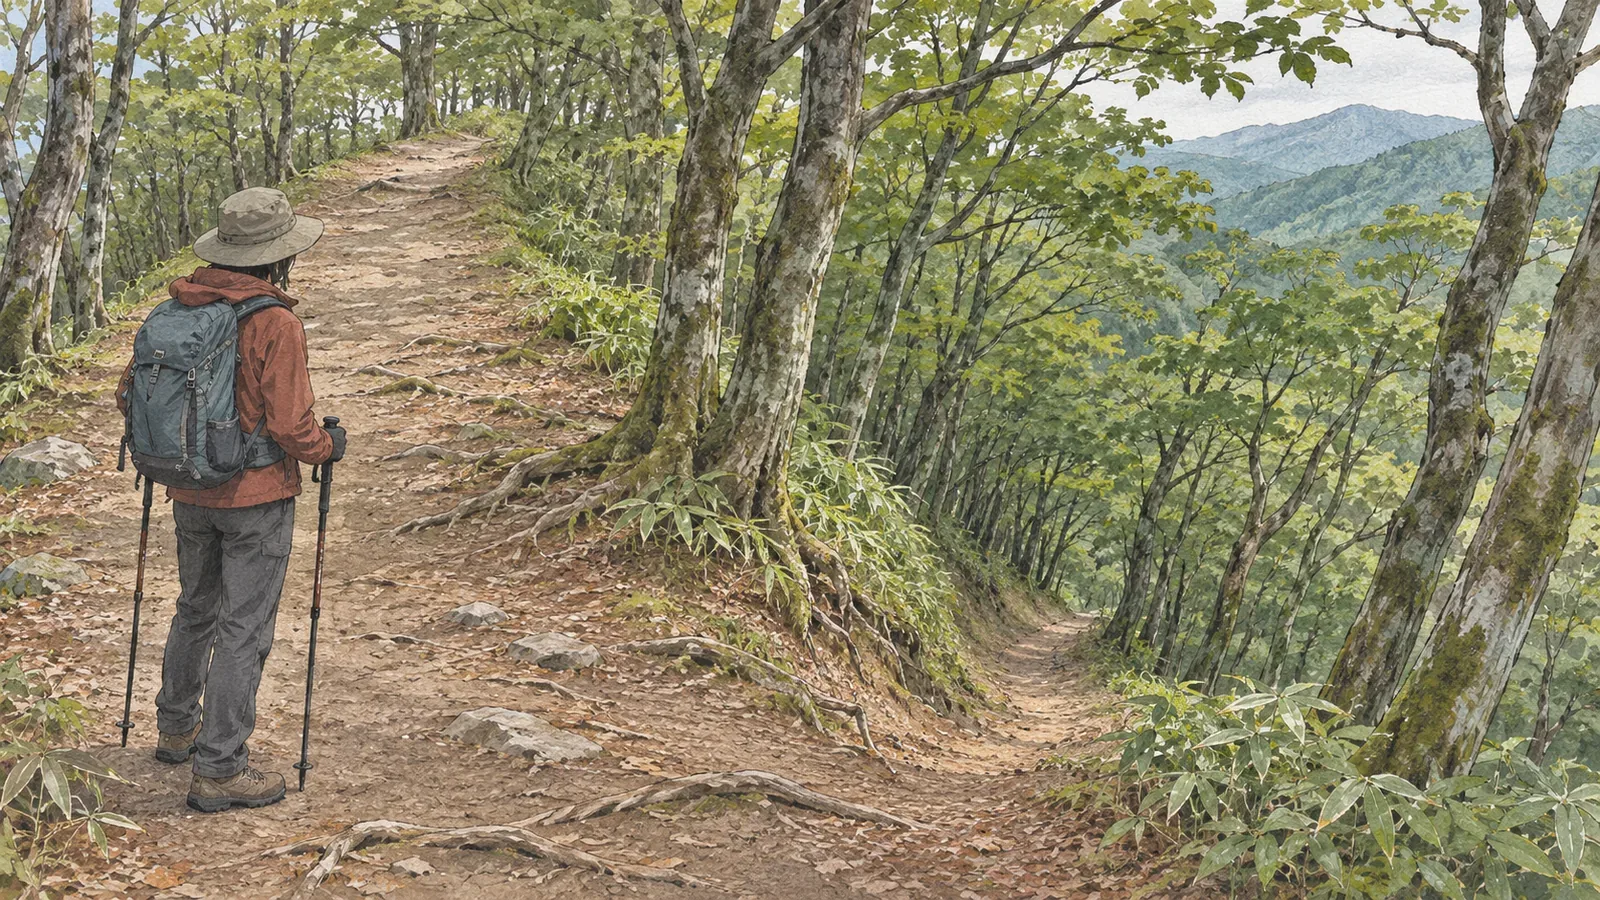
When you trace a descent on a map, look first for where the ridges split and which way the trail continues. The mountaineering instructor’s textbook we consulted on October 28, 2026 explains how ridges branch downhill and includes an exercise in which the trail leaves the ridge. It gives us a way to plan what to check before and after each split.
Read the ridgeline and the trail separately
As you plan the descent, trace the shape of the ridge and the trail that runs along it separately. In the Geospatial Information Authority of Japan’s teaching material, contours bulge toward lower ground on a ridge and point toward higher ground in a valley. Check which side is higher and which is lower, then see how the shapes connect across several contours.
Start by tracing the trail you plan to descend. Then use the contours around it to see which ridge it follows and where the terrain or the trail’s direction changes. That’s our suggested order. If you start with a landform, it’s easy to assume there must be a trail along it.
Japan’s 1:25,000 topographic map specifications place road symbols on the road centerline. The footpath category represents routes recorded as less than 1 m wide. That category tells you the mapped width class. Check maintenance and current access separately.
Here, a side ridge is a ridge that branches from the one carrying your descent route. The term describes how two features relate to each other, without assigning them a standard width or length. In your notes, record which ridge you’re using as the reference and which branch you mean.
On the descent, look for changes in direction
The Japan Sport Council’s mountaineering instructor’s textbook explains that ridges branch as you go downhill, so staying on route takes more attention on the descent than on the ascent. It emphasizes confirming your position at checkpoints and using direction to stay on route.
The exercise teaches a navigation skill rather than measuring how often hikers take the wrong branch: keep checking the trail’s direction in terrain that extends several ways. Even on a stretch that looks like a single trail, it’s worth checking on the map where it leads.
The textbook’s introductory exercise asks readers to identify where the trail parts company with the ridge and where the ridge carrying the descent route changes direction. In one example, you have to leave the ridge and descend into a valley. Simply following a ridge all the way down can take you off your planned route.
The place names, directions and numbered points in the book belong to that exercise. The current trails in that area are outside the scope of this article. Check your own descent against a topographic map and up-to-date trail information to find the places that call for similar checks.
Make one note for before, at and after the split
For each place where a ridge might split, we suggest making a note with three entries. Start with what you can identify on the approach. The trail might begin to change direction, pass over a saddle or reach a change in the pattern of ascent and descent. Record the map evidence behind each feature you expect to see.
Next, record the direction to take at the split. Write down which way the intended trail continues, whether it turns with the ridge, or whether it leaves the ridge. Along with a cue such as “go right,” record the compass direction relative to your line of travel. The same map can then guide you uphill and downhill, when left and right may swap.
Finally, record what to check after the split. Look ahead to the next place where you can verify your position. Does the route traverse a slope, descend toward a valley or stay on the ridge? Knowing the expected terrain beyond the split gives you a way to spot a mismatch.
The instructor’s textbook also uses valleys before and after a junction, and the directions of the trails, to work through what you might see if you miss the turn. Our three entries organize that idea. The landmarks will depend on the mountain.
A side ridge can branch off without a trail. Count ridges and trail junctions separately. Where the existence of a trail or landmark is uncertain, mark it “to check.” A faint line that looks like a trace of foot traffic is insufficient grounds for adding a new descent option.
Allow time for the descent and plan for a mismatch
In Avoiding Mountain Accidents II, Gifu Prefectural Police say that getting lost is easier on the descent and that fatigue can contribute to falls and slides. They recommend descending carefully, taking breaks and checking how you feel and where you are. Keep that pace even after a thorough map review.
The same guidance calls for frequent position checks and explains that trails become harder to see as sunset nears, which can make people rush. Build in time to check your notes, including on the stretches near the trailhead. Keep the final junction on your list even when you feel almost there.
To open the map, stop where you have stable footing and can leave room for others. If the direction or terrain seems off, pause and recheck your position and the route you’ve already verified. Avoid continuing onto the side ridge to see if it eventually matches.
A mark you made on a map cannot establish that it is safe to go back to that point. If you are unsure how to return or where you passed, a straight line to the mark offers no reliable route. Preparing in advance gives you more chances to check before you lose track of your position.
This exercise leaves ridge width and local slope differences out as tests for identifying the right trail. A topographic map cannot show every small step or patch of footing. Note any differences you find between the map, official access information, and the trail and signs on the ground.
In brief: be able to describe the trail on either side of a ridge split
To plan a descent, follow the ridgeline and the trail separately. Check where the trail changes direction, where it parts company with the ridge and where it leaves the crest. The presence of a side ridge alone tells you nothing about whether there’s a trail along it.
For each split, note what to look for on the approach, which way to go and what to check afterward. Allow time for breaks and position checks. Use the notes to catch a discrepancy while you can still review the information you’ve verified, without going farther to resolve it.
References and sources
- Geospatial Information Authority of Japan, teaching materials on reading ridges and valleys from a map
- Japan Sport Council, Safe and Enjoyable Mountaineering: A Textbook for High School Mountaineering Instructors, Part 4, Chapter 1, introductory exercise
- Geospatial Information Authority of Japan, 2013 Specifications for 1:25,000 Topographic Maps, articles 24 and 26, including the March 30, 2026 revision
- Gifu Prefectural Police, Avoiding Mountain Accidents II, updated September 28, 2026