
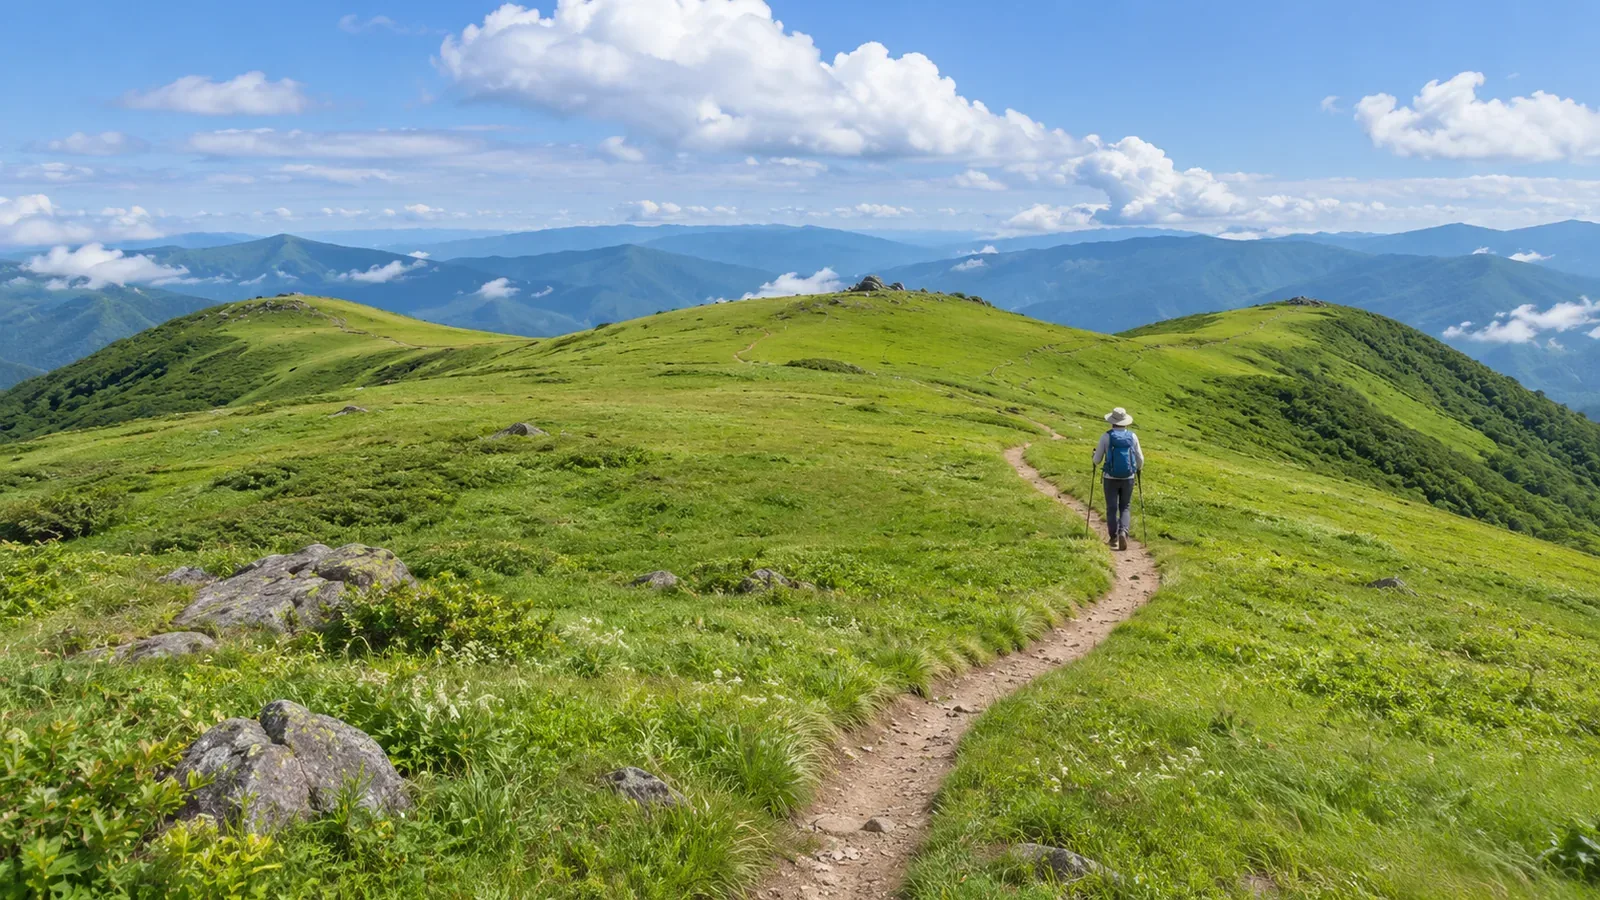
Counting the ridges you can see on a map won’t tell you which way your planned descent leaves a broad summit. Start by deciding what area around the summit to check. Then note the ridges and the trails that leave the summit separately. The method below draws on map-reading materials and topographic map specifications we consulted on October 28, 2026.
Treat the summit as an area
The Japanese Alpine Club’s course notes describe flat, gently sloping areas under the Japanese terms taira and hara, with flat summits among the examples. The notes also identify flat ground, particularly in woodland, as a place where it can be easy to lose the route. Visibility and trail layout vary from summit to summit.
Find where your intended trail enters the summit area and where it leaves. The position of the name or elevation label alone gives you little to work with. If the map shows several rises or flat areas near the top, note which parts you decided to review. This is our suggested approach.
A circle drawn on a map serves as a working boundary for the review. Mark the areas that matter to your plan, such as the approach on the ascent, the spot where you intend to rest and the first stretch of descent. If the edge is unclear, record it as the extent of your review.
The first goal is to see which ridges connect directly to the summit area and which branch farther down. Adding them all into one total would hide that distinction. This exercise gives you a way to describe what you checked on your map. A universal inventory of ridges on real mountains would require a separate standard.
Put ridges and trails leaving the summit in separate columns
The Geospatial Information Authority of Japan’s teaching material identifies ridges by looking for contours that bulge toward lower elevations. In valleys, contours point the other way. Check which side is higher, trace likely ridges and note their compass directions as they extend from the summit area.
The same material explicitly says the red ridge lines in its diagram show only a selection. Counting the prominent lines gives you the number highlighted in that diagram. In your notes, distinguish likely ridges you can trace from parts of the terrain you can’t yet account for.
Now trace the hiking trail you plan to use. The specifications for Japan’s 1:25,000 topographic maps place road symbols on the road centerline. The footpath category represents roads whose centerlines were recorded for a width under 1.0 m. Those symbols represent mapped routes. Read the topographic features separately.
Make two columns, one for possible ridges and one for the planned trails. In the first, note the compass direction of each ridge. In the second, write down the trail you’ll come up on, the trail you’ll take down and the destination beyond it. Two lines can head the same way for a while, so check how long they run together and where the trail leaves the ridge, as far as the map allows.
If the map shows no trail along a possible ridge, record “trail unverified.” Leave that ridge out of your descent options and check any suspected connection to the planned trail separately. The purpose of the two columns is to keep terrain observations distinct from the walking plan.
Distinguish ridges near the summit from branches farther down
The Japanese Alpine Club’s notes explain that ridges often extend from a summit or small rise toward the foot of the mountain and split several times along the way. The notes also offer practice tracing ridges from a peak. When working on your own map, check where ridges join or split before putting them into a list.
For a practice example, imagine three ridges extending northwest, east and south from the area around a fictional summit. Only the southern ridge divides in two farther down. Those connections are chosen for the exercise. The example gives no count for a real mountain and establishes no typical number.
In the summit-area section of your notes, write “northwest, east, south.” In the section for the continuation of the south ridge, write “splits in two farther along.” Keep the two branches beyond the split out of the list of ridges that connect directly to the summit area. This records where you drew the line for each part of the review.
In an actual map review, distinguish the summit area from the wider area you looked at to follow the branches. Keep any part with uncertain connections marked for further checking. An arbitrary length cutoff for small bulges would give a count that depends on the cutoff you chose.
Check which of the mapped trails you can use now
The Geospatial Information Authority of Japan’s Map Reading for Safe Mountain Hiking describes how the agency works with local partners to survey trails and reflect the results on maps. In the Mount Meakan example, different colors show newly added trails, removed trails and surveyed sections whose layout changed little.
This example shows edits made following that survey. Consult current access information separately if planning a hike on Mount Meakan. The example shows how fieldwork can lead to changes in the mapped trail network. Identifying a ridge or finding a line on an older map leaves the question of whether you can use it on your planned date open.
In your notes, record the map you used, the date you checked it, the area covered, the directions of the approach and descent trails, and the points that need further checking. If you consult a land manager or local authority’s notice, record the affected trail and the date of the information together. Notices for a different slope or route may concern a different part of the same mountain.
The Japanese Alpine Club’s course notes explain how to confirm your position and anticipate your route and the terrain ahead. The list of possible ridges helps you prepare for the question that matters on the walk: which direction does the planned trail take? Check the descent route itself even after the ridge list is complete.
If the direction or terrain on the ground differs from what you expected, stop somewhere safe and recheck your position and the planned trail. The numbered ridges in your notes are observations to compare with the map. Avoid taking a different ridge from the list to see where it goes.
In brief: record the area and the connections first
When reviewing a broad summit, define the area to check and take separate notes on the ridges and the intended trails. Distinguishing ridges that extend from the summit area from branches farther down lets you explain what you checked and how far you followed each feature.
Before you finish, check your approach, your way off the summit, their directions, anything the map leaves unclear and points that need up-to-date information. Use the confirmed and unconfirmed entries to identify your intended exit. Keep any ridge count tied to the area and map you examined.
References and sources
- Japanese Alpine Club and Masayuki Kondo, Basic Map Reading, Compass and GPS: How to Avoid Getting Lost, course notes, September 28, 2024, pp. 3–4, 9 and 25
- Geospatial Information Authority of Japan, teaching materials on identifying ridges and valleys from a map
- Geospatial Information Authority of Japan, 2013 Specifications for 1:25,000 Topographic Maps, article 24 and article 26, item 21, including the March 30, 2026 revision
- Geospatial Information Authority of Japan, Map Reading for Safe Mountain Hiking, PDF pp. 5–6, trail surveys with local partners