
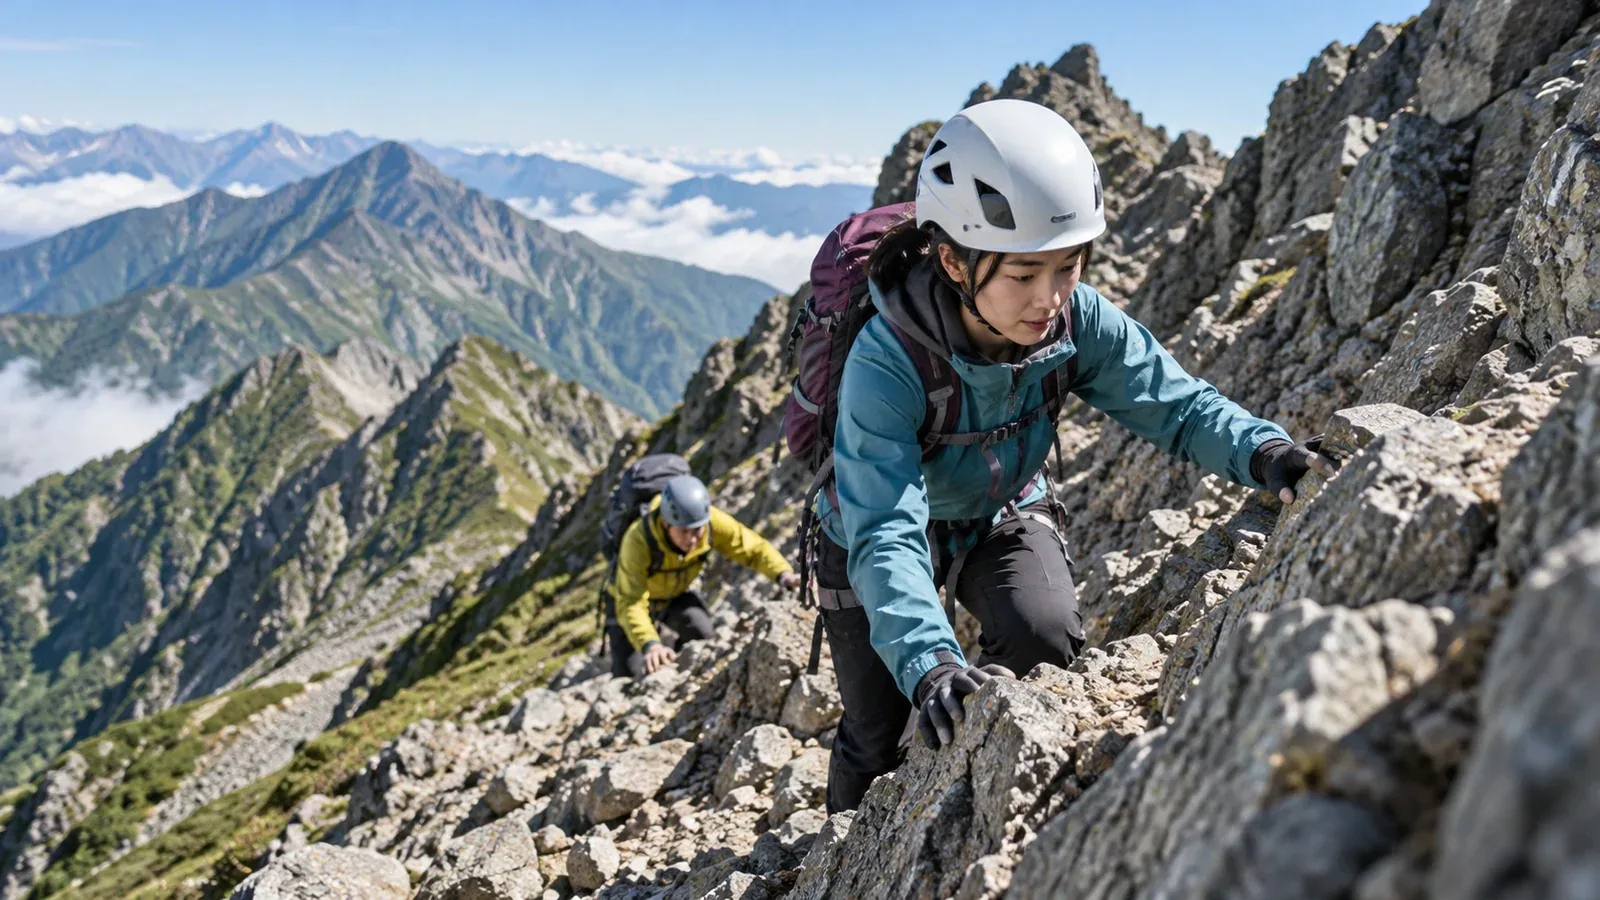
Wear a mountaineering helmet on rocky or chain-assisted routes with a risk of falling rock or head impact. Put it on and fasten it before reaching the exposed section.
Rock can fall with little warning. Knowing where the risk is highest helps you decide when to put your helmet on and where to stop, wait or turn around.
As you plan longer ridges or routes with more technical terrain, check the operator's and local authorities' advice for each section. Include a helmet on your equipment list where the terrain calls for one, and plan where you can put it on safely.
Why falling rock is hard to avoid
A rock can drop, bounce or change direction before you can react. It may arrive with little sound, so watch where the trail lies in relation to the slope above.
Loose or weathered rock can break away on its own or be dislodged by hikers uphill. Look at the slope before entering and keep enough space from the people ahead while watching your own footing.
Even a small stone can cause a serious head injury. The risk depends on its speed, trajectory and where it hits. Judge the terrain and what is above you before entering.
What a helmet can protect against
A helmet is one part of managing exposure to falling rock and falls.
Mountaineering helmets are designed to reduce the severity of certain impacts, including a blow from a falling object and some impacts if your head hits rock in a fall. Look for the maker's declaration of conformity or certification, such as EN 12492 or UIAA 106. These standards define controlled tests. The current UIAA 106 v4 is based on EN 12492:2025.
A large or fast-moving rock can overwhelm a helmet's protection. Coverage and performance differ by impact location and model. Wear your helmet and reduce the time you spend under loose rock, below other hikers or in a gully.
When to put it on
Check the route description, the current conditions and the local notices. These situations warrant particular care.
Where to wear a helmet
- Routes with exposed chains or ladders. Check what could fall from above and the consequences of slipping. Put the helmet on before entering.
- Rocky terrain with people uphill. Other hikers can dislodge stones without noticing. Keep space and avoid waiting directly below them.
- Scree and rock gullies. Loose stones can travel down the slope or channel. Check where you can cross or turn back safely.
- After rain or freeze–thaw, or in strong wind. Conditions can loosen rock or make footing less secure. Check current notices and consider a different route if you cannot pass safely.
- Exposed rocky ridges. A stumble can bring your head into contact with rock. Check the approach and descent as well as the ridge itself.
If you are unsure
If the route description mentions exposed rock or chains, plan a safe place to put the helmet on before reaching them. Check local requirements and recommendations. Nagano Prefecture publishes a list of areas where helmets are recommended, and recommends wearing one anywhere with a risk of rockfall or falls.
What to do when rock falls
Before you enter, look for rockfall paths and stable places where you can wait clear of them.
Warn people immediately. If you see or dislodge a falling rock, shout a warning. In Japan you may hear “Raku!” or “Rakuseki!” If you hear a warning, keep your footing, protect your head and use nearby shelter only if it is immediately and safely reachable. Avoid a sudden move toward the drop or across the rock's path.
Choose a safe place to stop. Rest on a wide, stable part of the trail away from gullies, the base of rock faces and the likely path of falling stones. An overhang alone tells you little about whether the rock overhead is stable.
Leave space between parties. Wait for the person ahead to clear an exposed chain section before starting and follow local signs. Let others know you are waiting and give people uphill and downhill room to move.
Choosing a helmet you will wear
First check the intended use, certification and fit. Then compare features for your routes.
Weight and fit. Try several models. Helmets use different combinations of a shell and energy-absorbing material. Look for a stable, comfortable fit and compare each model's coverage and protection claims using the maker's documentation.
Ventilation and headlamp attachment. Check whether your headlamp can be secured and how the helmet feels in the conditions you expect. If you plan to wear a thin hat or hood, check that it leaves the helmet seated and secured as the maker specifies.
A secure fit. Follow the maker's instructions for position, size and strap adjustment. Fasten the chinstrap and check that the helmet stays put when you move your head. Inspect it before use. After a significant impact, stop using it and follow the maker's retirement guidance even if you cannot see damage.
Before your next rocky hike
Identify where you will put your helmet on before reaching the exposed terrain. Check notices from the trail manager or hut and recent route reports from hikers in Nordwand. If conditions make the section unsafe, choose a safer route or turn back.
Further reading
- National Police Agency mountain incident reports
- Fire and Disaster Management Agency rescue statistics
- UIAA 106 standard for mountaineering helmets
- EN 12492 European standard for mountaineering helmets
References and sources
- National Police Agency · Mountain incident reports
- Fire and Disaster Management Agency · Rescue statistics
- UIAA · UIAA 106 v4, mountaineering helmets
- Royal Netherlands Standardization Institute · EN 12492:2025
- Nagano Prefecture · Areas where helmets are recommended
- Nagano Prefecture · Safe hiking equipment
- Yamanashi Prefecture · Safe hiking guidelines
- Petzl · Example of model-specific fitting and inspection instructions