
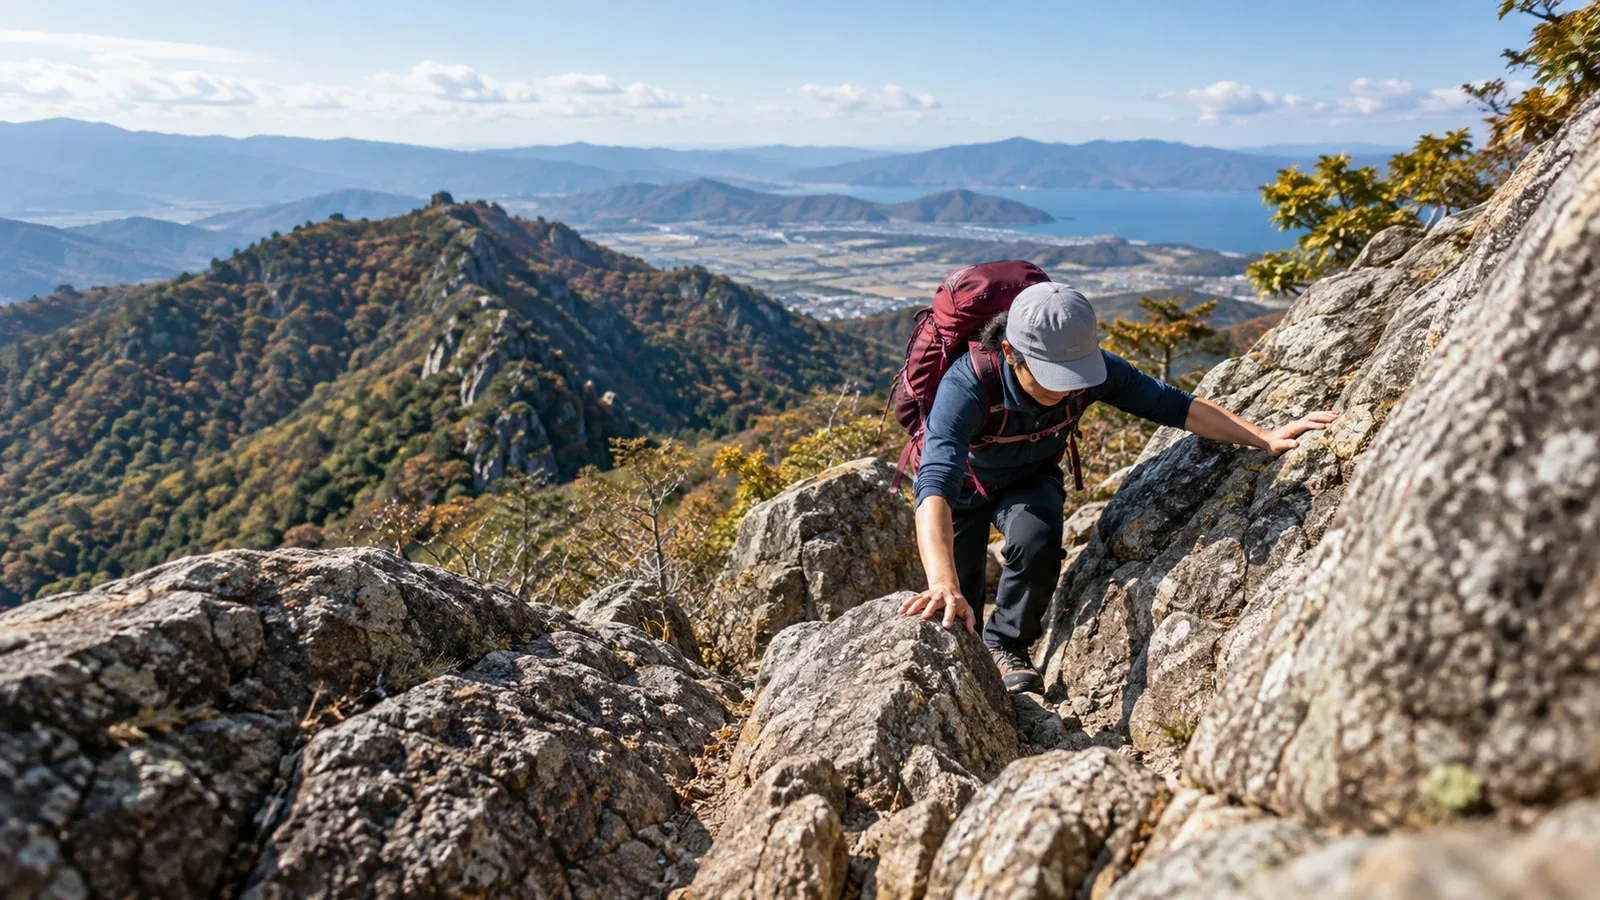
Before a hike that includes steep rock, practise finding footholds, transferring weight and coming down with control. Choose terrain that leaves room to stop and repeat the movement, and get instruction when you are unfamiliar with it.
A climbing gym and an outdoor practice site serve different purposes. This guide shows how to use each and how to decide when to choose a more demanding route.
What you can learn at a gym
Artificial holds let you repeat movements in a setting with facility rules and defined landing or rope systems. Start with a gym induction, choose easy terrain and follow the facility’s guidance on supervision and descents.
Start with stable contact. On an easy wall, practise moving a hand or foot at a time while keeping other supports firm. Bouldering mats reduce some impact, but falls can still cause injury. Keep the landing clear and use the designated descent or downclimb when appropriate.
Then practise controlled weight transfer. Observe how your balance changes with hold position and wall angle. Ask a coach to help you choose a stance. Try precise foot placement and smooth shifts on easy terrain you can repeat without strain.
Outdoors, rain, moss, sand, loose rock and unmarked holds affect the movements you choose. Learn to assess those conditions with an instructor who is qualified for the type of outdoor route.
Choosing an outdoor practice site
Choose a short, low-consequence area with stable approaches, a descent you understand and permission to practise.
- Short and easy to leave: Choose terrain where you can stop and return without committing to an exposed section.
- Consequences of a slip: Check the slope and obstacles below as well as the height. If a fall could be serious, choose different terrain or work with a qualified instructor using appropriate protection.
- Sound holds: Check each handhold and foothold for movement and loose debris. Rock type alone cannot establish that an individual hold is sound.
- Access and conservation: Check landowner or local authority rules, protected areas and seasonal restrictions before practising.
Ask a qualified local guide or club instructor about suitable sites and local access. Check the latest notices before going.
A progression from the gym to outdoor terrain
Use the following sequence as a planning example. Move to a new setting when you can repeat the relevant skills with control and your instructor agrees that the terrain is appropriate.
Step 1: Practise basic movements at the gym
Warm up and choose easy problems or routes according to the facility’s rules. Repeat controlled hand and foot placements and notice what makes each position stable. End the exercise if you cannot maintain control.
Step 2: Check holds and terrain outdoors
With qualified instruction, practise looking at and checking individual holds on an accessible outdoor site. Keep your other supports secure while you check. Discuss how moisture, loose rock and surface debris affect whether to proceed.
Agree with your companions on how to stop and get back before starting. For unfamiliar rocky terrain, arrange instruction and choose a place with an easy exit.
Step 3: Practise the descent
Check the descent before starting up. At a gym, follow staff guidance and use designated downclimbing holds if the wall and conditions allow. Avoid jumping from height when you can climb down safely.
Outdoors, practise controlled steps from a low, secure position with a clear exit. Check whether the route you climbed is suitable to descend and use the planned descent if it differs.
Step 4: Plan for changes in weather, fatigue and pack weight
Discuss how each factor would change your plan. Practise with your ordinary pack on terrain that stays within your abilities. Keep training conditions manageable and plan to shorten or stop the session if the rock becomes wet, fatigue affects movement or the group loses its margin.
Equipment and safety
Choose equipment for the venue, terrain and conditions, and check how you will get down. Follow the gym’s or instructor’s equipment guidance.
Footwear should fit and have suitable grip for the surface. Compare the fit and sole condition of hiking shoes on safe ground. Use gym shoes at indoor facilities as required and choose outdoor footwear for the whole route, including the approach and descent.
Gloves can protect the hands in cold conditions or on chains. Choose a fit that lets you grip and feel the supports, and test how you can move with them from a stable position.
A mountaineering helmet is appropriate for exposed rocky terrain with falling-stone or impact hazards. Fit it before entering. Assess the route, spacing and fall consequences alongside the equipment.
Share your itinerary, planned return and emergency contact with someone who can act if you are overdue. File the hiking plan where required and carry a way to navigate and call for help.
When to try a more demanding route
Choose a route using comparable experience, current conditions and advice from a qualified instructor. Use these questions to guide the decision.
- Can you identify wet, loose or unsuitable holds before relying on them?
- Can you find and use stable footholds on the descent with control?
- Can you move with your normal pack while keeping stable contact?
- Can you notice fatigue and turn back while there is still a safe return?
Reassess if you feel rushed, tired or pressured to follow others. Progress when your group has time, a suitable route and clear options for retreat.
Before your next outing
Choose a gym induction or introductory outdoor course based on what you need to practise. Ask a qualified local instructor about a suitable venue and descent. Check the weather, closures and equipment before leaving.
Further reading
- Mountain safety and outdoor climbing guidance
- National Police Agency mountain incident reports
- Japan Meteorological Agency forecasts and advisories
References and sources
- Nagano Prefecture · Mountain safety guidelines
- Nagano Prefectural Police · Advice on outdoor rock skills
- Mountaineering Scotland · Getting started indoors
- Mountaineering Scotland · Outdoor climbing courses
- Mountaineering Scotland · Scrambling courses
- National Police Agency · Mountain incident reports
- Japan Meteorological Agency · Warnings and advisories