
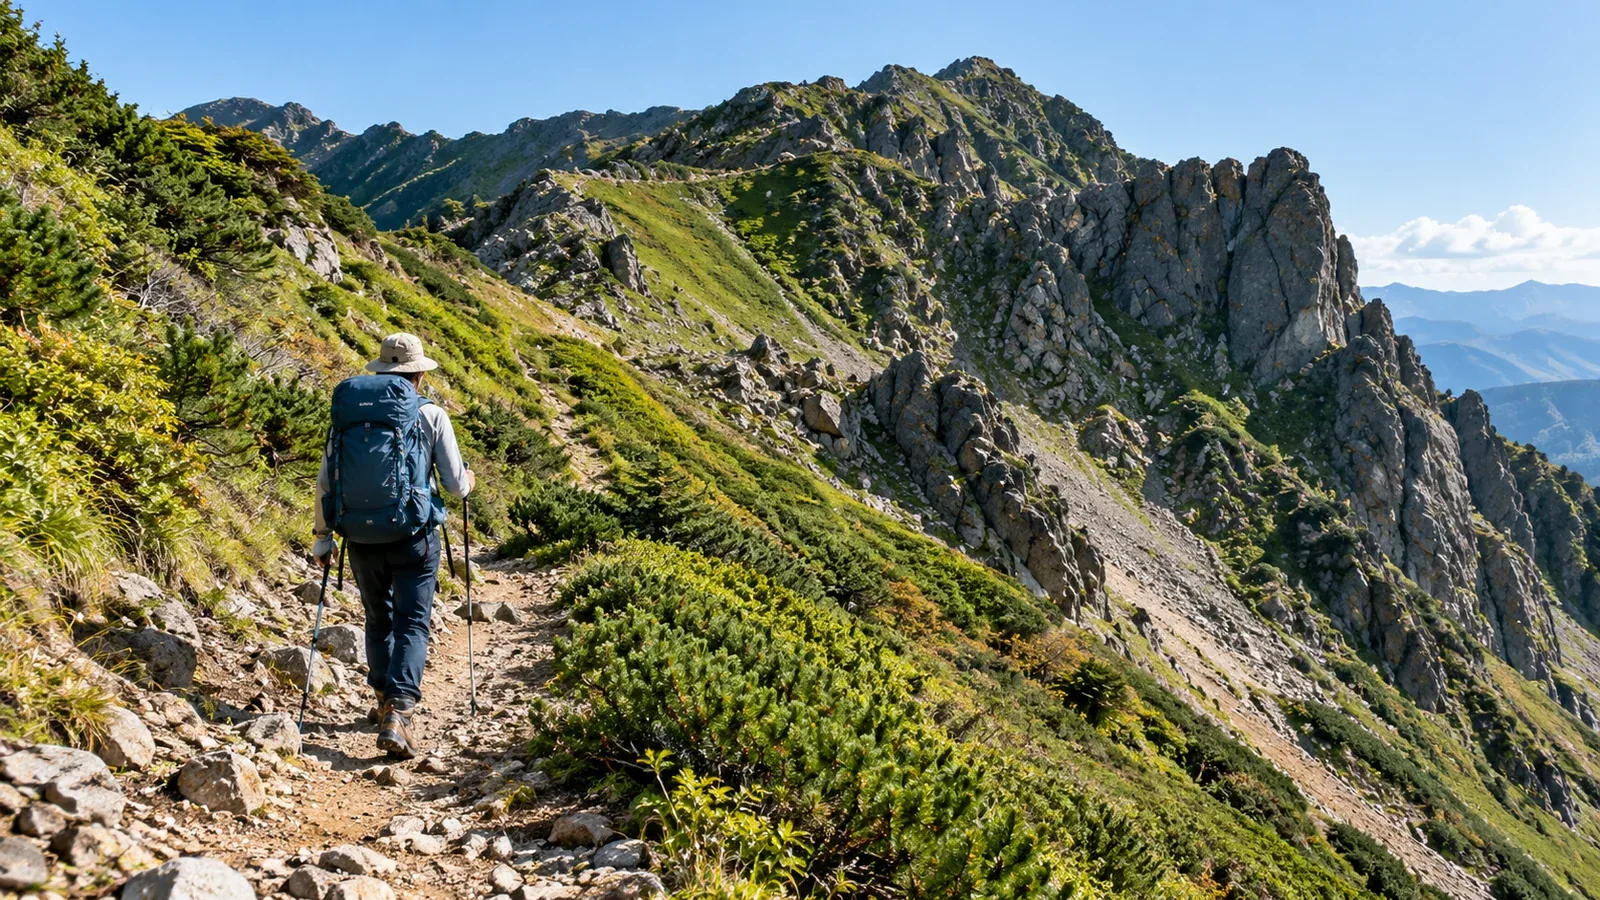
Some mountains have marked routes around a rock step, chain section or exposed ridge. When planning a hike, check whether you can avoid the hardest terrain and still choose a route that suits your group.
A bypass has its own footing, exposure and access conditions. Compare it with the original route and decide before reaching a point where turning back is difficult.
What is a bypass trail?
A bypass, often called a makimichi in Japan, goes around an obstacle or rocky summit, often on the mountainside. Local maps and signs may show where it leaves and rejoins the main trail.
Some bypasses give hikers an alternative to a steep step or a chain section. For example, Ishizuchi’s official route guide shows bypasses around the chains on the routes to Misen. Check the description for the exact trail you plan to use.
A trail across a slope can still have loose gravel, damp rock or a drop below it. Check how long those sections last, where you can stop and how they change the difficulty of your outing.
What to check before choosing a bypass
Use the map to locate the start, the obstacle and the place where the trails rejoin. Then confirm the three points below with local information.
Is it a recognised trail?
Read the map legend and check the route authority’s map or advice. A dashed line on a map or a trace on the ground does not confirm that a path is maintained, open or permitted. Use a marked, confirmed route.
Is it open and suitable?
Check recent notices for rockfall, collapse, closures and snow or ice. A mapped route can become unusable. For example, Hotakadake Sanso warns that the former escape trail from Tengu-no-Koru is impassable after a major collapse.
Where does it rejoin and how long does it take?
Confirm the junctions, the length, the amount of climbing and descending, and the route from there to the trailhead. Allow time for delays, weather changes and daylight. A bypass may take more or less time depending on the terrain.
How to assess a trail across a slope
Look at the tread, the slope below and the places where you can stop before entering a traverse. Loose ground or a drop below can make a short section consequential.
Foot placement: Choose firm footholds with enough room for your shoe. Assess each step and transfer weight only when the shoe is stable. Turn back if the surface prevents controlled movement.
Trekking poles: Use poles only where they help you move steadily. Adjust or stow them from a stable spot before terrain that requires your hands. A pole can slip on rock or loose ground.
Consequences of a slip: Check the slope below, the stability of the trail edge and what a fall would reach. Choose a different route if you cannot cross with a margin.
A turnaround point: Decide before entering where you can safely turn back and which changes would trigger it. If footing or visibility deteriorates, stop at a stable point and reassess before going farther.
When to choose a different route entirely
Some mountains have another trailhead, a less exposed ridge or a longer route through woodland. Compare the full route, including its descent and transport, before deciding.
A different approach may make sense in these situations.
- The original route has several rocky sections rather than one isolated obstacle.
- The group’s experience, energy or equipment does not match the day’s conditions.
- The return would require descending the same steep section, and the group cannot do so with control.
If a route has a published grade, check the exact itinerary and the conditions the grade assumes. Nagano’s system distinguishes physical demand from technical difficulty. Compare the description, the map and current notices as well.
When to change the objective or postpone
Decide whether the whole outing fits the conditions and your group. Check the bypass, the rest of the route, the descent and access before leaving.
After sustained rain, during freezing conditions or with poor visibility, a mountainside bypass can also be unsuitable. Choose a less exposed objective or postpone if the group lacks a confirmed route it can complete in control.
Before setting out
Mark the junctions, turnaround and descent on a map that works offline. Confirm the route with a local authority or hut and check the forecast. Share the alternative and the conditions that would make you use it with your group.
References and sources
- Geospatial Information Authority of Japan · Topographic map symbols
- Nagano Prefecture · Shinshu hiking route grades
- Nagano Prefecture · Mountain safety guidelines
- Ishizuchi regional council · Marked routes and chain bypasses
- Hotakadake Sanso · Route guide and former escape trail closure
- Japan Meteorological Agency · Warnings and advisories