
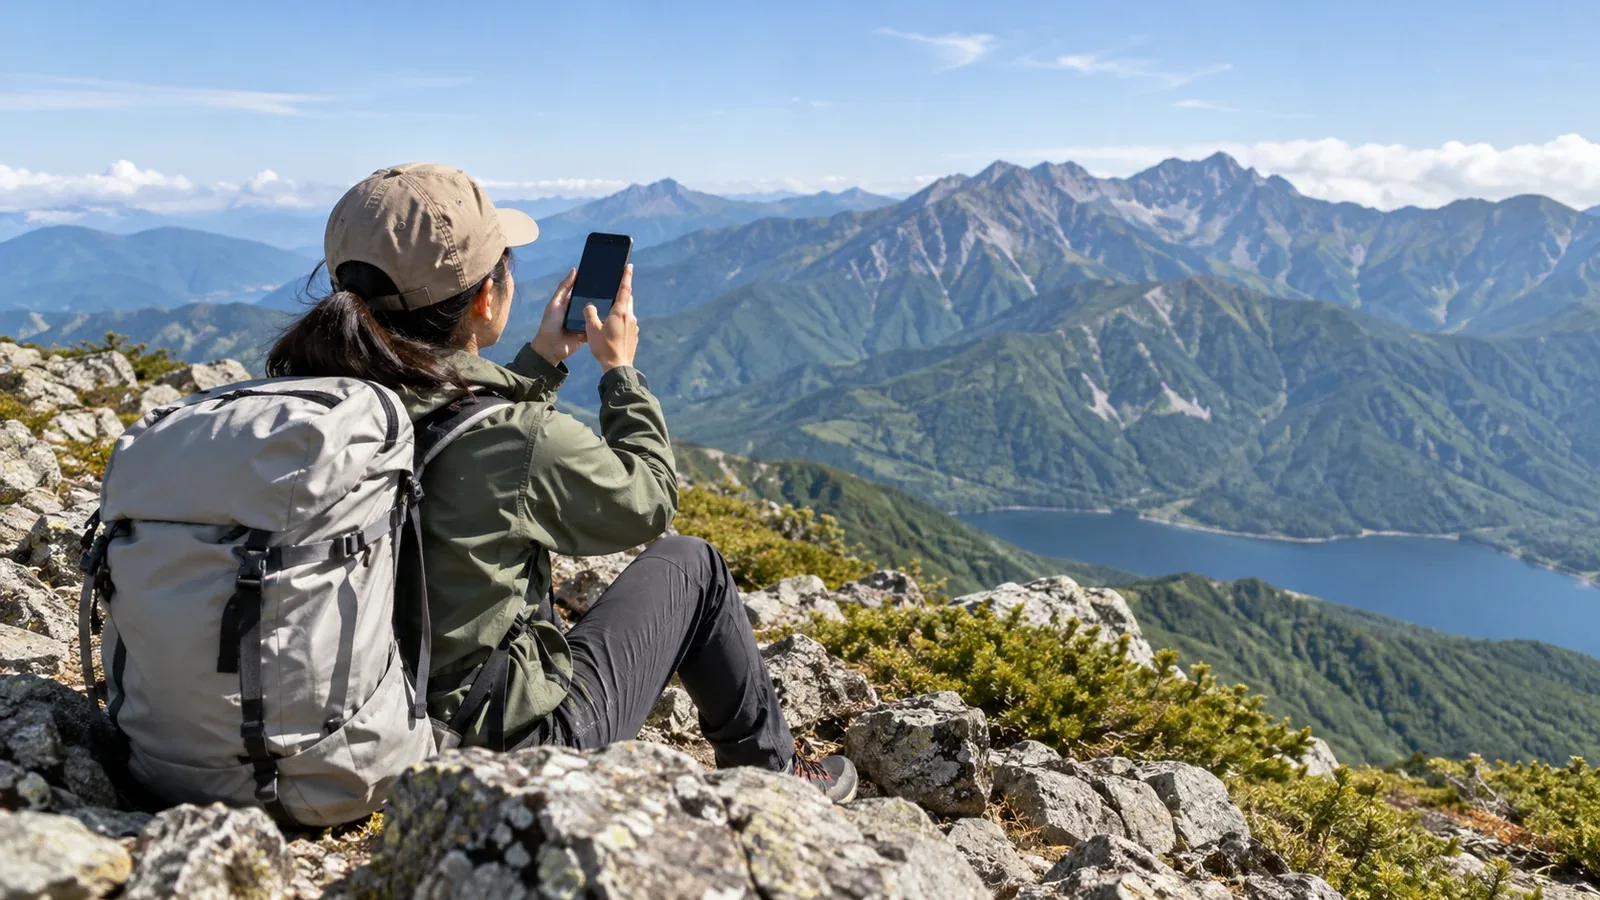
Some smartphones can contact emergency services by satellite when there is no mobile or Wi-Fi coverage. That option can matter in a remote valley or on a long traverse, where a fall or sudden illness may leave you unable to descend. Its usefulness depends on whether the service works on your phone and whether you can establish a connection at the scene.
This guide explains what satellite SOS does, how to prepare for a hike in Japan and what to tell emergency responders when you need help.
How satellite emergency SOS works
A compatible smartphone can send an emergency message and location information over a satellite network. The name of the feature and the steps to start it depend on the device and service.
First try the local emergency number. In Japan, call 110 for police or 119 for fire, ambulance or rescue. On a supported iPhone, if the call fails where both mobile and Wi-Fi are unavailable, follow the prompts to text via satellite. Depending on the service, your message can go to the emergency agency directly or via a relay centre. Expect a short text exchange and follow the prompts for replies.
Check the exact model, software, country where the phone was bought and availability where you will hike. Also check fees, introductory periods and whether any activation or subscription is required. A feature listed in the specifications may have different coverage from your mobile plan.
Where satellite SOS can help, and what limits it
When it can make a difference
If a serious injury or sudden illness leaves someone unable to descend and the emergency call fails, use any compatible satellite SOS option that is available. A deep valley or the far side of a ridge can have both weak mobile coverage and poor visibility of the sky. Keep both in mind when assessing your options.
A service may attach a position, sometimes with elevation. Check the map position if you can and add the mountain, route and nearest landmark in your own words so responders can place you on the ground.
What can affect the connection
Look for a clear view of the sky and horizon. Dense trees, cliffs or a snow shelter can block the signal. Move to a more open spot only if you can do so safely, and follow the directions on the screen.
Allow time to send and receive. Apple says a message can take 30 seconds or more in ideal conditions and several minutes in some settings. Hold the phone as instructed and check the send status. Keep the connection available for follow-up questions.
Keep the message short and specific. Text and supported features vary by service. Start with what happened, where you are, how many people are affected and the most urgent injuries.
Save enough battery for the exchange. The phone must stay on while you connect, send and respond. Carry a charged power bank and cable, and keep the phone protected from cold and moisture.
Check service availability in Japan. Apple lists Emergency SOS via satellite in Japan on eligible iPhone 14 and later models with iOS 17.6 or later, subject to purchase-region restrictions. Japan does not appear on Google's current Pixel Satellite SOS coverage list. Check the official list for your model again before departure.
Smartphone SOS and dedicated satellite communicators
Dedicated devices such as Garmin inReach and SPOT X can also send an SOS. Some add two-way messaging or tracking. Compare the actual device and plan because feature names alone give little detail about how they work.
- Main use. A phone can send emergency text on supported services. A dedicated messenger may also offer two-way messaging and tracking.
- Equipment. A compatible phone can start its built-in service. A dedicated messenger is a separate device that may pair with your phone for easier typing.
- Cost. Check introductory periods and current phone terms. A dedicated device usually adds hardware and service costs. Garmin inReach SOS normally requires active satellite service.
- Communication. Check the available message types, delivery confirmations and whom the device can contact in your hiking area.
- Power. Phone SOS shares the phone battery with maps and other apps. A separate device gives you another battery to manage.
- Operating conditions. Check the specific temperature range, weather protection and sky view requirements for each device.
A short day hike and a long traverse call for different preparations. Consider how long you will be away, whether you expect gaps in coverage, how you will keep equipment charged and whether you need two-way messages or regular check-ins.
What to do before setting out
Check the feature while you still have a network connection and time to read the instructions. Work through these steps before the hike.
- Confirm that the device supports SOS. Check the exact model and minimum software version. Install any required update in advance.
- Verify coverage in Japan. Consult the official country list and check purchase-region restrictions and any service-specific conditions.
- Check the service status and price. Confirm that any trial or subscription will be active for the full trip. Activate dedicated equipment before leaving.
- Practise in the official demo or test mode. Learn to find the SOS option and follow the connection prompts. Reserve the real emergency function for an emergency.
- Prepare the power supply. Charge the devices and power bank, pack a working cable, and have a plan to keep the equipment dry and warm.
File a trip plan where applicable and share it with a trusted person, including when you expect to check in and what they should do if you miss it. Check the forecast and trail notices. Carry an offline map and a paper map, and have a way to signal nearby people such as a whistle.
What to include in an SOS message
Answer the on-screen questions and send the essential details as soon as you can. If responders ask for more information, keep the device accessible and reply when the connection allows.
- Location. Give the mountain and route, coordinates if known, approximate elevation and a landmark such as a junction, stream or hut.
- What happened. Describe the fall, sudden illness, missing person or other emergency, and when it happened if known.
- People and condition. Give the group size, number of casualties and whether anyone cannot move. Describe the urgent symptoms or injuries.
- Weather. Report visibility, wind or other conditions that could affect access.
- Ability to descend. Say whether you can move safely, where you plan to wait and whether conditions force you to move.
Write your route, contacts and basic trip details on a small card or in your trip plan. Keep them easy to find so you can answer quickly under stress.
Your next step
Before your next hike, open the manufacturer's support page, confirm that your exact device and service work in Japan, and try the official demo if available. Share the trip plan before leaving and agree on a backup way to contact help. If a real emergency occurs, try the emergency call and use available SOS options promptly.
Official resources
- Apple Support and Google Pixel Help on requirements and practice modes
- Garmin and SPOT on dedicated devices and service plans
- Nagano Prefectural Police and the Fire and Disaster Management Agency on rescue reporting
- National Police Agency statistics and Geospatial Information Authority of Japan maps
References and sources
- Apple Support: Emergency SOS via satellite, including Japan
- Apple Support: satellite connection and demo
- Google Pixel Help: Satellite SOS requirements and availability
- Garmin: interactive SOS and Garmin Response
- Garmin Support: inReach reception and service requirements
- SPOT: SPOT X features and service plan
- Nagano Prefectural Police: what to report when requesting mountain rescue
- Nagano Prefectural Police: Japan’s 110 emergency number
- Fire and Disaster Management Agency: Japan’s 119 emergency number
- National Police Agency: mountain incident statistics
- Geospatial Information Authority of Japan: GSI Maps