
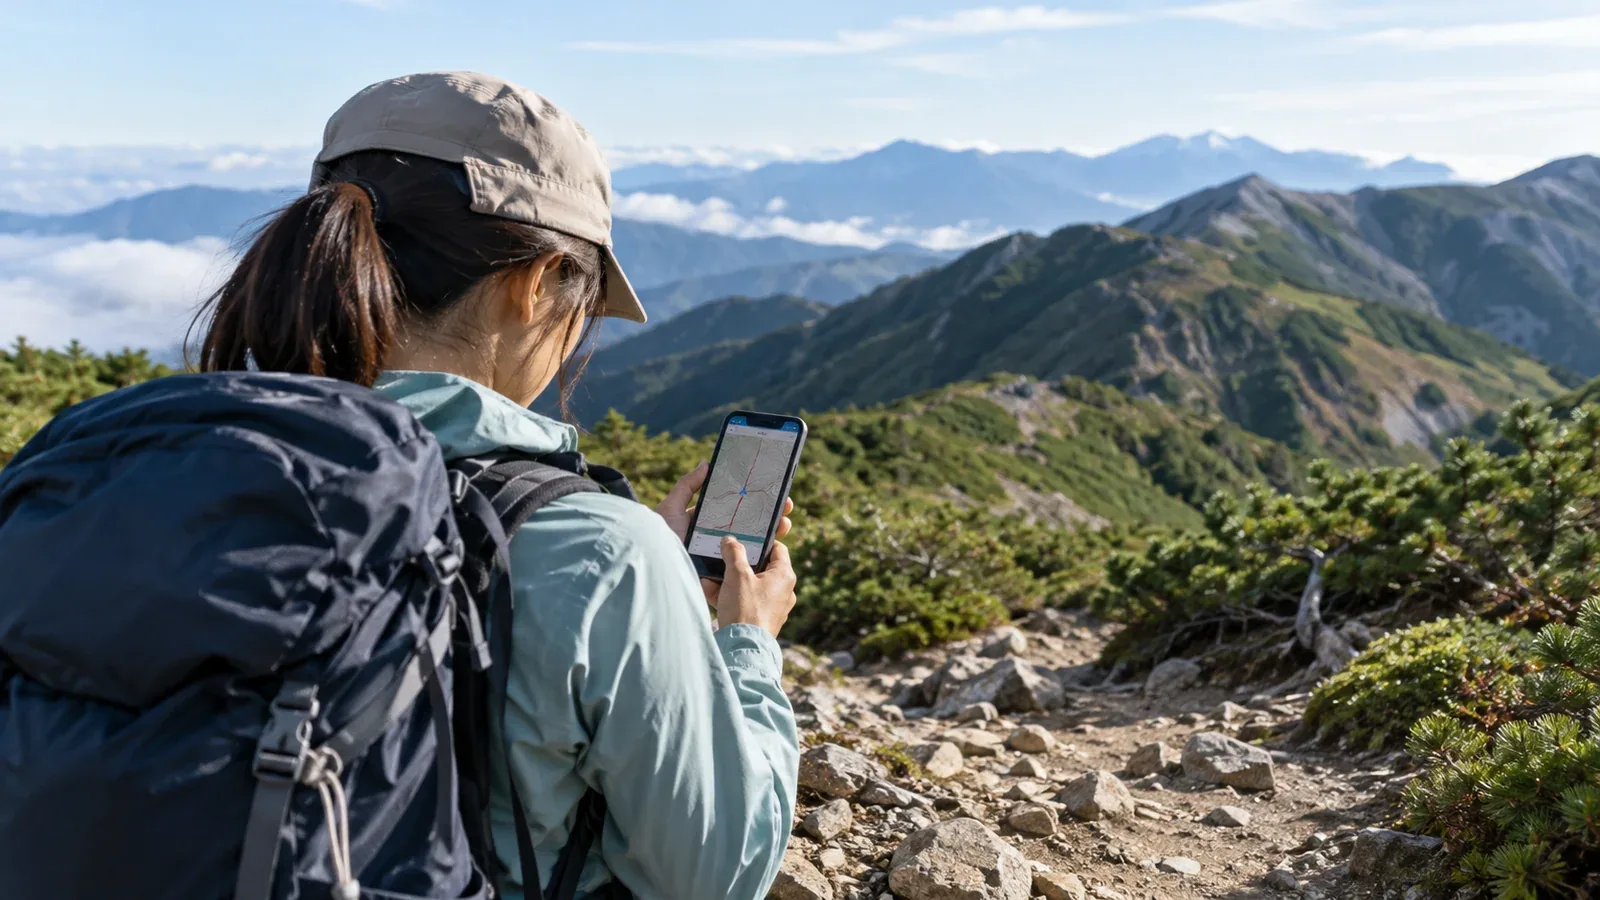
Your phone may warn you that you have left the route while you are walking on a marked trail. You can also lose the route without hearing a warning. When you get an alert or become unsure of the way, stop somewhere safe and check your position against the map and the terrain.
This guide explains what the app compares, why warnings can be late or wrong and how to use them alongside your own navigation.
How an app decides that you have left the route
An app can compare your device's estimated position with the line for a selected trail or saved route. It may issue an alert if that estimate is far enough from the line. The distance threshold, update frequency and conditions for sending an alert vary by app.
The line can come from the trail map, a route you planned or a compatible track you downloaded. Select the intended route, and check whether you need to start navigation or recording and enable notifications. YAMAP is one example that lets eligible users select a route and configure the distance.
The comparison describes where the phone thinks you are relative to a line. Use the map, official trail notices and what you can see to assess closures, damaged trail sections or hazards such as a drop.
How positioning errors affect alerts
The position on the screen is an estimate. Tree cover, steep valleys, cliffs and buildings can block or reflect satellite signals. Accuracy varies along a route, including in places where the sky looks open.
For example, with a hypothetical 20 m alert threshold, a position estimate 25 m to the side of the route could trigger an alert while you stand on the trail. An error in the opposite direction could place you closer to the route line and delay or prevent an alert. Those distances illustrate the effect, and app settings vary.
If the map shows an accuracy circle, use it as a rough guide to uncertainty. Also look for a stale position or a dot that jumps. Even a small circle is an estimate, so check it against the trail and terrain when the route is unclear.
Four reasons for missed or false alerts
These are common situations to check on your own phone before relying on the feature in the mountains.
The selected route is missing or outdated
The app needs access to the route it will compare with your position. Save both the route and map in advance and check that the alert works offline if the app supports it. With mobile data and Wi-Fi off, reopen the map and selected route. Follow the app's instructions to check notifications in a safe place.
The mapped line differs from the trail
A trail may have been rerouted or closed after a landslide, while the map still shows an earlier alignment. A warning can sound while you follow a marked detour. Check current official notices and follow signs and closures on the ground.
Location updates slow down with the screen locked or in power-saving mode
Operating systems and apps handle background location differently. Permission, battery settings and whether the app supports background navigation can change how often it receives position updates. Check the app's instructions and test alerts with the phone locked before the trip.
The phone loses a reliable position
A deep valley, dense canopy or rock overhang can interrupt or degrade satellite positioning. The phone may keep showing an older position or update it irregularly. Check the position time if shown, the accuracy indicator and whether the dot follows your movement. A loss of mobile service can also affect map loading and any feature that needs data.
What to do when an alert sounds
Pause and work through these checks. If you are unsure, you can use the same steps even when there is no alert.
- Stop in a safe place. Avoid walking on while looking at the phone. Move away from an immediate hazard only if you can do so safely.
- Check the phone's position estimate. Look at the accuracy indicator and whether the position is current. Treat a large circle or stale dot as a sign to confirm your location independently.
- Compare the map with the terrain. Look for ridges, valleys, slope direction and known landmarks. Orient your map and use a compass if you have one.
- Look for signs and the marked trail. Check what you can see around you without leaving safe ground. A worn track may lead elsewhere.
- Return to the last confirmed point if safe. Retrace the known route to a junction or marker only if you can do so safely. If you cannot establish a safe way back and need help, contact emergency services. In Japan call 110 for police or 119 for fire, ambulance or rescue.
Work through the checks even if you suspect the alert is wrong. Finding a landmark that matches the map is a better basis for moving on than dismissing the alert.
Practise reading the map
Treat off-route alerts as one input when you navigate. Check your position at junctions and other landmarks as you go, especially in poor visibility or if the app stops updating.
Use a topographic map to match the ground to ridges, valleys, slope and elevation. Practise orienting the map with a compass. Carry a paper map so you can use those skills if the phone or its map becomes unavailable.
Practise on a familiar, well-marked day hike before relying on these skills on a remote route. A navigation course or a hike with an experienced group can give you feedback as you practise.
Your next step
Before your next trip, download the current map and route, confirm that the app has the permissions it needs and try the alert in a safe place with the screen locked. Bring a paper map and compass. On the trail, pause and check your position whenever you are unsure.
Official resources
- Geospatial Information Authority of Japan maps and YAMAP's off-route alert documentation
- GPS.gov positioning accuracy and Android and Apple background location documentation
- National Police Agency statistics and Nagano Prefectural Police mountain safety information
References and sources
- Geospatial Information Authority of Japan: GSI Maps
- YAMAP: off-route alert options and settings
- GPS.gov: factors that affect GPS accuracy
- Android Developers: background location updates
- Apple Developer: background location updates
- National Police Agency: mountain incident statistics
- Nagano Prefectural Police: mountain safety and rescue
- Fire and Disaster Management Agency: Japan’s 119 emergency number