
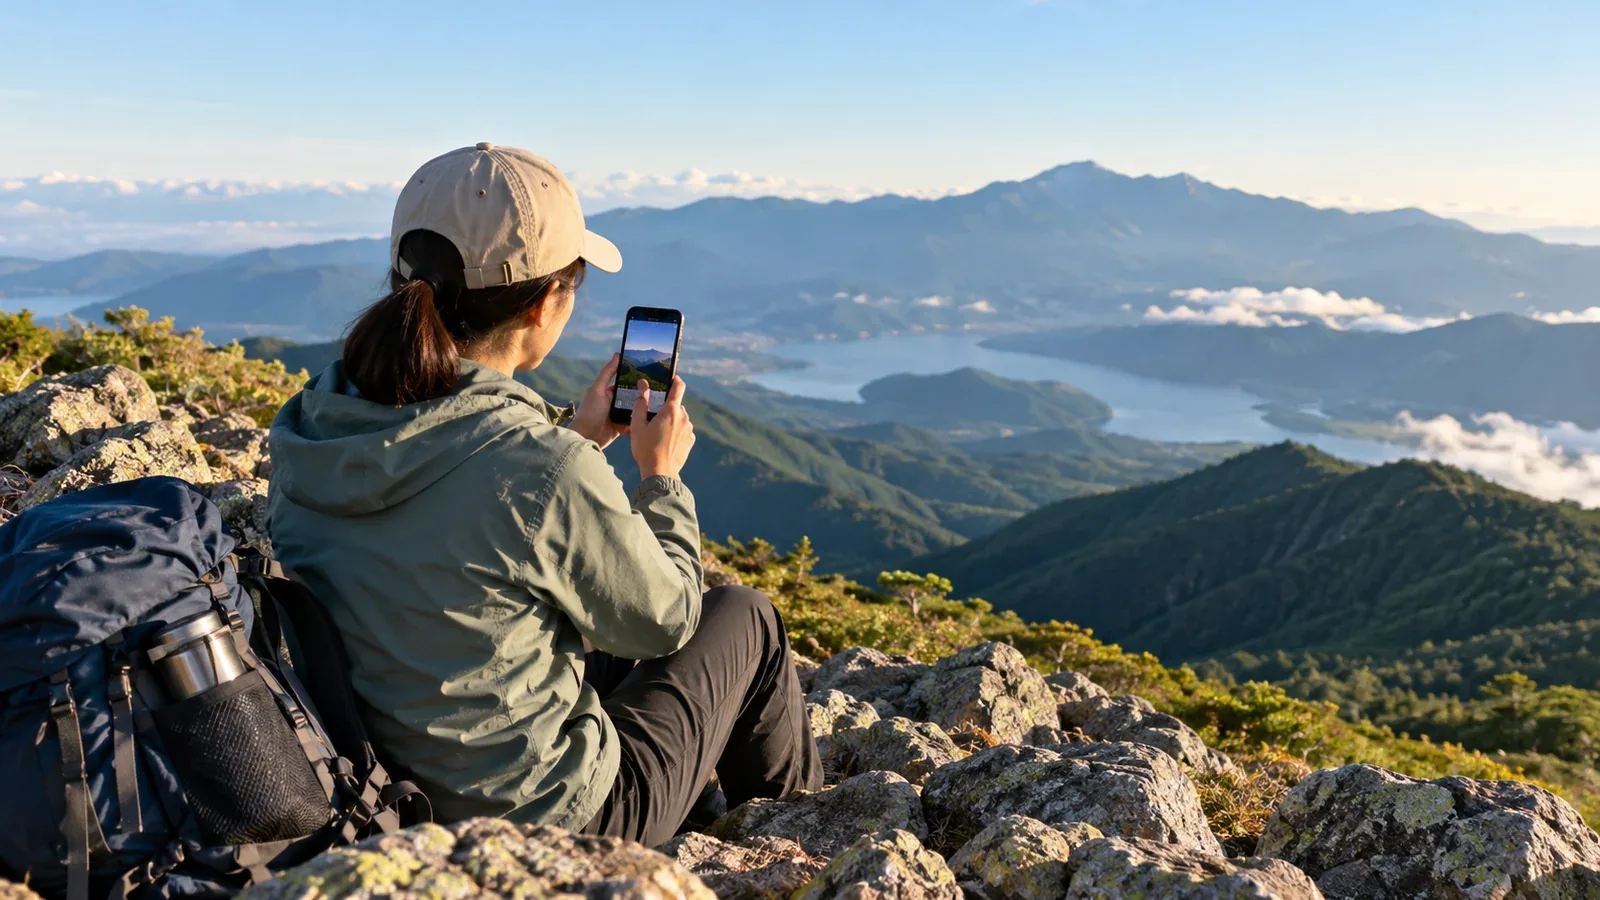
When you save a hike in an app, decide what will help you remember the day and who should be able to read it. A GPS track can show where you walked. A short note with the conditions and decisions gives it context for your next outing or for someone considering the same route.
This guide covers what to write in a hiking journal and how to choose an audience. The same principles apply to a brief note, a detailed trip report or a record kept entirely for yourself.
Four things to record
A useful entry combines a few facts with what you observed and why you acted. These four details make it easier for you or another hiker to use later.
1. The route and timing. Record the date, start and finish, main route, direction and approximate time. If you have both, distinguish moving time from total time with stops. A one-line summary makes a long GPS track easier to understand.
2. Conditions that day. Note the weather, wind, how cold it felt and any snow, frost, mud, leaves or fallen trees. Say where you noticed them. A report that the ridge was windy and felt cold despite clear skies is more informative than a bare temperature.
3. Decisions you made. Write down why you slowed down, chose a different path or continued after considering a turnaround. A short explanation gives you something concrete to consider when planning another trip.
4. What to try next time. Record equipment you missed, parts of the hike where you struggled and an adjustment to test. For example, if your knees started to hurt on a fast descent, record when it happened and whether you want to try a slower pace or poles next time.
What to leave out
Read the draft, check the photos and look at the GPS track before you share the entry. Each can reveal information the others leave out.
Identifying information. Leave out full names, identifiable photos without permission, number plates and details of travel from home. Check whether the track's start or end reveals a home or other sensitive place. If the app offers map visibility controls, check what they hide and whether an export would still contain the full track.
Directions into closed or sensitive areas. Follow access rules. Leave out directions or GPS tracks that would lead readers into a closed area or across private land without permission. Keep any necessary notes on unofficial routes private if sharing them could encourage unprepared hikers to follow.
Sweeping safety claims. Describe the conditions on the date you went and the experience your group brought. A route that felt straightforward to you can be very different after rain, snow or a closure.
Choose who can see the entry
Options vary by app. Some offer public, restricted or private settings, and a restricted audience can mean approved followers, a selected list or people with a link. Check the controls for the entry, the map and the photos, and look at the view your intended reader will get if possible.
Public. Consider sharing a report from an open, established trail if the conditions or route notes would help others. Remove identifying details and check the map and photos before publishing. Public entries may be visible beyond the app.
Restricted. Choose a limited audience when the entry is meant for your group or when it contains photographs that companions agreed to share only with certain people. Check who can open a link. Recipients may still be able to forward or copy the material.
Private. Keep the entry for yourself if it covers fitness, health, equipment or personal reflections. Check the app's other settings if you want to limit information shown on your profile, activity map or photos as well.
If you are unsure, save it privately and review what it shows before expanding the audience. Changing visibility later may not remove copies or screenshots already shared.
Choose photos that support the report
Use a few photos to show what you describe. A caption with the date or location on the trail can make each photo easier to interpret. Leave out exact coordinates when the location is sensitive.
- Trail conditions such as mud, snow or a thick layer of leaves
- A junction or a place where you had to make a decision
- Clouds or ridgelines that show how the weather changed
- Equipment in use or a setup you would change, such as the shoes and socks that caused a blister
Ask before sharing a recognizable picture of a companion. Check for faces, number plates and location details. If the app can hide a photo's location or keep it private, review that setting before publishing. Also check location metadata if you share the original image separately.
What you learn from a series of entries
After five to ten entries, you may begin to see patterns in your own hikes. You might notice that you slow down in the second half of days with more than 800 m of ascent, or remember feeling stronger wind on a particular ridge in mid-October on several visits. Use those patterns to plan and check the current forecast and conditions each time.
The habit also helps you read other people's reports. Give more weight to dated observations that explain what happened and where. Use general impressions to get a feel for the place and check current official notices before relying on them for route decisions.
Keep it simple enough to repeat. A few lines covering the route, conditions, decisions and one thing to try next can be more helpful over time than a single long report.
Your next step
After your next hike, write down the trail conditions and one decision that you made while both are still fresh. Save the entry privately if you are unsure about sharing. Review the text, photos and track before you choose a wider audience, and use the date to help others put the report in context.