
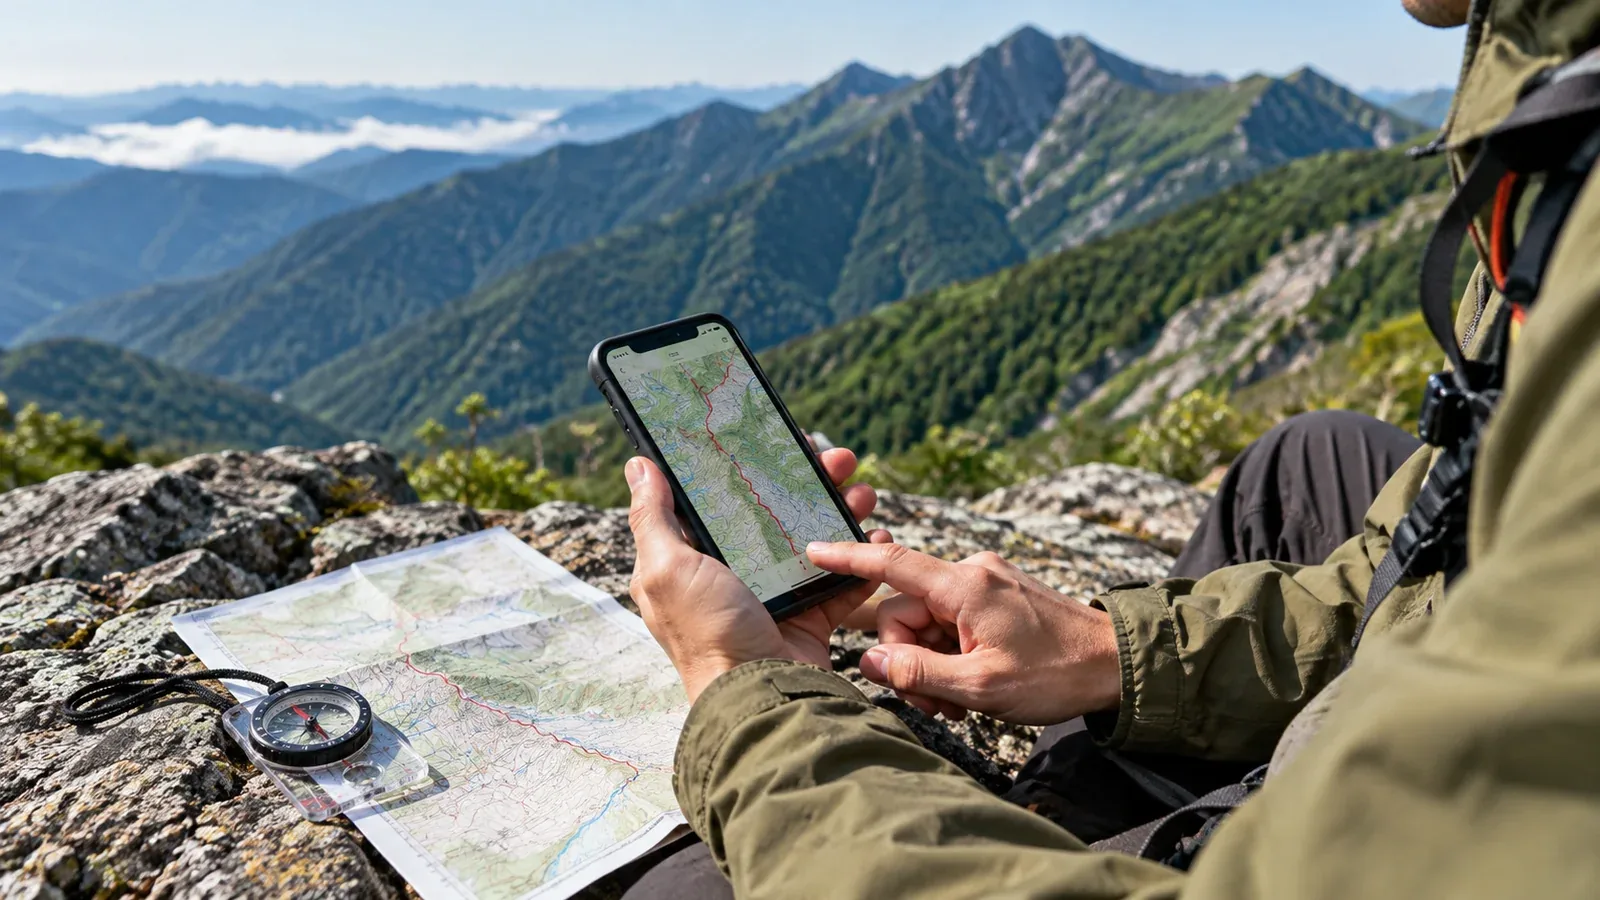
Which route did you take up that mountain? How long did last week’s hike actually take? A phone or GPS watch can keep a digital track so you can answer those questions later.
The track becomes useful when you look at it alongside the map and your notes. This guide covers recording, reviewing and using a track to plan the next hike.
What a track records
A track is a series of recorded positions. A device or app may record elevation and time along with latitude and longitude. With those details, you can review where you went, when and roughly how fast.
Look for these fields in your app or device.
- Location, latitude and longitude. The app uses these points to draw a line on the map.
- Elevation. The app can estimate ascent and descent from elevation readings. Readings and smoothing can affect the totals.
- Time. Timestamps help estimate the pace on a section and the length of stops.
- Steps and heart rate. A compatible device or sensor may add these. They can help you review effort alongside your own notes.
GPS accuracy varies with the receiver and reception. Under trees or between steep slopes, the line can drift away from the route. Compare it with the map and landmarks you remember before drawing conclusions.
Choosing a device to record the hike
Two common options are a smartphone with an app and a dedicated GPS watch. Choose based on your route length, how you read a map and how you will keep the device charged.
Smartphone and app
Start with the phone you already have. Its screen can make the map easy to see. Screen use and continuous tracking draw power, and cold can shorten battery life. Test the setup and take spare power if your hike and conditions call for it.
Check three things when choosing a recording app.
- Offline maps. Test whether saved maps and track recording work without mobile service.
- GPX export. If you want to move the track to another tool, check that you can export it in a format the other tool accepts. GPX can store tracks, waypoints and routes, with optional time and elevation.
- Recording with the screen locked. Test whether the app continues in the background with your settings. Closing the app or force-quitting it can stop recording.
Dedicated GPS watch
A watch can record while your hands are free. Battery life varies with the model, GPS mode, other features and conditions. Check the manufacturer’s estimate for the mode you will use, then test it. A small screen may be less convenient for reading a map.
You can record with a watch and keep the phone for map checks and communications. On longer or cold trips, carry a paper map and compass too.
Common recording problems
A few checks at the beginning, during stops and at the end help you avoid gaps.
Recording stops during the hike. App permissions, background limits or battery saver can interrupt the track. Test with the screen locked and check the settings you rely on after an update.
You forget to start. At the trailhead, check that you have a position fix and that the app or watch shows an active recording before you leave. Start somewhere appropriate for privacy if you might share the track.
The battery runs out. Start charged. If you need to recharge a phone, stop in a safe, dry spot and keep the connector dry. Check the watch’s remaining battery before committing to a long recording.
You forget to save. End and save the recording when the hike is over. Check that it appears on the device before closing the app. Sync later when you have a connection if you want an online copy. Review its visibility before sharing.
Using a track to plan the next hike
Review four things to see what you might change next time. Keep in mind which parts the device measured and which ones it estimated.
Review your pace
Compare times for identifiable sections. Check whether the app shows moving time or elapsed time, especially if it pauses recording while you stop. Compare your own time with the published estimate for that route and leave room for different conditions next time.
Review your stops
Use timestamps and notes to see where you stopped and for how long. Auto-pause may affect the recorded intervals. Consider how breaks, fatigue, route finding and daylight shaped the day before changing your plan.
Compare the elevation profile with how it felt
A short, steep pitch may feel harder than a longer gentle climb. Compare the profile with contour lines and your notes. GPS or barometric elevation, filtering and sample gaps can change the displayed profile and ascent total.
Check the line on a map
Overlay the track on a topographic map to review ridges, junctions and possible wrong turns. A straight segment may bridge a gap in recording and a shifted point may reflect poor reception. Export a copy if both tools support GPX. Check current maps and closures before using it as a route for another trip.
Sharing and storing tracks safely
A track can reveal where and when you travel. Repeated starts near home or the same meeting point can reveal a pattern. Decide what you want to share before uploading the file or a screenshot.
- Choose a limited audience or keep the activity private if the service offers those controls. Check what other viewers can see.
- If you share an export, remove sensitive endpoints and review timestamps, waypoints and metadata as needed. A hidden section in one app may still be present in the original or exported file. Open the copy you will share and check it.
- Give a trusted person your route and expected return time before you leave. Sharing a saved track later serves a different purpose.
Save a private copy of records you want to keep. If the app supports it, export GPX, KML or another format you can open elsewhere. Keep the original in a secure place and use a separate copy for public sharing.
Before your next hike
Check background recording and power, then start the track at the trailhead. Afterwards, spend a few minutes comparing the elevation profile and section times with the map. If you compare notes with hiking partners in the Nordwand community, share only the route details you intend them to see.
References
- Geospatial Information Authority of Japan: GSI Maps and topographic map guidance
- Japan Meteorological Agency: forecasts and weather information
- National Police Agency of Japan: annual mountain incident reports
References and sources
- GSI Maps and topographic layers
- Japan Meteorological Agency: forecasts
- National Police Agency of Japan: mountain incidents and route planning
- Topografix: GPX 1.1 format specification
- Google: KML format reference
- GPS.gov: accuracy and reception
- Android Developers: background location limits
- Garmin: reading an elevation profile
- Strava: activity map visibility and its limits