
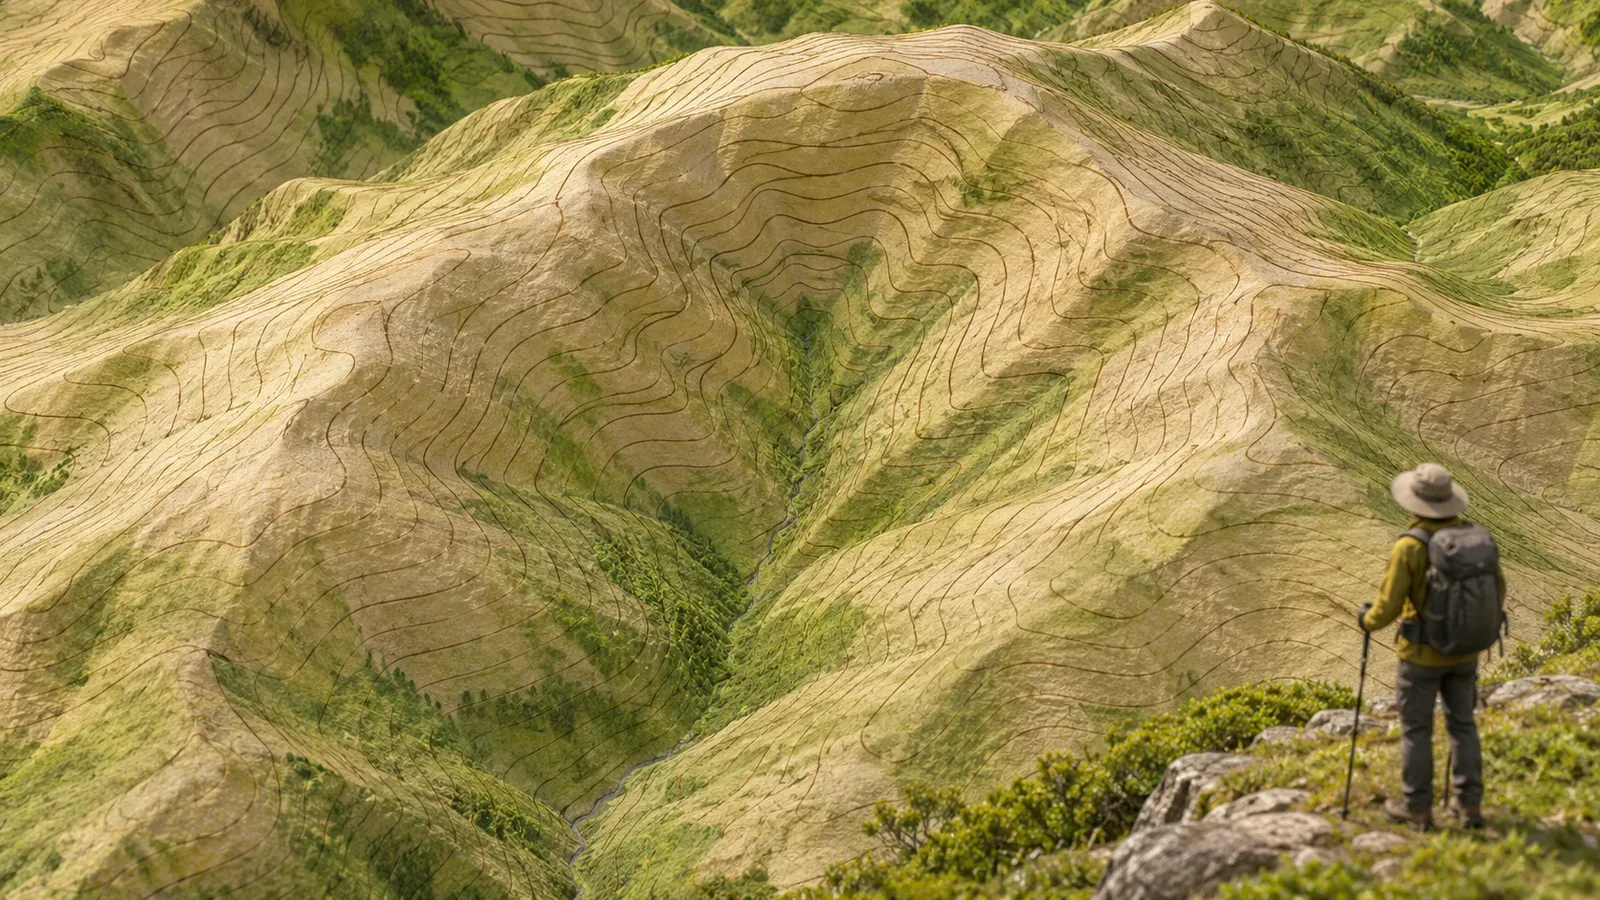
When you follow the shape of a valley uphill, the point where the stream line disappears may be below the upper end of the landform. We use erosion-control diagrams and a Forestry Agency example consulted on October 28, 2026, to show how to compare contours and mark a possible valley head. Finding a water source or a safe passage in the field requires separate information.
Check how your source defines a valley head
Before looking for the head, check what counts as the upper end of a valley. The survey section of the erosion-control manual published by Yamanashi Prefecture calls the valley head the upstream end of the valley. On a 1:25,000 topographic map it treats a contour indentation as a valley if the indentation extends farther inward than it is wide.
The definition helps identify valleys in an erosion-control survey. Keep the upper end of the landform, the end of the mapped stream and the point where water begins to flow on the ground separate. A spring or the end of a faint path may lie elsewhere.
Kagoshima University’s archived Introduction to Topographic Maps also explains that the definition of a valley matters when mapping valleys with no stream line. Alongside the comparison of indentation and width, it discusses another definition based on the angle of the bend. The university stopped updating the material in 2000. It illustrates why you should state a definition, while current mapping standards need current sources.
Start your notes with the map scale and the source whose definition you are using. That will make it easier to explain why you picked a location than a mark saying “V shape, so valley head.” Keep on-screen magnification separate from the underlying level of detail.
Use the diagram to identify width and inward reach
In Yamanashi’s Fig. 2.2.1, a is the width of the contour bend and b is how far it extends inward. When a and b are equal, the upstream end of b is the valley head. Compare the crosswise width arrow with the arrow that extends toward the head in the original drawing. The equation alone leaves out which endpoints to use.
The width is the distance defined by the diagram. It is independent of the water-surface width and the elevation difference between contours. Checking the vertical contour interval does not give you a or b. Measuring the closest pair of lines at some other place does not give the a in the diagram either.
For this exercise, check both endpoints of a and b in the original diagram, then copy the two segments onto paper. Follow the contour bends upstream and see how a pronounced indentation becomes shallower. We suggest copying the lines so you can compare the same measurements as the diagram uses.
The figure shows a zero-order valley upstream of the head and a first-order valley downstream. The full extent of the zero-order valley is an area, while the head marked in the figure is a point. Keep the head and the valley-shaped terrain above it distinct and check which side of the figure you are describing.
In the Forestry Agency example, follow the intersections in order
The Forestry Agency’s March 2025 summary report shows an example that uses contours derived from a digital elevation model (DEM) and a calculated flow line to identify the head. This is a tool for analyzing mountain hazard areas. It has its own inputs and procedures, which do not carry directly over to a paper hiking map.
Page 14 looks at calculated flow lines that extend beyond the upper end of the mapped riverbank outline. On the longest valley line, it compares the width a with the inward reach b. That method looks beyond the end of the mapped waterway. It shows one reason to keep the end of a blue line separate from the valley head.
At P1 in Fig. 10, b1 is about 27 m and a1 about 24 m. The figure does not classify P1 as the head. At P2 farther upstream, b2 is about 12 m and a2 about 20 m. That point qualifies in the example. The values are measurements from this diagram, so 20 m is not a standard width for valley heads.
The Forestry Agency’s text uses a point where a is at least b, while Yamanashi’s diagram describes the boundary where a equals b. Read each formula alongside its own arrows and method. We compare the examples here without reproducing the software analysis or checking the positional accuracy of its results.
Keep the possible location and its uncertain surroundings in your notes
For a general map exercise, check which way the elevations rise, then follow the inward contour bends uphill. GSI’s teaching diagrams show how valley contours bend toward higher ground while ridges bulge toward lower ground. If you are unsure on the flat map, compare it with the three-dimensional shape in the diagrams and try tracing the valley again.
Find where you can explain the width-to-reach relationship using the source diagram. Note the bend you chose and the area immediately uphill and downhill. Leave the result as an area if one contour is inconclusive. A note such as “the indentation gets shallower around here, location still unclear” gives you a specific area to check.
Yamanashi’s survey procedure also compares the map with recent aerial photographs and uses field surveys to establish terrain characteristics. Those are professional survey steps. Stay on the hiking trail when comparing maps and terrain. Being able to sketch a possible valley head does not establish a safe way to get there.
Review your notes in this order: identified the valley shape, checked the locations of a and b in the reference diagram, compared the changes farther uphill, and recorded the end of the water line separately. This checklist helps you catch steps you skipped. It does not certify the location.
Follow the bend and record the definition behind your estimate
A valley head is the upper end of a valley. Where it falls on the map depends on the definition and on how the diagram’s lines are measured. Read the erosion-control drawing and the Forestry Agency example under their own conditions to see why the head may lie beyond the mapped stream.
Keep width and inward reach separate from vertical elevation change. Follow how the bends change uphill and record what you can identify and what remains uncertain. A valley head identified on paper gives you a feature to investigate, while water sources and safe passage need their own checks.
References and sources
- Yamanashi Prefecture: Technical Manual for Erosion Control and Related Works, Survey Section 2.2, Topographic Survey, Fig. 2.2.1 (PDF p. 5, printed p. 2-3)
- Forestry Agency of Japan: FY2024 Survey on Mountain Hazards in River Basins, Summary Report (March 2025), pp. 14–15 and Fig. 10
- Kagoshima University: Introduction to Topographic Maps, drainage network maps (archived teaching material, last updated in 2000)
- Geospatial Information Authority of Japan (GSI): Reading Ridges and Valleys on a Map (teaching diagrams)