
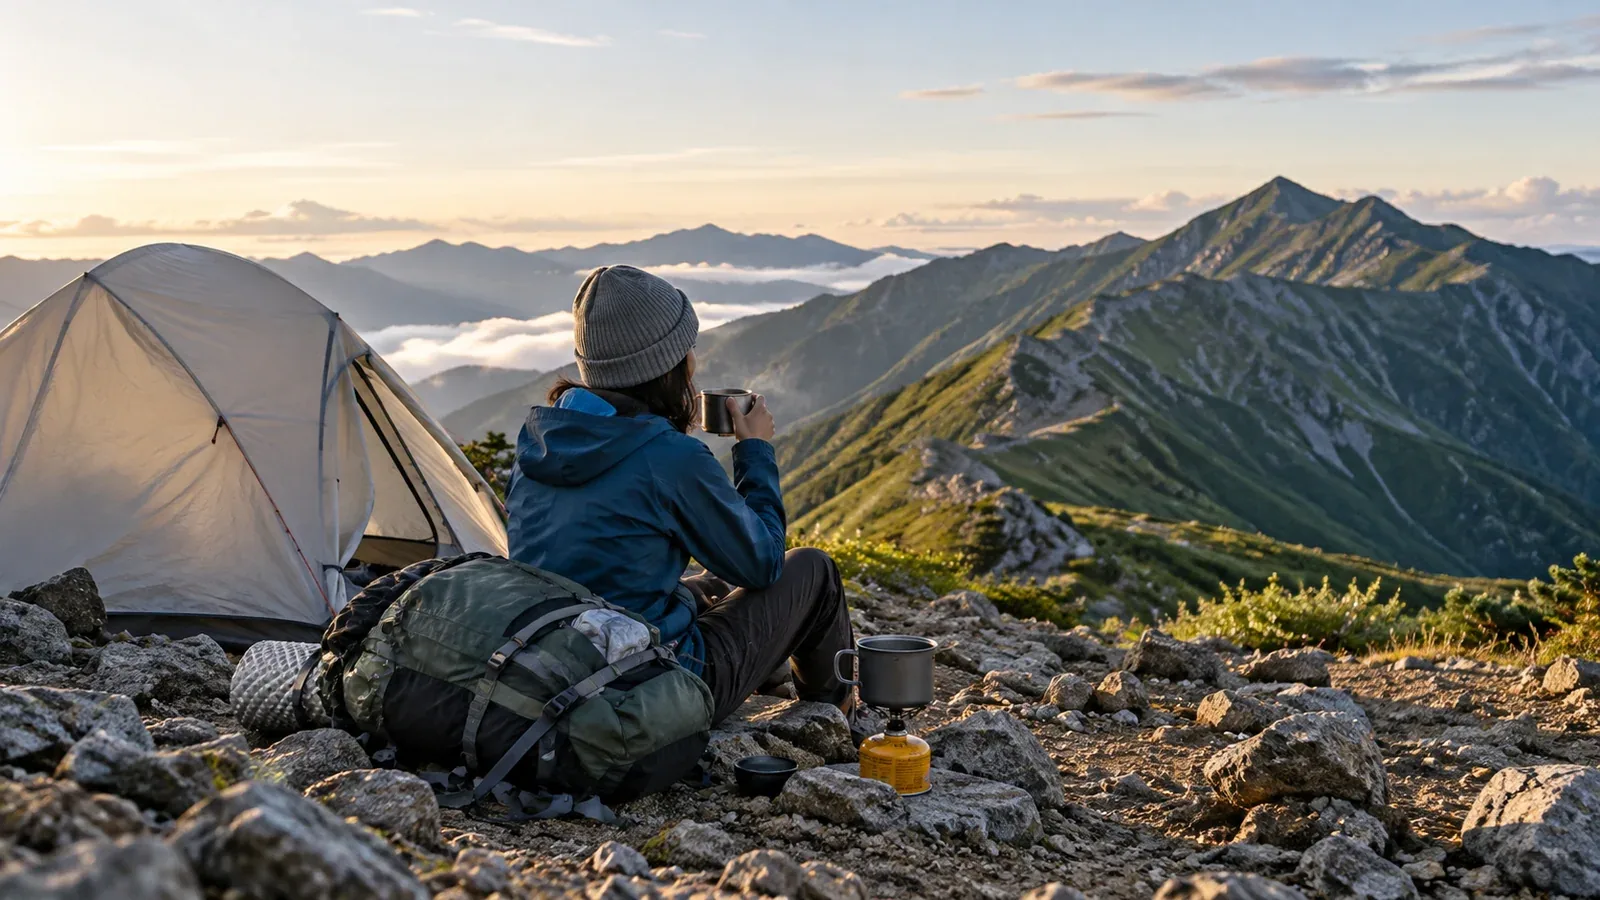
Once you have a day-hiking kit, it can be hard to tell what to add for a traverse. A new tent and sleeping bag can cost a lot, and it takes time to work out what you actually need.
Start with the gear you already have. This guide helps you identify what is missing and choose it based on the number of nights, the season and the mountains you will be walking in.
How traverse gear differs from day-hiking gear
Day-hiking gear is mainly for use on the trail. Items such as rainwear, maps, trail food, first aid supplies and a headlamp cover routine needs and unexpected problems.
A traverse adds gear for the night, such as shelter, bedding and cooking equipment, and supplies for several days, such as more food, water storage and a pack that can hold it all. Think through what you need for each before you buy.
You will also spend longer walking with more weight. Pack discomfort or a small blister that you hardly noticed on a day hike can become a serious problem on day two or three. Check both weight and how comfortably you can carry it.
Start with day-hiking gear you can reuse
Check your existing kit before buying anything. These items can usually carry over to a traverse.
- Rain jacket and trousers: Check waterproofing and seams. Rainwear also protects against wind. Pack a separate insulating layer.
- Walking clothes (base and mid layers): Check how quickly your clothes dry and how well they insulate. Bring a combination that lets you change when wet.
- Trekking poles: Poles can help spread the load on descents. Check how to secure them to the pack when you need your hands on rock.
- Map, compass and smartphone: Download maps for offline use, and carry a paper map, compass and backup power.
- First aid kit and emergency blanket: Check the contents against your route and group size, and replace blister supplies and any personal medication you need.
- Headlamp: Test it, and bring compatible spare batteries or a way to charge it. Adjust it so you can see your feet and work with your hands.
Gear to add and how to choose it
Shelter and sleeping gear
Your biggest additions depend on whether you sleep in a hut or a tent.
For a traverse based around huts, ask when booking what bedding and meals are supplied and whether you need a sleeping bag, mat or liner. Carry an emergency shelter such as a bivy shelter in case you are unexpectedly unable to continue.
For a camping traverse, the essentials are a tent, sleeping bag and sleeping pad.
- Tent: Compare wind resistance, ease of pitching and weight for the season and location. A freestanding tent still needs anchoring. Practice pitching with pegs and guylines and packing it away as you would in the rain.
- Sleeping bag: If the label follows an adult standard such as ISO 23537-1, use the comfort rating as a guide. Consider the lowest temperatures you expect, how easily you feel cold and the insulation of your pad. Down is light and compressible and loses warmth when wet. Synthetic fill generally handles moisture better, though it can be bulkier for similar warmth. Keep the bag in waterproof storage.
- Sleeping pad: It insulates you from the ground. An R-value measured under ASTM F3340 lets you compare insulation. Closed-cell foam does not puncture. Some inflatable pads pack smaller, so learn how to repair one if you choose it.
Backpack
The volume you need depends on the nights out and how much space bedding, food and water take up. Pack everything you will carry at departure into your current pack. Check that nothing is hanging loosely outside and that the load fits within the pack’s capacity and weight range.
Walk with a load close to your planned weight to check the torso length and hip belt. Set the belt over your hip bones and check for painful pressure points at the shoulders or hips and excessive swaying as you walk.
Cooking equipment and water
If you are staying in huts, confirm meals and drinking water when booking. Locate water sources on maps and ask managers for current conditions before leaving. Carry a reserve in addition to water for walking to the next reliable supply, expected temperatures and cooking.
If you want to boil water at camp, bring a stove, a compatible fuel canister and a pot within the manufacturer’s size limits. Check operating conditions and test fuel use with your planned meals, since cold affects performance. To avoid carbon monoxide poisoning and fire, use the stove only in a permitted, well-ventilated outdoor area, clear of the tent and its vestibule. Pack emergency food you can eat without cooking.
Clothing to add or adjust
Plan for rain and sweat with quick-drying walking clothes and dry spare base layers and socks. Keep dry clothes in a waterproof bag, separate from wet gear.
You cool down faster in the evening or while resting than while moving. Choose a fleece or insulated jacket for the lowest temperature and wind, and change out of damp clothes before sleeping.
Managing weight and priorities
Weigh everything together with your starting food and water. Try it on similar climbs and descents and check your pace, fatigue and how the load feels on your hips and feet. Reduce excess packaging and combine uses where practical. Keep the water, warm clothing, rain gear, emergency food and first aid supplies the route calls for.
Use this order to decide what you need.
- Shelter and sleeping gear (match the accommodation and lowest expected temperature)
- Backpack (check capacity, load and comfort)
- Food, cooking and water (plan around resupply and fuel)
- Extra clothing (adjust for the season, elevation and number of days)
- Small items (start with repairs and any required portable toilet kit, then decide on comfort items)
Bring the essentials on your first trip. Comfort items such as sandals can wait until you have tried a short traverse. Test what you already own before adding anything.
What to check before buying
First decide on the route and season. A low-elevation summer trip and a high-elevation autumn traverse call for different sleeping bag ratings. What you need also changes with the availability of huts and whether you will camp.
Give the outdoor shop your planned month and number of nights so staff can give specific advice. If you can rent gear, try a tent or sleeping bag before buying one.
Choose a shelter, sleeping bag and rainwear based on the wind, rain and temperatures they need to handle. Whether you buy or rent, check for damage or missing parts and practice using the gear before leaving.
Where to start
List your day-hiking gear and identify what you can use on a traverse. Choose the season, range, nights out and whether you will sleep in huts or at designated campsites, then fill the gaps. On Nordwand you can find partners with traverse experience or ask a certified guide.
References
- Nagano Prefecture and National Police Agency (safe hiking and equipment)
- ISO, ASTM and gear manufacturers (sleeping bags, pads and packs)
- National Institute of Technology and Evaluation and hut managers (stove safety and hut rules)
References and sources
- Nagano Prefecture | Safe hiking guidelines
- National Police Agency | Mountain accident reports and prevention resources
- Research study | Loads when using trekking poles on descents
- ISO | ISO 23537-1:2022, including temperature ratings for adult sleeping bags
- ASTM | F3340-22, measuring camping pad thermal resistance
- Montbell | Choosing a sleeping bag
- Montbell | Choosing a sleeping pad
- Osprey | Backpack sizing and fit
- National Institute of Technology and Evaluation | Safe use of camping stoves
- Nagano Prefecture | Northern Japanese Alps hut directory