
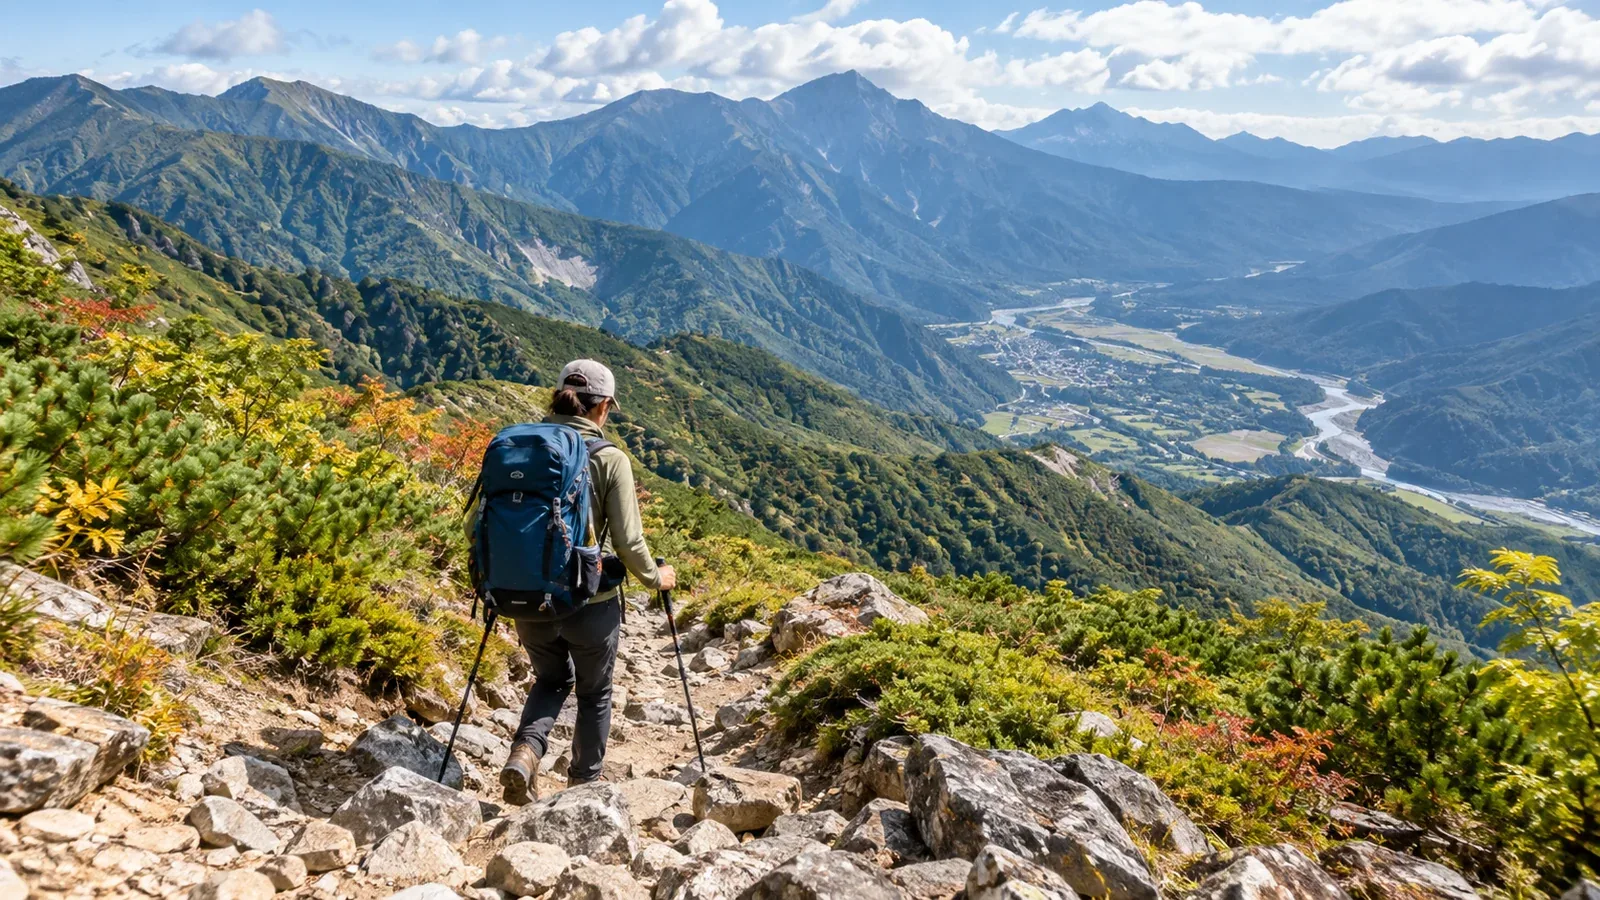
On a multi-day hike, a sudden change in weather, fatigue, an unwell companion, or broken equipment can make you question whether to continue. Knowing how you can descend early lets you change the plan while you still have time and energy.
An escape route is a way to leave your planned route at a junction and descend to a trailhead or settlement before reaching the intended finish. Include retracing your steps as an option where appropriate. This guide covers what to check before you leave, when to decide in the mountains, and what to do once you commit to a descent.
Why plan an escape route in advance?
A multi-day route may include exposed ridges or stretches with a long walk to the next junction. There may be little shelter from wind or rain on a ridge. Looking for an exit for the first time in bad weather leaves you less energy and time to think. Find out before leaving where you can descend.
A group may start out expecting everyone to finish the whole route. But someone can twist an ankle, lose their appetite and tire, or encounter weather the group did not expect. Agreeing in advance on how to descend early makes it easier for anyone to speak up and for the group to make a decision together.
Before departure: research your escape routes
Find the junction and the end of the descent on the map
Use a topographic map such as GSI Maps to find where the descent branches off and follow it all the way to a trailhead or settlement. A route beside a stream may involve fords or washouts. Rain upstream can make water rise suddenly, so assess valley routes for these hazards.
Work through these checks in order.
- Look for an established hiking trail that branches off your planned route and is marked on the ground.
- Confirm it continues all the way to the trailhead and look for fords, steep slopes, and stretches on forest roads.
- Check the latest notices from the local authority, hut, or trail manager for closures, washouts, and the condition of bridges.
- Look up the walking time from the trailhead to a bus stop or station. Check service days and the last departure with the transport operator.
A dashed line is a map symbol. It does not tell you whether the trail is passable. Some trails are overgrown, damaged, or closed. Base your descent plan on verified paths and keep trackless valleys out of it.
Mark the day and junction where you could descend
Write down the day, junction, destination, and walking time for each option. Check junctions before exposed ridges and long sections first. If you have few exits, decide by what time you'll reassess before passing a junction.
Use huts as reference points for an early descent
Hut staff can be a source of information on descent routes, and a hut may offer a place to rest while open. Find out which trailheads are reachable from the hut, then check official details on opening dates, access, and reservations. Plan for unstaffed shelters without relying on staff or supplies.
When to decide in the mountains
Decide while you still have time and energy. If any of the following signs appear, review your options to turn back, descend, or wait somewhere safe before passing the next junction.
Weather
- The forecast is worse than expected and is unlikely to improve the next day or later.
- Visibility drops sharply and wind strengthens on the ridge.
- Thunderclouds are developing, a lightning advisory or nowcast shows increasing danger, or you hear thunder. If lightning is approaching, follow JMA guidance and seek safe shelter promptly.
Before leaving, check JMA forecasts, warnings and advisories, and the lightning nowcast, along with a forecast for your mountain area. You may have no signal on the trail. Watch changes in the sky and wind and reassess as soon as you notice danger.
Pace and health
- You're behind schedule and, with breaks and spare time accounted for, unlikely to arrive by the time needed for a safe finish.
- Someone has pain, dizziness, loss of appetite, palpitations, or other symptoms that make walking difficult.
- At your current pace, you may also be unable to reach a safe place in daylight on the next day.
If someone feels unwell, stop together and assess their condition. Base the decision on what they can safely do. Keep the group together and don't send an unwell person down alone. If symptoms are severe, they cannot get down safely on their own, or danger is imminent, avoid forcing them to walk. In Japan, call 110 or 119 for rescue and give your location and what has happened.
Equipment and supplies
- Food or fuel is running down much faster than planned.
- Essential gear such as a tent or rainwear breaks.
- You cannot refill water as planned.
Bad weather, poor health, and low supplies can compound one another. Decide early when several signs appear or when safe exits become less frequent ahead.
What to do when you descend
Once you've made a decision, agree promptly on what everyone will do. Waiting too long can narrow your options.
1. Check the group's position and descent route together. Compare an offline map app with a paper map and share junctions and landmarks. Assign a leader and a person at the back, and regroup before leaving each junction.
2. Notify your contacts of the change. If you have a signal, tell the family member or other contact who has your plan where you now expect to finish and when. Follow the receiving authority's instructions for updating a filed plan. Let your contacts know when you reach the end safely.
3. Avoid rushing. Escape routes can have steep or awkward sections. Before setting out, work back from a target arrival at a safe place with daylight to spare to set a deadline at each decision point. If you're running late, use the terrain and the group's condition to decide whether to wait in a safe place or call for help.
4. Check onward transport. Some trailheads have no buses and are inaccessible to taxis. Check before leaving how long the forest-road walk takes, when the last service leaves, and where you can arrange a taxi. Confirm the current service when you regain a signal, if needed.
Why include escape routes in a hiking plan?
Some hiking plan forms have a place to record escape routes. An accurate record can help searchers identify the route you may have intended to use if you need rescue. This information matters to both hikers and rescue teams.
Researching your options also helps you understand the terrain as a whole. Reading the valleys as well as the ridges builds map-reading skills for future traverses.
What to do next
Before leaving, find descent routes and exits on a topographic map and verify conditions with local authorities or huts. Write the estimated times, decision junctions and deadlines, and onward transport in your plan and share it with the group. To find people who know the area, you can also use Nordwand's communities and guide listings.
References
- Geospatial Information Authority of Japan (GSI Maps)
- Japan Meteorological Agency and Ministry of Land, Infrastructure, Transport and Tourism (weather information, lightning, and sudden rises in water level)
- Government Public Relations Online (hiking safety and rescue numbers)
- Japan Mountaineering and Sport Climbing Association, Nagano Prefecture, and Aichi Prefectural Police (hiking plans and escape routes)
References and sources
- Geospatial Information Authority of Japan | GSI Maps
- Japan Meteorological Agency | Weather warnings and advisories
- Japan Meteorological Agency | Rain and lightning nowcast
- Japan Meteorological Agency | How to stay safe around lightning
- Ministry of Land, Infrastructure, Transport and Tourism | Sudden rises in water level and river safety
- Government Public Relations Online | Hiking safety and calling for rescue
- Japan Mountaineering and Sport Climbing Association | Planning a mountain trip
- Nagano Prefecture | Mountain information and route closures
- Nagano Prefecture | Filing a hiking plan
- Aichi Prefectural Police | What to include in a hiking plan