
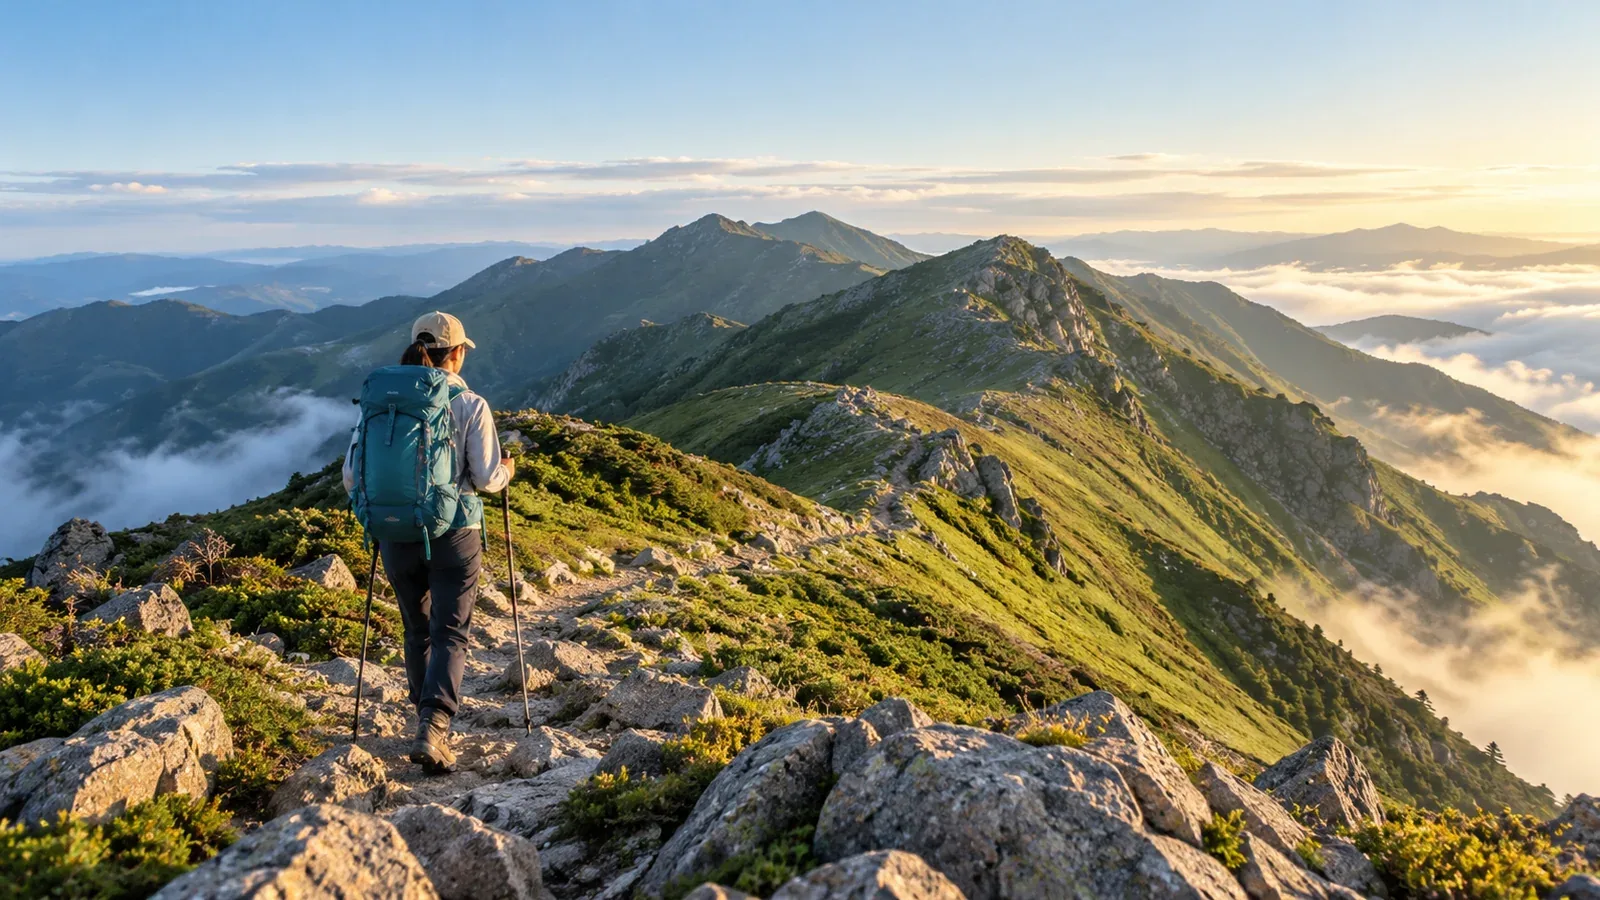
After a few day hikes, you may find yourself wanting to follow the ridge a little farther. A traverse links summits by walking along the ridgeline. Spending a night on the mountain opens up views and a sense of achievement that feel different from a day hike.
A two-day traverse means a heavier pack, more time walking and different decisions about when to turn back. Here’s how to choose a route, lay out your itinerary and pack for a first overnight traverse.
How an overnight traverse differs from a day hike
If the weather changes or you feel unwell, there may be no quick way off the ridge. That can happen on day hikes too. On a longer traverse, you’re more likely to reach places where both turning back and continuing take time and energy.
Even with a hut booking, take a second day’s trail food, water, warm layers, rain gear and spare headlamp batteries. Camping adds overnight equipment. A heavier pack changes your pace and how you tire. Try carrying what you plan to take on a short hike and leave extra time in your itinerary.
Check the forecast for both days and watch for changes on the trail. Wind can be stronger on the ridge than in the forest, and wind and rain together can chill you quickly. Adjust your plans early if conditions begin to deteriorate.
Three things to look for in a route
1. Can you leave the ridge early?
For your first traverse, pick a route with a junction where you can leave the ridge and descend. Check junctions and trailheads on a paper topographic map or hiking map app. Find out if the descent is open, whether the terrain is passable in bad weather and what transport is available at the bottom.
2. Can you cover the distance with your pack in daylight?
Two routes with the same published walking time can feel different depending on the terrain and pack weight. Use your times on similar terrain and allow for breaks and delays. Choose a short enough route to arrive well before sunset and the hut’s check-in deadline.
3. Can you secure a place to stay?
Overnight options on a ridge are usually huts or designated campsites. Huts often require reservations and can fill up in peak season. Campsite rules and fees vary. Check with the local authority, hut or trailhead information before setting out. Confirm your overnight stop before committing to the ridge.
How to lighten your pack
Find out what your overnight stop provides and what you’ll have to carry yourself. Keep safety essentials such as warm clothing, rain gear, a light and a map.
Staying at a hut may let you leave the tent and sleeping mat at home. Check whether it provides meals and bedding and whether you need a sleeping bag or liner. Pack what the hut doesn’t provide.
If camping, weigh the full pack you’ll take at the start, including the tent, sleeping bag, mat, cookware, fuel, food and water. The load you can handle depends on more than body weight. Try hiking with the loaded pack. If carrying it for a long time is too demanding, reconsider the route or where you’ll stay before cutting essential gear.
Use layers with different jobs to avoid packing duplicates. Ridges cool down in the morning and evening, so bring insulation for stops even if you don’t need it while walking. Many hikers avoid cotton because it insulates poorly when wet.
How to plan the two days
1. Choose where you’ll stay first. Find a hut or campsite along the route and plan each day around it. Too much distance on either side of the overnight stop can make one day unmanageable.
2. Check the walking times for both days. Look up estimates for each section on a map or in a hiking app. Use your actual times with a similar pack and terrain, and allow for the group’s pace, breaks and delays.
3. Set a departure time and turnaround deadlines. Check sunset times with the National Astronomical Observatory of Japan. You may lose daylight earlier in mountain shade. Working back from the hut’s check-in time and allowing enough daylight, set decision times at the junctions. If you’re going to miss one, take the descent route you checked in advance.
4. Check the mountain forecast and weather alerts. Look at the forecast for the area the day before and on the morning of your hike, along with Japan Meteorological Agency warnings and advisories. Rain and strong winds can hit harder on the ridge. Watch the sky, wind and visibility as you go and adjust before conditions worsen.
How to make a decision on the ridge
The hardest call on a traverse is often whether to continue, wait or descend. On a first traverse, feeling that you’ve come too far to turn back can cloud that decision.
Agree on clear conditions beforehand. For example, if the group hasn’t reached a specific junction by a certain time, end the traverse and descend from there. Share the decision rule before leaving so you can apply it when you’re tired.
File a hiking plan before you start, whether alone or in a group. Check local instructions for where and how to file it. Include your itinerary, overnight stop and emergency contact. Share the plan with someone who isn’t coming, such as a family member.
What to do next
Open a map of the area you’d like to visit and identify possible overnight stops and junctions for early descent. Check the local authority or hut website for booking and campsite rules. To meet people who’d like to traverse with you, you can exchange information in the mountain-specific Base Camps on Nordwand.
References
- Japan Meteorological Agency: warnings and advisories
- National Police Agency: mountain incident statistics
- Geospatial Information Authority of Japan: GSI Maps
- Nagano Prefecture: hiking plan filing and safety guidelines
References and sources
- Japan Meteorological Agency | Weather warnings and advisories
- National Police Agency | Mountain and water incident statistics
- Geospatial Information Authority of Japan | GSI Maps
- Nagano Prefecture | Mountain hiking safety guidelines
- Nagano Prefecture | Filing a hiking plan
- National Astronomical Observatory of Japan | Sunrise and sunset times
- Japan Ministry of the Environment | Chubusangaku National Park visitor rules