
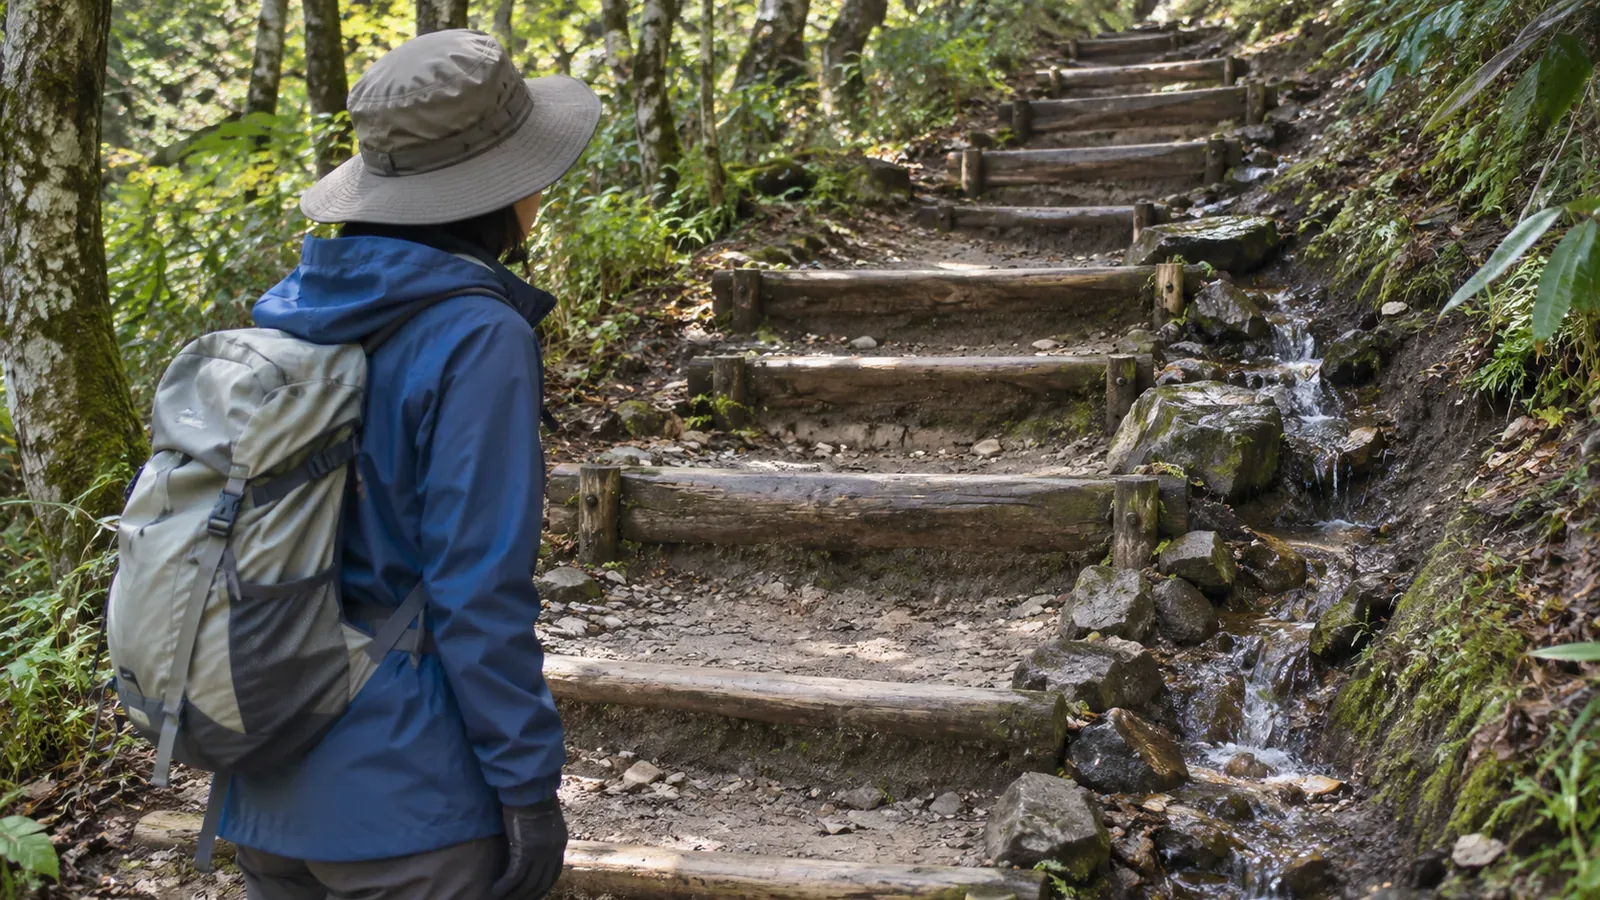
Steps on a mountain trail can be different heights, and some timber steps may appear to stand high above the ground. They may have been built that way, or rainwater may have changed the soil around them. Look at the terrain and repair records to find out how the trail has been maintained.
Look at the steps and surrounding terrain
Where steps are high, look from a safe position at the slopes above and below and any visible water channels. You can note whether the steps are wood or stone, where soil remains and whether there are tracks off to the side. A single photo cannot show the original shape or the cause of a change on its own.
In an article on trail repairs, Japan's Ministry of the Environment explains how rain can wash soil away from the side of a trail, exposing more of a timber step and making the step higher. It describes one site. For a different set of steps, find the manager or the maintenance records for that section.
The US National Park Service's Blue Ridge Parkway page describes work such as building log or stone steps. Materials and methods depend on local conditions. The US examples do not set design standards for particular steps in Japan.
Distinguish the original work from the current condition
The height you see may differ from the height when the steps were built. Consider whether water flow, shifting soil or wear could have played a part, and look for before-and-after photos or reports. If no records are available, describe what you saw, such as a step that looked unusually high.
The terrain and intended use when the steps were installed also matter. Japan's Ministry of the Environment publishes technical guidance for natural park facilities and for trails on Yakushima. To understand the design or maintenance of a particular trail, read the relevant area's guidance and the records for that section. An index of guidance tells you little about the actual dimensions.
If a step is hard to use, leave the stone and wood where they are. Moving them may change the flow of water or affect the soil. If you think a repair is needed, note the location and condition and tell the trail manager.
Consider both hikers and the trail
The Daisetsuzan National Park Liaison Council explains how walking around mud through nearby grass can create parallel trails. If a step is difficult, see whether you can safely use the open route without starting a new track in the vegetation. If you cannot pass, reconsider the route or turn back.
On steps, leave space between people and look for a suitable place to pass. Speak to other hikers or maintenance crews when needed, then pass calmly. For a photo or closer look, stop in a safe place where you will not block the path.
Difficulty varies with fitness and experience. Check elevation change, trail conditions and the weather beforehand and choose a route that suits your group. Steps can help in some places and be difficult in others. Assess the route as a whole.
Compare your observations with the records
At home, review the photo and note the location, date, time and visible condition. Separate “there seemed to be little soil under the timber” from a possible explanation such as rain erosion. If you find a report or repair record, check that it covers the same place and period.
When you report a problem, give the mountain, the section from the trailhead, a nearby junction, a photo and the date. If you do not know the trail manager, ask the municipality or park office. A precise report helps care for the trail and leaves decisions about repairs to those responsible.
Trail maintenance takes into account both how people walk and how the surroundings are affected. An unusually high step is a chance to find out more about rainwater, soil movement and the work that goes into a trail.
Use trail records to understand changes in step height
Differences in step height can reflect the terrain, changes to the soil after repairs or other causes. Check records for the section before deciding what caused what you saw.
Leave tools and stones where they are. Report any concerns to the trail manager.
References and sources
- Japan Ministry of the Environment: how a hiking trail is repaired
- Daisetsuzan National Park Liaison Council: Technical Guidelines for Mountain Trail Maintenance in Daisetsuzan National Park
- U.S. National Park Service: Trail Maintenance, Blue Ridge Parkway
- Japan Ministry of the Environment: technical guidelines and examples of park facilities