
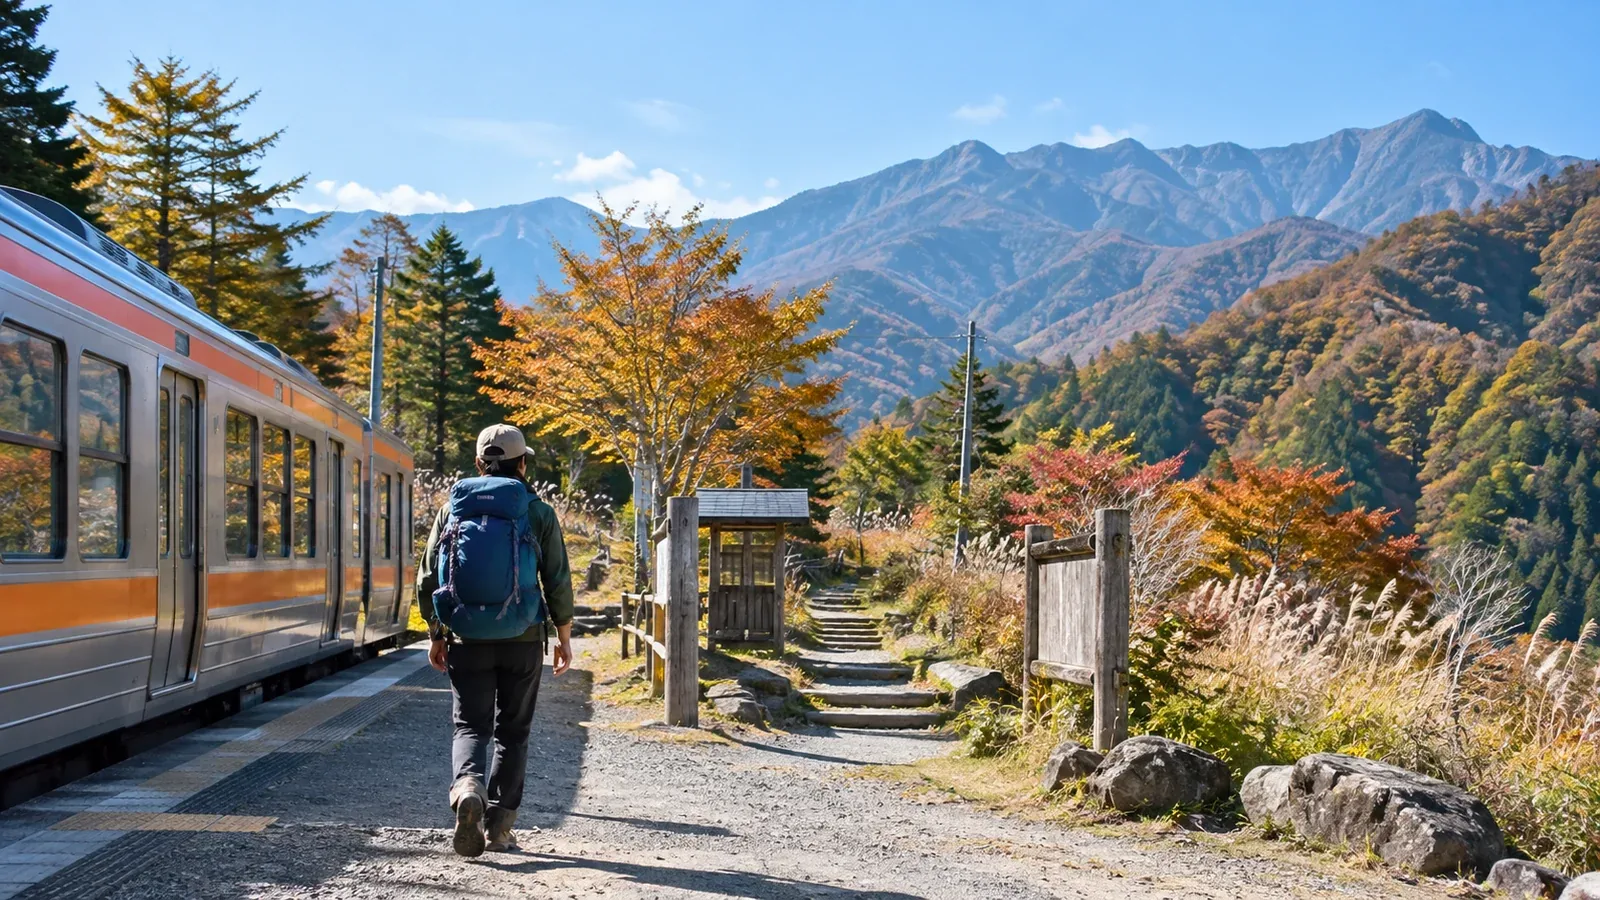
Whether the Seishun 18 Ticket works for your hike depends on how you'll get from a JR station to the trailhead and whether that leaves enough time to walk. Local and rapid trains from the Tokyo area reach Okutama and destinations on the Chuo Line. For some areas, such as Yatsugatake, you'll need to arrange a bus or taxi from the station separately.
This guide explains the ticket rules and helps you decide where a trip makes sense and how to plan it. Check JR's official information or ask at a station each season for the latest sales dates, validity, and prices.
When the Seishun 18 Ticket works for hiking
One person can use each ticket for three or five consecutive days from the chosen start date. It covers unreserved seats in ordinary cars on JR local and rapid trains, eligible JR bus rapid transit services, and the JR West Miyajima Ferry. You can no longer use five separate days or share one ticket among a group as the older version allowed.
You can get on and off eligible trains during the validity period, making it easy to stop at a hot spring on the way home. Check your connections from the first train to the return journey and make sure the date you get back is covered. For a train that crosses midnight, check JR's rules on how far the ticket remains valid.
Shinkansen, limited express, and express trains are generally excluded. Check JR's official rules for route-specific exceptions and the separately sold Hokkaido Shinkansen option ticket. Going as far as Matsumoto on local and rapid trains takes time. Regular trailhead buses and private railways generally cost extra, so budget for them separately from the JR leg.
Finding hiking areas you can reach by local train
Start by comparing journey times and changes from a major station. These examples are a starting point. Travel times and frequency change by season and timetable, so verify them with JR or at the station.
From greater Tokyo along the Chuo and Ome lines
Local and rapid trains on the Chuo and Ome lines reach Okutama Station from Tokyo or Shinjuku. Mount Kumotori, Mount Kawanori, and Mount Mito have different trailheads and time requirements depending on the route. For the Kawanoribashi side of Mount Kawanori, for example, take a bus from Okutama Station. For Okura and Yabitsu Pass in Tanzawa, there are bus connections at Odakyu stations. Both the Odakyu train and bus cost extra.
Mountain access along the Chuo Main Line
JR local and rapid trains reach Kofu, Nirasaki, and Kobuchizawa from Tokyo. For Kannon-daira in Yatsugatake, take a taxi from Kobuchizawa. For Kiyosato, change at Kobuchizawa to the JR Koumi Line. Onward buses or taxis cost extra. Some services are seasonal or require reservations, so check times and booking terms first.
Along the Tohoku Main, Joban, and Joetsu lines
JR local and rapid trains can get you to the areas around Nikko and Nasu, Mount Tanigawa, and Mount Bandai. Doai Station is on the JR Joetsu Line for Mount Tanigawa, but check access from the station to your trailhead and any ropeway separately. Connections for Nikko, Nasu, and Mount Bandai also vary by route and season.
From Kansai and central Japan
For Mount Daisen in Tottori, take the bus to Daisenji from JR Yonago Station. The reservation-only bus to Odaigahara serves Kintetsu Yamato-Yagi and Kashiharajingu-mae stations. The Kintetsu train and the bus cost extra. Where trains or buses are infrequent, check which dates have viable connections and what you can do if you miss one.
Putting the ticket into your hiking plan
First find a journey you can make on JR local and rapid trains, then add the time to get from the station to the trailhead and do the hike.
1. Find the nearest station
Look for the nearest JR station on the map. If the closest station is on a private or regional third-sector railway, estimate the separate fare for that section.
2. Work back to find the first train
Start with your desired arrival at the trailhead. Set a realistic start time based on sunrise and sunset, hiking time, weather, breaks, and a margin. Use a timetable or route planner to find eligible local and rapid services, and identify a backup connection if possible.
3. Set a deadline for the return
Check the last bus from the trail end and the last train. Set a time to return with a margin and a turnaround time on the trail. Check alternate transport or lodging in case you miss the connection. If there is no backup, choose a shorter route or a different day.
4. Check connecting buses separately
Regular buses to trailheads aren't covered by the ticket. Check the operator's official schedules, fares, and boarding points. For seasonal buses, check operating dates and whether reservations are required.
5. Consider staying the night before
If the first train won't get you there in time, travel the day before and stay near the trailhead. The ticket runs on consecutive days, including days you don't travel. Count the days from the outbound journey through the return to see whether the trip fits within three or five days.
When the ticket is hard to use and what to consider instead
Here are situations where the ticket may be awkward to use.
For major trailheads in the Northern Japanese Alps, journey times depend on local and rapid connections to Matsumoto and onward trains on the Oito Line toward Hotaka or Shinano-Omachi. Check any bus to the trailhead separately. If a short trip leaves too little time for the hike, compare staying the night before with buying a regular limited express ticket.
For mountains along infrequent local lines, missing one train can mean a long wait. Unlimited rides do nothing to shorten it. Check the next train and other connections, including for the journey back.
If bad weather delays your descent and you miss the last service, you may need somewhere to stay or another way back. Check the Japan Meteorological Agency and local reports. If conditions look unsettled, change the date or choose a plan that leaves enough time to return.
Check sales dates and validity
JR announces spring, summer, and winter periods for the Seishun 18 Ticket. Check the official sales dates, prices, period of use, and latest start dates for the three- and five-day versions. All consecutive days from your chosen start date must fit within the seasonal period.
Regular fares may be cheaper for one day hike or trips on nonconsecutive dates. For each person, add the regular fares for the eligible sections, then compare that with the ticket price and account for any transport paid separately. Everyone who wants to use the pass needs their own ticket, even when travelling together.
What to do next
Find the nearest JR station and your trailhead on a map and check that local and rapid connections work both ways. Add bus and private railway times and fares, then make sure the trip fits within the consecutive validity period before you buy. You can also ask people heading to the same area in the Nordwand community if they'd like to hike together.
References
- JR West: official Seishun 18 Ticket information
- JR East: train timetables
- Tokyo Metropolitan Government: Okutama mountains and access
- Tanzawa Visitor Center: getting to trailheads
- Hokuto City: access to Yatsugatake trailheads
- Minakami Town: map of the Mount Tanigawa area
- Nihon Kotsu: Yonago area buses
- Nara Kotsu: reservations for the direct bus to Odaigahara
- Japan Meteorological Agency: weather forecast