
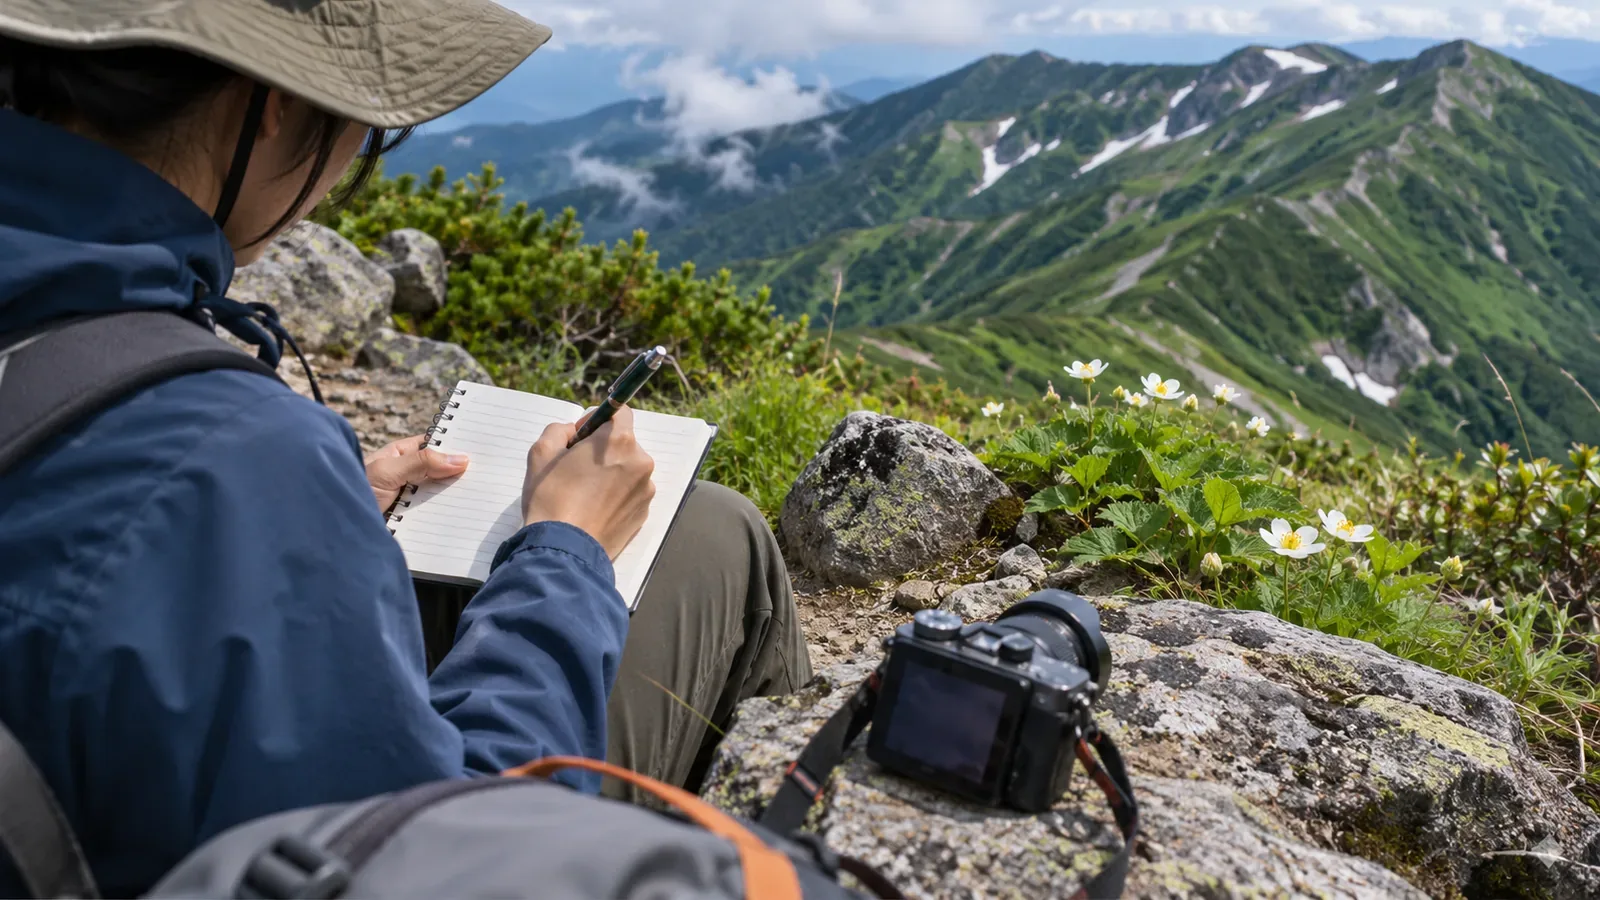
Add the photo number to the line in your notebook so you can find the photo that goes with an observation and tell what each photo shows. The methods below draw on official observation guidance and a camera manual. Write on site when you can stop on stable ground with room for others to pass. Skip the entry when there’s no safe place to stop.
Why put the photo and note together?
After a hike, it’s easy to forget which flower or scene a photo shows. The note “white flowers on the right of the trail” may give you few clues about which photo to open. Pictures are particularly useful for hard-to-identify subjects. When maple color is hard to classify, the Phenology Observation Manual (version 3, November 13, 2023) suggests recording for several days and comparing photos with other regions. You can apply that idea by keeping a record of what each photo shows.
Japan’s National Institute for Environmental Studies recommends a site volunteers can visit three or four times a week. Daily visits are ideal, with a minimum of one per week. Volunteers can report what they recognize or follow one favorite species. A single hike documents what you saw that day. Linking each note to a photo helps you read that day’s records accurately.
Three ways to link the photo and the note
A basic line contains a note number, an identifier for the photo and a few words about the subject. Use the filename or image number. Numbers can repeat. For example, the EOS R100’s auto-reset setting may restart numbering at 0001 after a card change or a new folder. Add the date, camera or folder as needed. Take a few photos at home and check what your app displays and what the filenames look like after transfer.
Option A is to copy the last digits of the image number to the note right after the shot. The match is easy to check, though copying takes screen time and mistakes are possible. Option B uses the first and last numbers for a series of photos of one subject. Option C is to mark the note “photo” in the field and match it later by shooting order or the timestamps on the images. Check at home whether your device and settings preserve the time.
Start by copying the number. When you have a safe place to stop but want to be quick, a “photo” mark works too. Skip both the photo and the note if you can’t stop safely. A simple mark takes more work to match at home. Some photos may remain unmatched if the order is unclear. Leave those gaps rather than writing in a crowded spot or on poor footing.
One short line at a safe stop
Nagano Prefecture’s guidance asks people to stay on the trail. Stepping off for a photo can damage the path and create a risk of falling. On a narrow trail, wait in a safe spot on the uphill side and stay away from the exposed edge. Copy a number only where you can safely stop.
Stop on firm ground and leave room for others to pass. From the trail, take an overall view, a closer view when possible or a photo of a visible feature. Mark a feature “no photo” if it’s out of reach. Write the note number, image number and a short description. Put away the screen and notebook before walking. Skip the subject if you can’t stop safely.
Allow time for observations in the route and give yourself a point to stop shooting. Japan’s National Police Agency notes that GPS-enabled phones can help with rescue calls, while coverage and battery life can be limited. It recommends allowing enough time and sharing and filing your hiking plan. If you’re running late, end the photo session and save battery for communication and maps. Check the actual charge and prepare backup power. Keep track of your route even when looking for subjects.
Build a photo index at home and check gaps and duplicates
On the same day, put the notes into a table. Try six columns: date, note number, photo number, location label, what you saw and what you want to check. Confirm that repeated numbers still refer to the right files, that every numbered line has a photo, and that photos you meant to record have a line. If a photo covers multiple observations, show the links. Mark photos without a matching note “unknown.” Leave unidentified species blank as well.
You can use the index to check each photo before showing or publishing it. The observation manual says submitted photos generally become public data and asks volunteers to keep people and household nameplates out of the frame. Take the same care with your own photos by checking the background for people or identifying details.
Leave plants undisturbed while photographing. The Natural Parks Act regulates collecting or damaging plants designated by the environment minister in special zones of national and quasi-national parks. The ministry lists the species by park, with the published list dated July 22, 2025. Check the list for the park you’ll visit. Fuji-Hakone-Izu National Park also asks visitors to leave flowers and plants in place and follow local rules. Leave branches and flowers where they are for the shot.
In brief: Use photo numbers to find the matching notes
Add photo numbers to your notes at a safe stopping point. Skip the entry if you can’t stop. Before leaving, take test shots to see how your equipment stores numbers and times, and decide when you’ll stop shooting. In the field, a number and a few words are enough. At home, organize and check the links. The finished notes help you revisit what you saw that day.
References and sources
- National Institute for Environmental Studies: Citizen monitoring of seasonal changes in plants and animals
- Climate Change Adaptation Platform: Phenology Observation Manual, version 3
- Nagano Prefecture: Guidance for park visitors and hikers
- National Police Agency of Japan: Overview of mountain incidents in 2025
- Japan Ministry of the Environment: Designated plants in national and quasi-national parks
- Japan Ministry of the Environment: Visitor etiquette in Fuji-Hakone-Izu National Park
- Canon EOS R100 Advanced User Guide: File numbering